Rick Steves Would Be Proud 😀

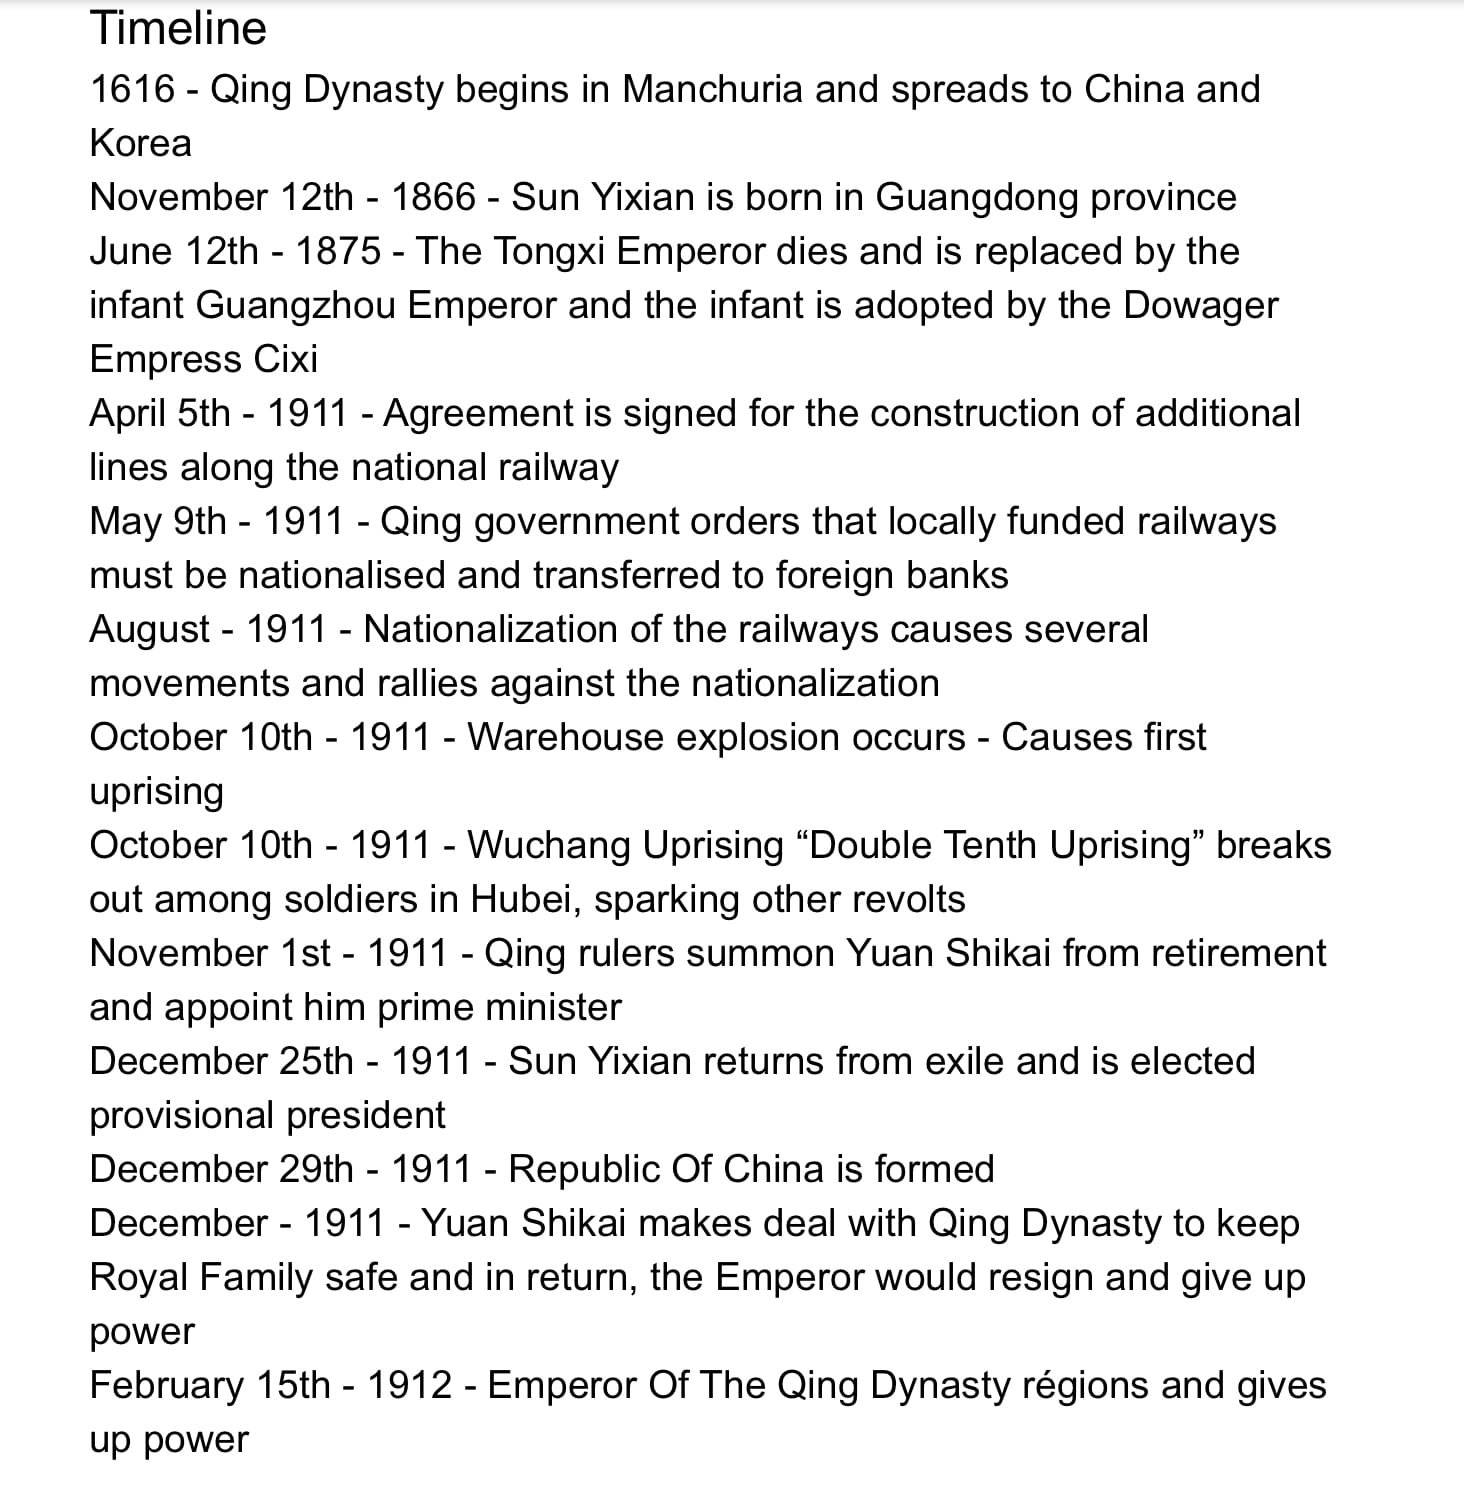
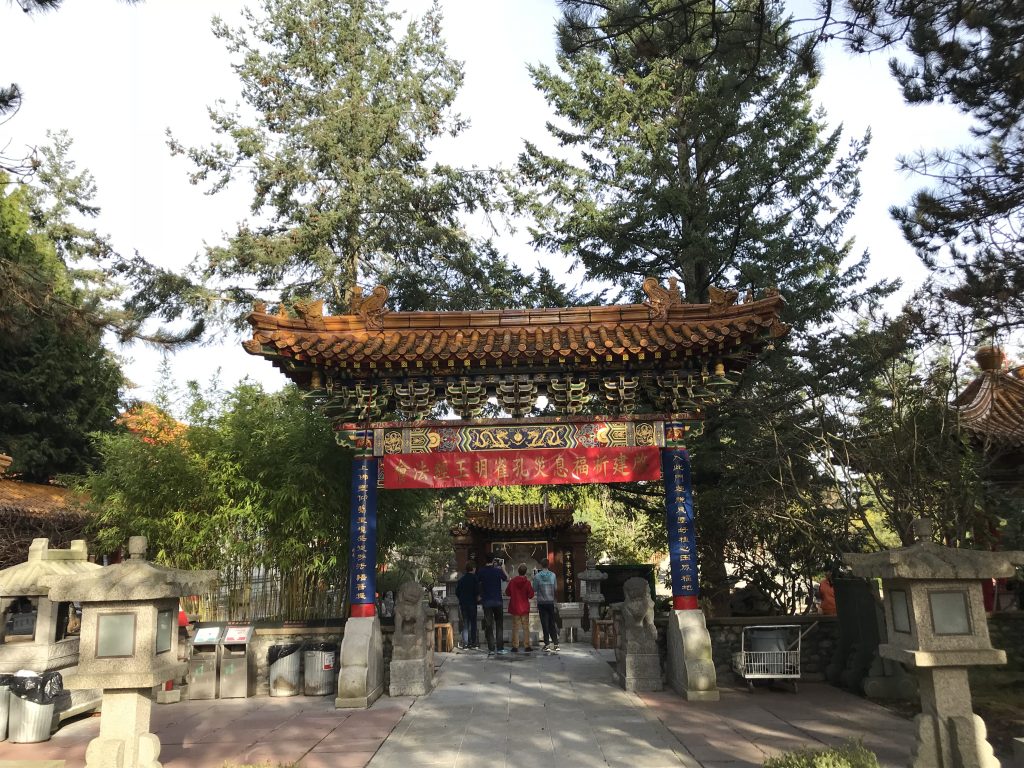
Hi everyone, welcome back to a new post. We recently complete an awesome unit in humanities! This unit was on travel videos. For this unit we went to Victoria and had an adventure through time. We visited many amazing sites such as the Royal B.C. Museum, B.C. Legislature, Ross Bay, and Chinatown! Our project for this field study was to make a video on a specific place. I decided to do my video on Chinatown. Here it is below.

It took a lot of effort to get that video to where it is. Many hours of editing. Let’s rewind to the beginning of our unit so that I can explain how it got there.

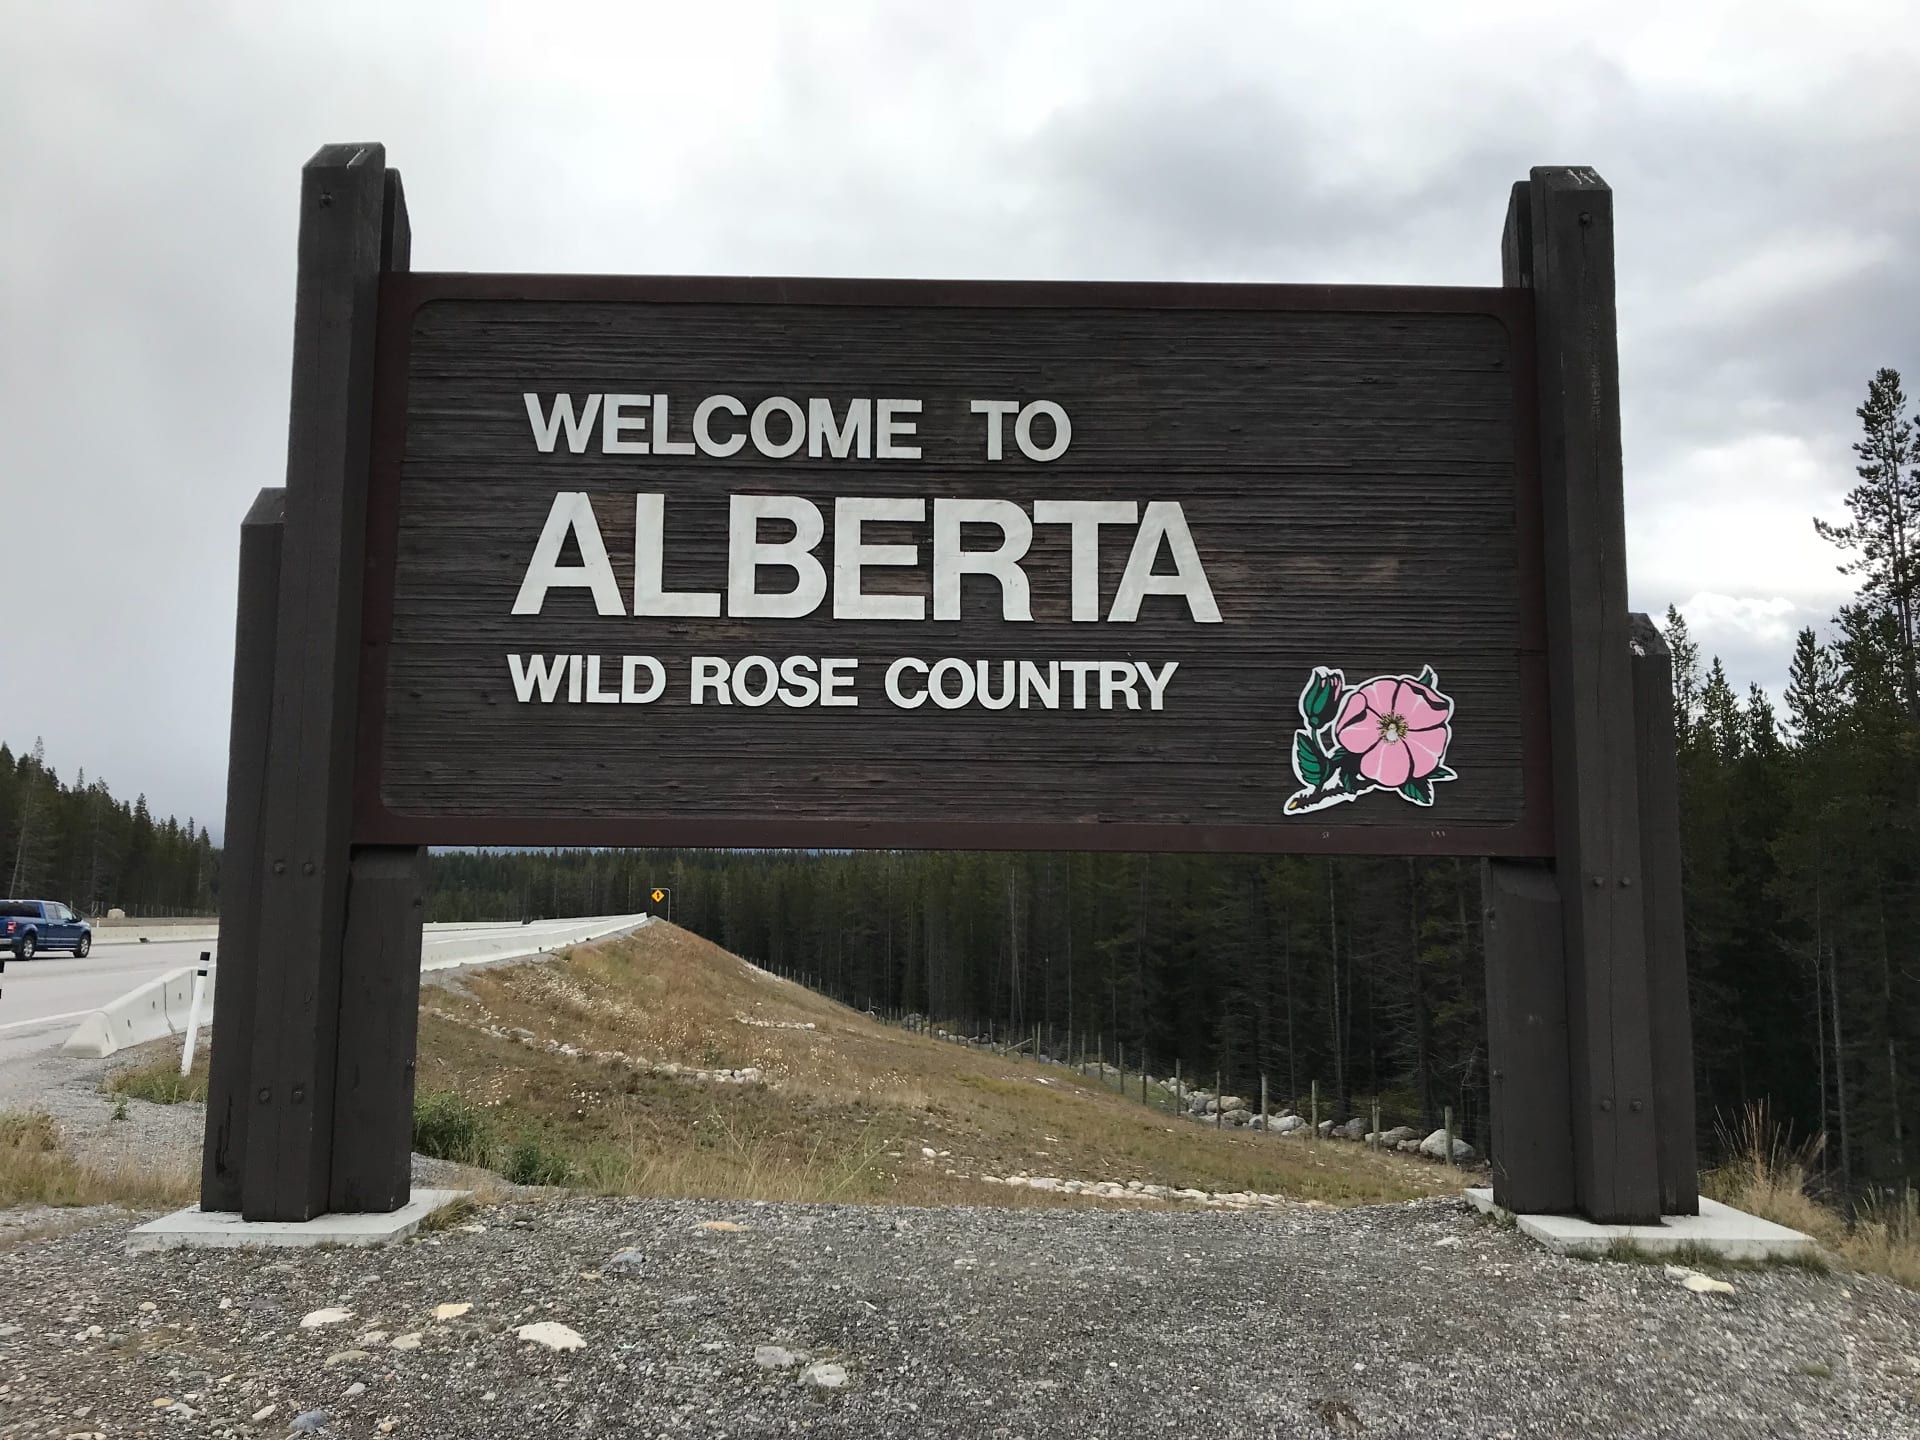
This unit was called the Wild West referring to the founding of B.C. and in particular Victoria. So for thoughs of you who were hoping for cowboys, this is unfortunately not the right place, but please read on.

Just like any other unit we of course had a driving question. For this unit the driving  question was How might we help visitors to Victoria connect with BC’s history? With this question at the for front of our minds we began to learn about travel videos.

There are many different things that make a travel video as well as there being many different types of travel videos. We watched a variety of different type so that we could understand what type of videos we should be making. Some of the videos we watched were:

Michael Palin:

Departures:

And Ms. Maxwell’s favourite RICK STEVES!

As you can see these videos are all very different and unique in their own way. For our videos we were told to aim for somewhat of a mix between Rick Steves and Michael Palin. The idea was to make the video interesting and immersive but still formal and informative.

We also learned about camera angles and how to film someone professionally. It all is based upon one main idea, the rule of thirds. The rule of thirds states that the person in the shot should be on one side and the other should be of the background.

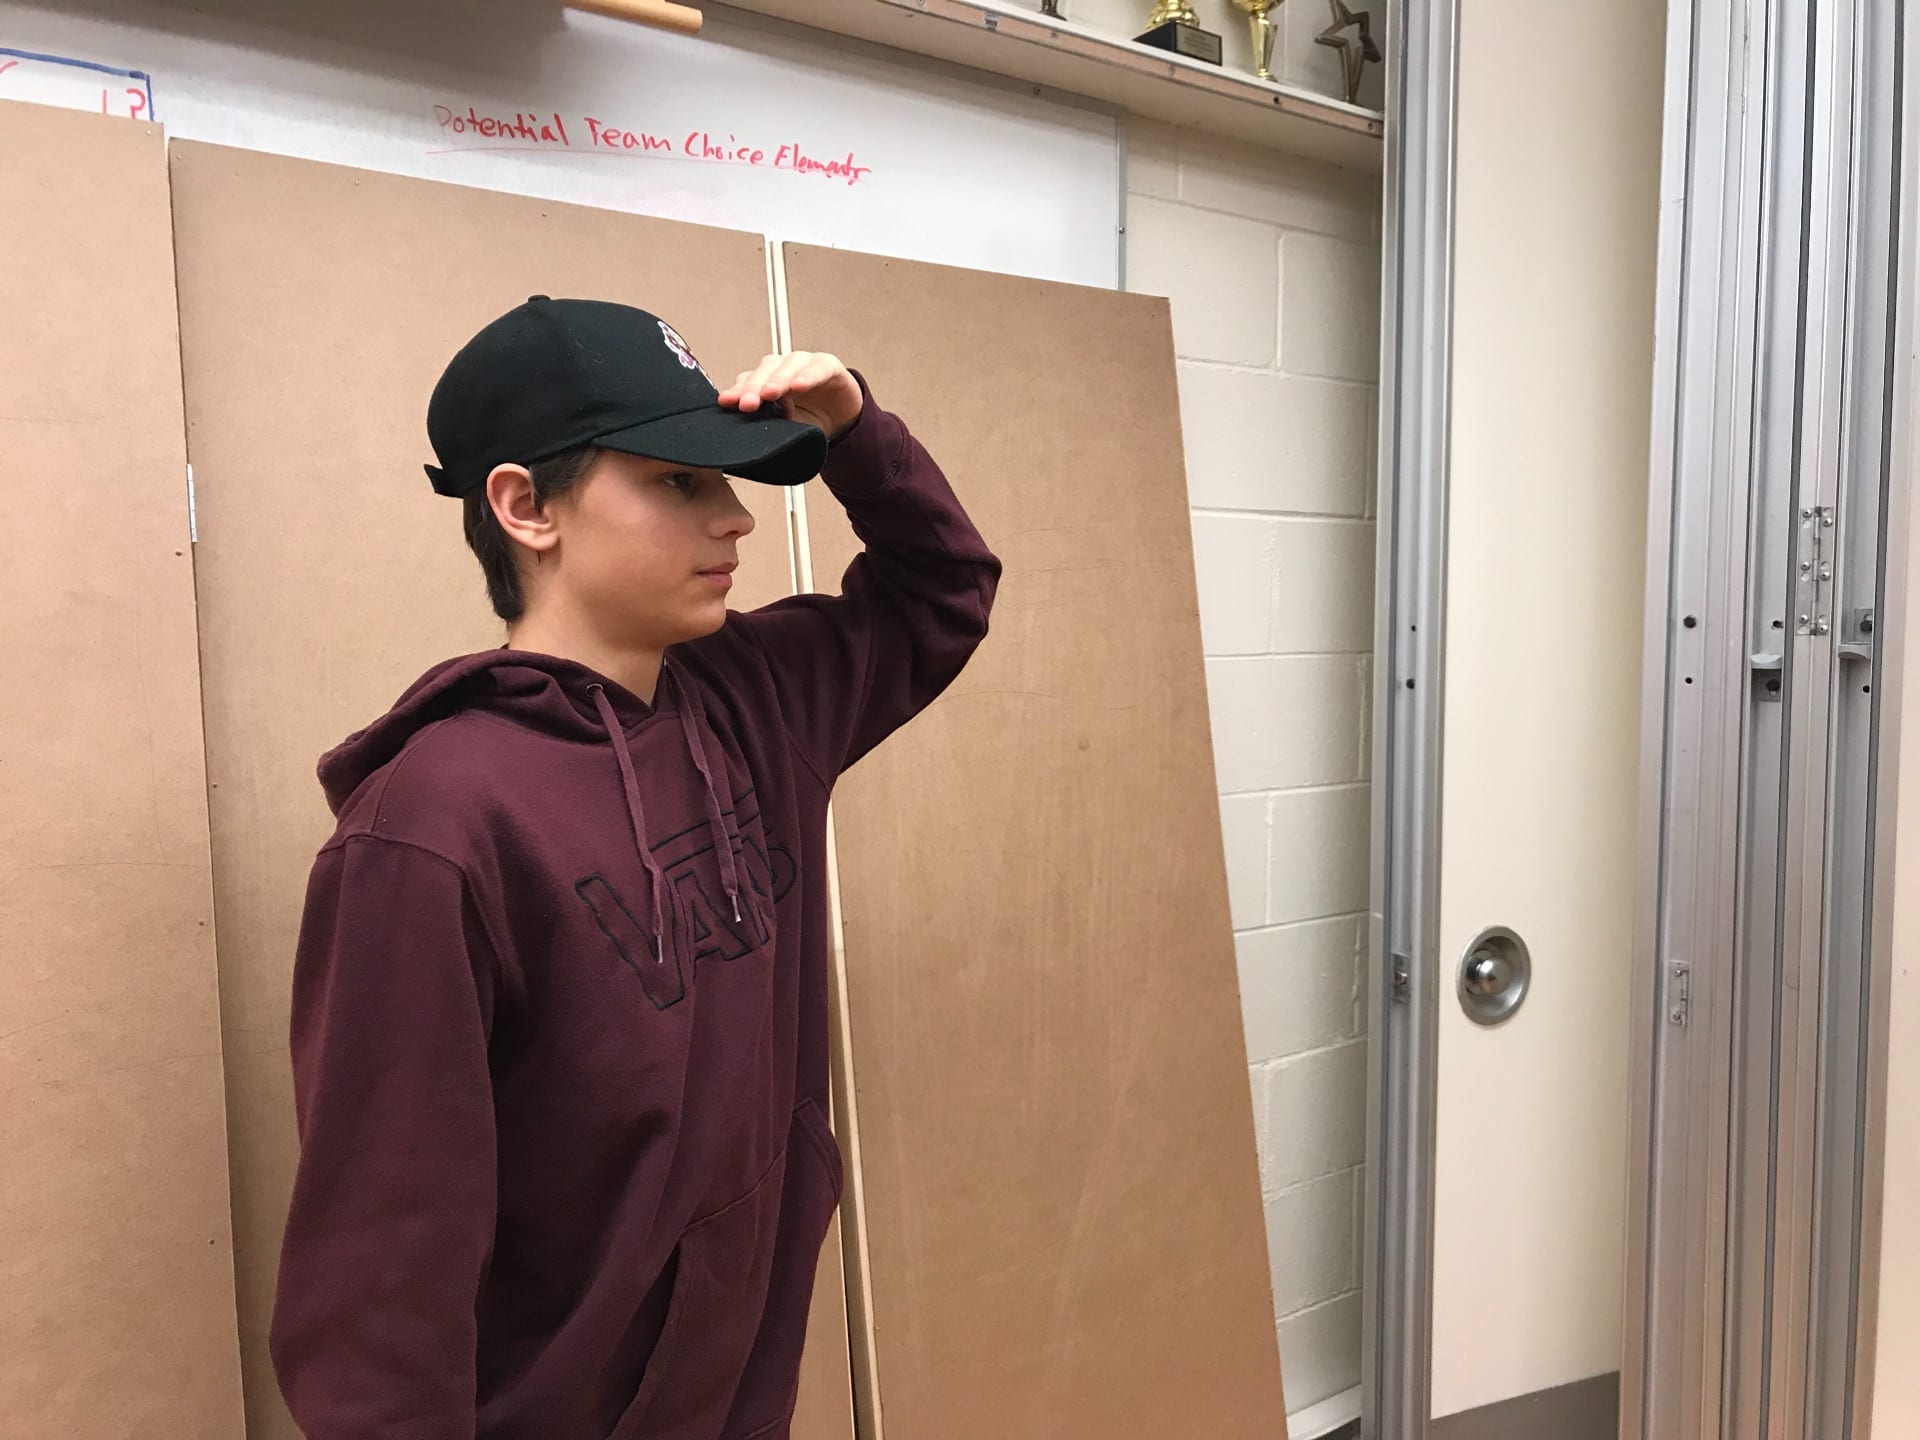
See how Kyle is in about 1/3 of the shot and the other thirds are empty. This is how you should be in a video. We did some practice with the rule of thirds because practice makes perfect. To know if you have done the rule of thirds correctly you should be able to draw a grid over the person and they should be sitting on a vertical line and their eyes should be on a horizontal line.

Sorry if this is a bit confusing but I hope the images helped. If you have any question feel free to comment them down below.

Victoria

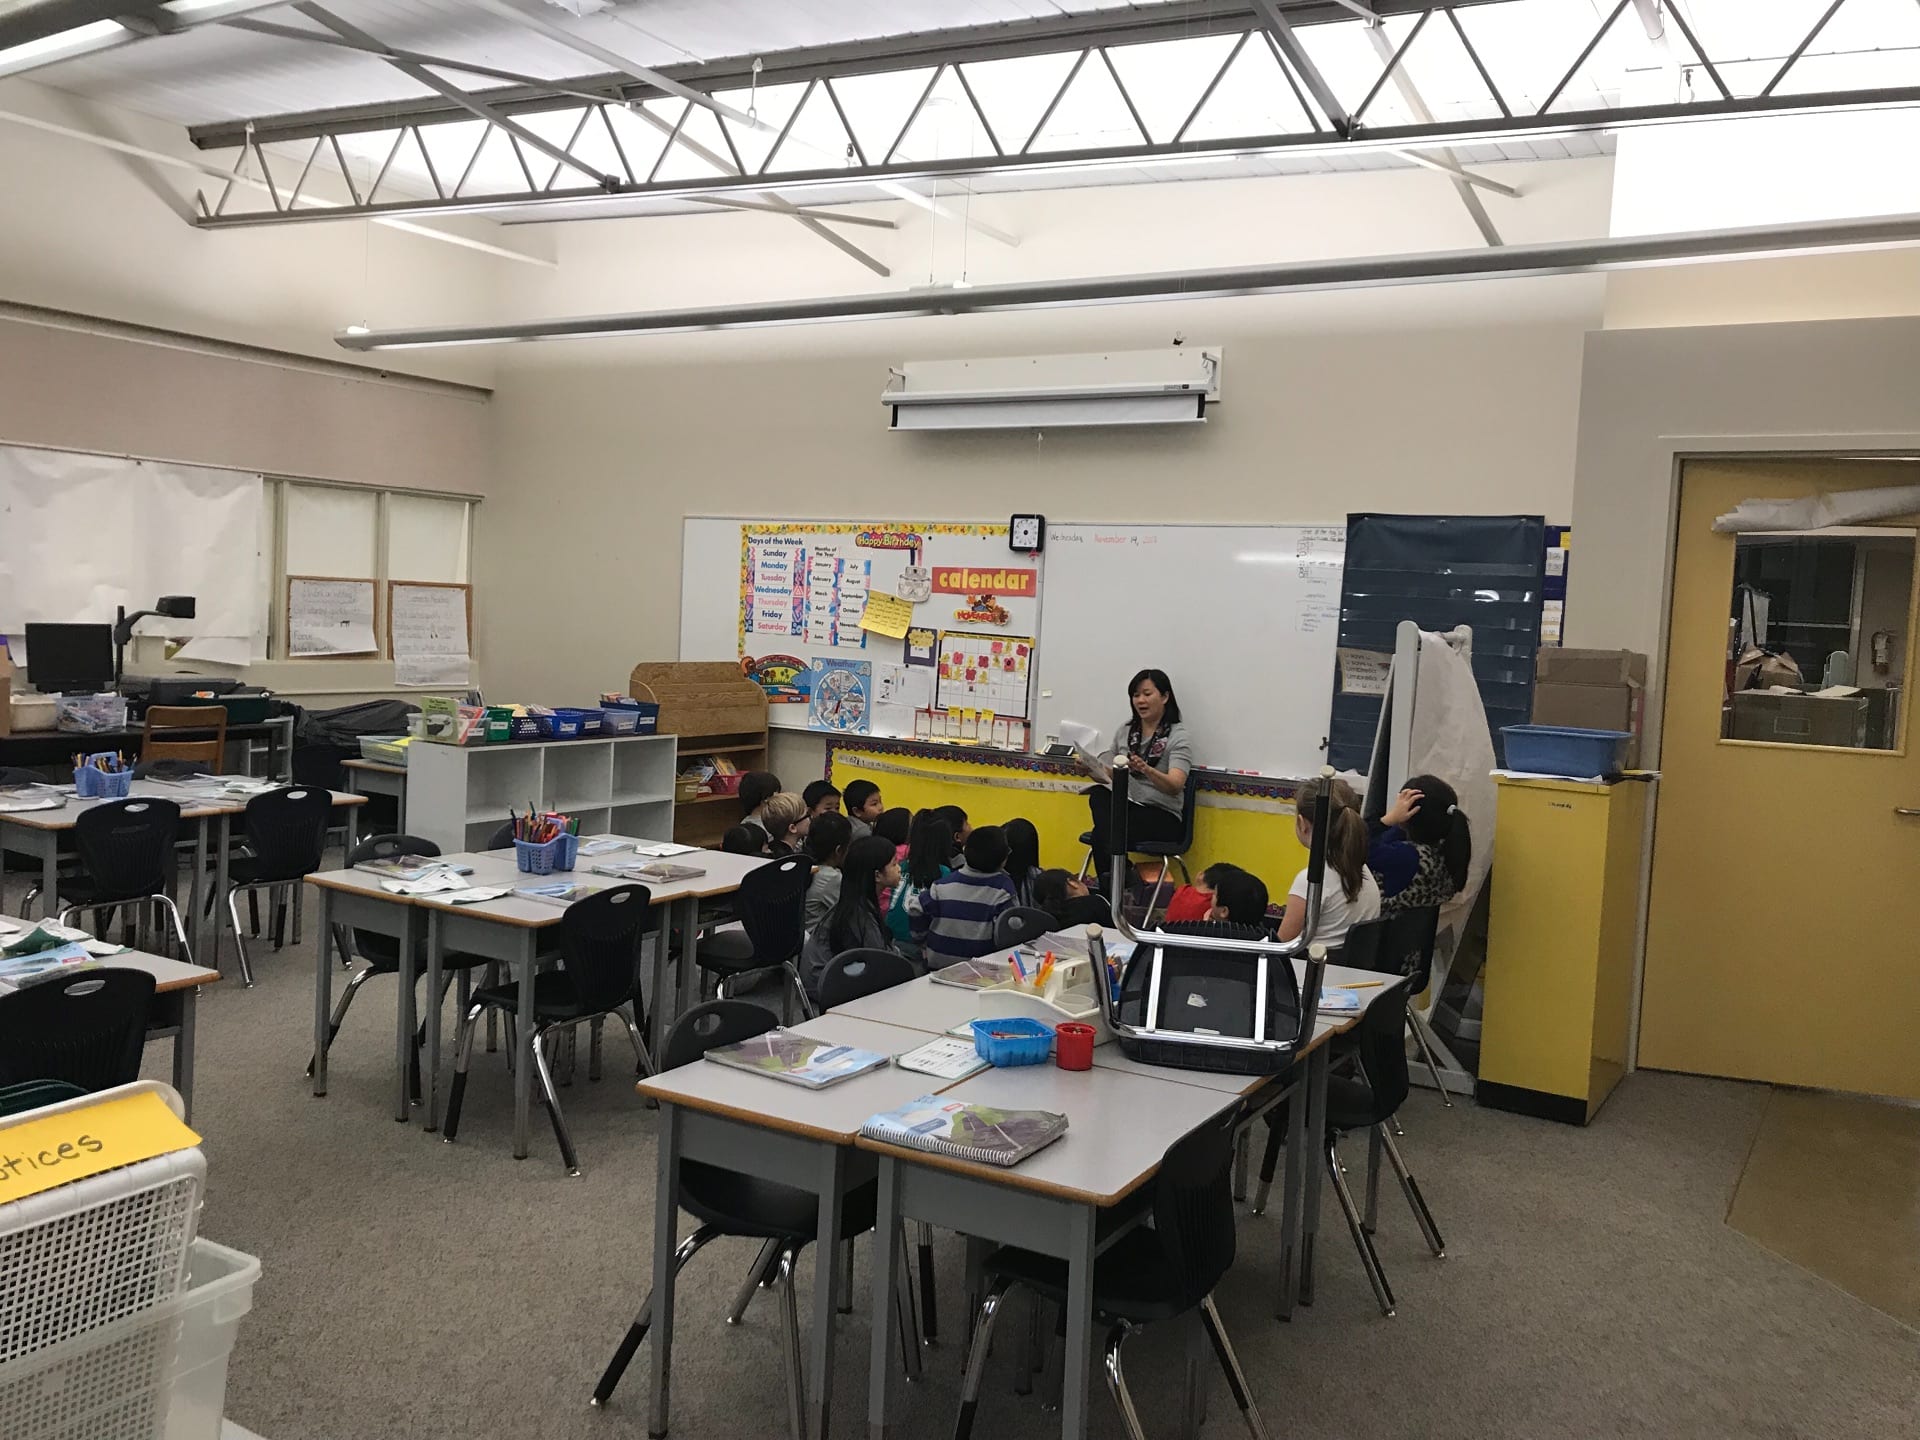
I don’t know if you know already but in PLP we go on field studies to places that will help enhance our learning. This video and what we were supposed to learn in this unit “coincidently” could both be enhanced with a field study to guess where? Yes, Victoria!

Our trip began with a early morning as we had to be at seycove at 5 AM. It was then a 2 hour ish ferry ride across the Georgia strait to Vancouver Island and lastly a 30 minute drive south to the capital itself Victoria.

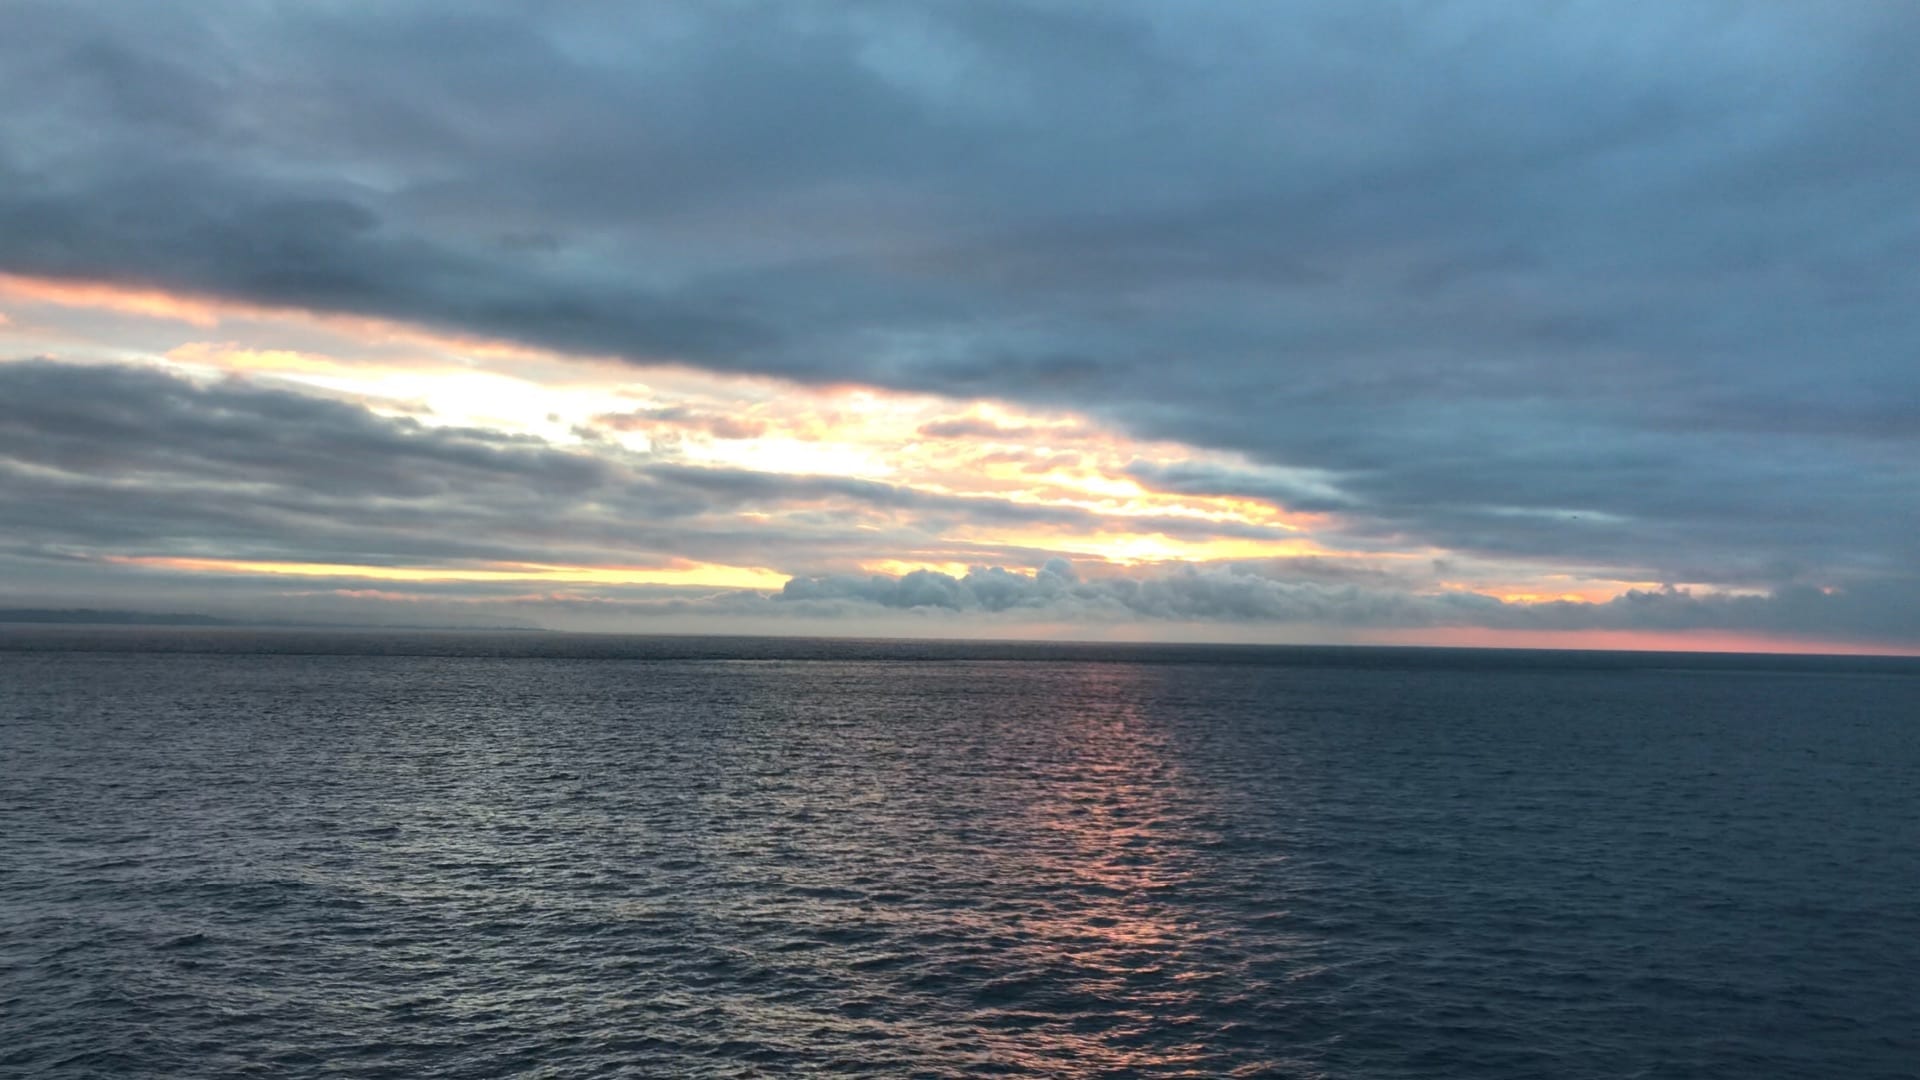
Views from the ferry

We stayed at Hotel Zedd which is a pretty nice hotel not to far from the city centre.

Our time in Victoria was three days shorter then our previous field studies but we still had a blast. While we were there we went to many magical places such as Ross Bay cemetery, The Parliament Building, Royal B.C. museum and of course Chinatown! At the parliament building we got a tour from our MLA Jane Thornthwaite!

The entire time we were constantly shooting and filming B-roll. It wasn’t easy as we were on a very tight schedule and had very little time to film us talking.

Video drafts

Before I show you my drafts we should go though the criteria that these videos had to pass. Firstly it had to be between 3-4 minutes in length. Second it had to have an intro sequence. Thirdly there had to answer and/or relate to our driving question.


What makes a good video!

Hello everyone and welcome back to another amazing post! In this post I will be explaining the process of video making and reflecting on all the videos I’ve made so far this year in Maker.

There are many things that make a video great so lets get into it!

1. Planning

The first step when making a video is planning. In this stage you should plan out everything. Some of the more important parts what to plan out are, your shots (what are you going to film and from where), who’s going to film it (wether its you or one of your friends or family), what your going to say (will you speak in your film).

One project that we did this year which was crucial that we planned was our Take Your Kid to Work Day video + post (which you can find here). It is important to plan out ever video as the better planned out your video is the better it will turn out.

2 ish. Scouting

What I mean by scouting is scoping out the place(s) you are going to film at. I have found scouting to be quite helpful if you are only going to a place once because then you can find out what’s there and what’s not. I would consider this an optional step as some times this will make it harder for you to make your video. e.x. If the images you are using to look at the site are out of date.

I used this particular step and found it quite helpful in the making of our ghost town video as we weren’t sure what places were in the town, so we used google maps to look it up.


3. Filming

Now we move on to the most important part of making a video, filming. One important thing to remember in this step is film 10 times more footage then you think you need. If you are making a 2 minute video, have enough B roll (extra footage) to make sure you don’t run out. Also making sure you have the right shot, take the time to ask or wait for people to move out of your shot and do your best to have a steady camera.

My Alberta post (found here) really shows that you need lots of B roll to make a good video. Remember that half of a great video is making sure you have great footage.

4. Editing

Now your probably asking yourself what is the other half to making a great video. My friend the answer is EDITING! Editing can be split into three major sections.

First up we have audio; audio is very important because without it you can’t really understand what’s going on.

Next is music; make sure to keep in mind that music basically sets the mood of the video so fining the right music is very important for a good video

Last and definitely not least is make sure everything lines up and makes sense; I know that sounds very confusing so let me put it this way. Re watch your video multiple times to make sure, the audio lines up with the images, your music achieves the mood that your going for, listen to make sure you audio is not drowned out my your music, and look for any errors in the footage to make sure everything looks right.

One video that shows all of this very well is the enchanted forest video that we made in Alberta. As it was very hard to check all of the editing parts off.

Ending

Looking back at all the videos that we have made so far in all of our subjects I realize how far I’ve come in completing these steps. I have leaned so much from making these videos and I’m so glad you took your time to read all of these steps. Even though we are writing the blog post now, this video unit has yet to officially end as we will continue making videos following this formula.

Lastly I leave you with a comparison of two videos. The first was made at the beginning of the year and the second was made just before Christmas break.

Enjoy!

Until next time

-Em

A Metaphorical Machine!


Welcome to a new post my readers. Today post is featuring 2 subjects; scimatics and humanities! In this project we learned about steampunk, the Industrial Revolution, metaphors, Revolutions, circuits, and scale diagrams. For this post I have divided it into three sections. The humanities side, the scimatics side and the actual video it’s self. Now let get it going with the humanities side!

Humanities

In this unit I learned a lot about steampunk and the Industrial Revolution. If you haven’t read my Steampunk post which defines steampunk and what it is you can check it out here. We started out this unit by learning about a man named Crane Brinton.

Brinton was an American historian who is best known for his book The Anatomy of a Revolution. Brintons theory was a guildline that almost all revolutions follow. In his theory he compares a revolution to a virus. His says that there are four stages to a revolution. I also compared his stages of a revolution to a story spine there is a exposition or incubation stage, next is the rising action or moderate stage, third is the climax or crisis stage, and finally is the conclusion or recovery stage.

After that we moved on to picking our revolutions. There were five different revolutions to pick from the options were: Russian, French, American, Chinese, and Haitian. I got put into the Chinese one with Jason, Kiera, and Sam. For some reason Ms. Maxwell our teacher decided to put all the asians into a group doing an Asia  revolution.

The requirements for this project were: there had to be at least 6 different metaphors, we had to fit all onto a 120 by 60 Cm board, and we had to incorporate a circuit.

The first thing we did about our revolutions was find out more about them. We had to make a timeline with all of our important events that happend in our revolution.

We then moved on to creating our metaphors. Because so much happens in a revolution and we can’t make every event into a metaphor we decided to pick the 6 most important events that happend in our revolution and turn them into metaphors. My group and I decided on these six events to be represented in our machine.

After we decided our metaphors we moved onto drawing. At this point I would like to remind you that this post is a multi subject one meaning we worked on this project in multiple subjects and got a grade for each one. At this moment I am going to switch to the scimatics side of things and come back to the humanities section in a bit. Thanks and hope you continue to enjoy this post.

Scimatics

While we were learning about history in humanities, in scimatics we were working on scale diagrams. For this we used a website called khan academy which you can find right here. I highly recommend it for anyone struggling in math because if you don’t understand the lesson there are videos that explain how to do it. Also its free!

Our work on scale diagrams was very interesting. Once I got the hang of it, it was quite easy to do. Anyways our first diagram blueprint that we drew was pretty good.

Once we had that done we began to learn about circuits. In this unit I learn a lot about electricity and how current flows. As well has how to get more power from the same amount of battery’s. We did quite a few worksheets and experiments that helped me understand and then further extend my knowledge about electricity.

As I said earlier we had to incorporate and make a circuit into one of our metaphors. Me and Sam were in charge of designing and making our circuit. We decided to make a parallel circuit an run a copper wire across the track so when the golf ball rolled through it would switch our circuit off.

The switch circled in black was a wire that ran across the track

Me and Sam not only had to design our circuit but we actually had to make it. Working as a team we had to sauter the wires and LEDs together so that they wouldn’t fall apart.

Now back to humanities

While me and Sam were hard at work making the circuit, Jason and Kiera were busy working on the machine its self. They had to spray paint and glue gun the tracks to the board. Everything was going along very well until we ran into a problem. Our original plan for the scale did not work so we ended up remodelling the scale so that it was easier to make.

It took us about 1 and a half weeks to make and build our machine. Then we spent another 2-3 days repeatedly making test runs to make sure that it worked. After we did our full run through we start making our video.

The video that we ended up with was very good. My group and I decided that me and Sam did a lot of the building of the machine so Jason and Kiera did most of the work editing the video. For science we also had to make a final blueprint and circuit diagram which you can find below.

Now with out further ado here is our final machine video hope you enjoy.

Conclusion

Refleting back on this unit there were many things that I learned. From the revolutions to circuits to even how to build and improvise if something doesn’t work. I really though I increased my knowledge on many things including how a revolution happens, what happend in The Industrial Revolution and how circuits and electricity work as well.  I really enjoyed this unit and I can wait to write about the next. Until next time 👋

-Em

A religious worldview

Just before the break ended we were studying religion and worldview in humanities.

Now if you are reading this as a religious person please don’t feel offended if the information is incorrect because I only really focused on the Muslims so please don’t get mad.

So now onto the interesting part. We started of with us being put into groups of four. My group was composed of Sam, Gabby, and Fraser. Then we learned one very key vocabulary word for this unit. Worldview- a particular philosophy of life or conception of the world. It can then be divided into seven main categories geography, knowledge, economy, values, society, beliefs, and time.

Once we had that all down we went into the religion part. First we were tasked with making a world religion chart about all the religions.

While that was going on we also had to create infographics about a specific religion the groups were Christianity, Islam, Jewdism, Buddhism, and Sikhism. My group had rotten luck and got the muslims. Now wait I am not saying that the Muslims are bad, the reason is because we had to ask an Imam questions 2 days after we got the assignment.

So that was the next part we went to the each of the religions gathering places and each group had to interview the leader to understand more about that religions worldview. So now we have a script that we were going to follow but of course I messed up and we had to scrap it. But I’ll still put it in because why not.

So then we started focusing on our infographic. As well as going on 4 other field trips to see the other religions.

The mosque

The synagogue

The Hindu temple

The Christian church

The Buddhist monks

The Sikh gurdwara

Then my group of Gabby, Fraser, and Sam stared focusing on the infographic.

This was our first draft that we made. It was made in keynote don’t know why but that’s why it’s sideways. So its really bad but its a first draft so don’t judge.

So now we changed to pages and changed a lot of stuff. The background the colour and icons are all new from the last draft.

So this is our third draft and all we did was change one colour.

At last we came out with this amazing beauty. It’s easy to read and understandable. We changed the  flow of the page. And added lots of icons plus some fun facts.

Now we had groups for all the religions we study except Hinduism sorry but here are their info graphics.

Thanks for reading

-Emerson