Hey guys, last week I made a post called: Picture Project, you can see that here. Anyway, this is a continuation of that post, this project was all about portraits. Our first activity was to take a self-portrait, no not a selfie, a self-portrait is a selfie with some personality.


I decided to use props to give the picture a little more of a story. I also played with the lighting a little bit to change the feeling of the photo, I also used filters for the same reasons.
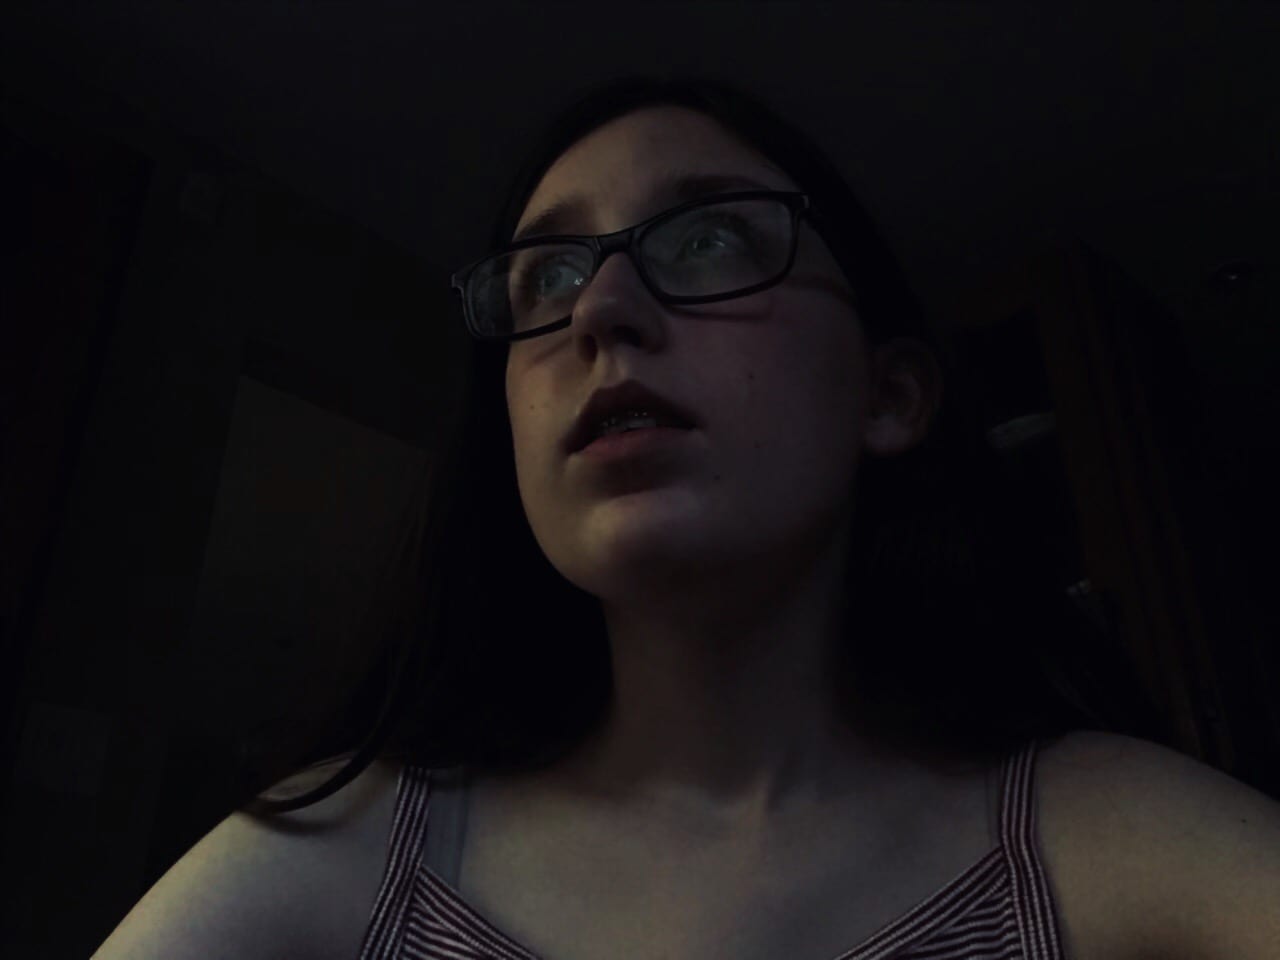
If you were wondering how I got the lighting so dark in this photo I’ll give you some tips. First of all you need to lock the focus by holding your finger on one spot for a few seconds, then on the top of the screen it will say AE/AF lock meaning the point of focus won’t move when you touch the screen again. After that you will see a little sun on the side of the box, pull it down to make it darker and pull it up to make it lighter. Now it is up to you to make the picture look awesome. This trick was one of the things I learned from this activity I also learned the importance of lighting and facial expressions if you want to convey a certain feeling.


The second activity we had to do was to make a portrait of someone familiar, I decided to use my sister. Rose wasn’t too happy about it but she did it anyway, however after a few minutes of me taking photos of her she started to feel a little more comfortable. She got more relaxed and showed her personality off a little more, the ones that I’m showing you are the one that reflect her personality the best but my favourite is the one she is laughing in. What I learned from this activity was that if you want a good picture that people can relate to you must first get the subject of the picture relate to it first.

For the third activity we had to create a silhouette picture, since the picture seems so cool I will tell you how too can make a silhouette picture. First you have to find backlighting which is basically a light behind the subject that gets the camera to make the subject darker and the background lighter. You can use an lamp inside or you could go outside and use the sun as the backlighting, I personally think that the sun looks way better as a backlight than a lamp but it is up to you what you would like to use. After you have your backlighting you now must lock the focus on your subject and drag the sun down as to make your subject darker but keeping the the background light. Once you take the picture you must now go into the edit menu and select a black and white filter, then crop the photo so you subject is the centre of attention. If there are any extra distraction that you can’t crop out don’t worry just go into markup and colour them in white. Once you have done that if your not happy you can play with the controls a little more until you get the perfect picture. What I learned from this activity was the amount of work a photographer puts into a single photo and that we should respect that.
For the final project we had to make a recreation of a old picture, decided to base mine off of a historical painting. I worked with what I had in my house to make it look as accurate as possible but it’s hard to find a dress so elegant as the one in the photo. It isn’t the best photo I’ve ever took so what I’ve learned from it is that you need the correct camera angle and face to get a picture right especially if you want it to look like a painting.
Hi grace your photos are really cool and artistic! I think you did a really good job recreating the painting! Kira!
Hi Kira, I’m glad you like my photos and thanks for thinking my recreation was good.
Sincerely,
Grace
Hi Grace!! Love reading your posts, you’re such a great blogger!
Hope to hear from you soon
Xx