Welcome back my fellow Homosapiens. Today we are discussing yes you guessed it yet another video. This video was different though because it’s not my original ideas it’s a re-creation of another video. This video was called “Run”. It was a short film with sort of a horror feeling about it. And our task was to re-create this video as accurately and perfectly as possible using strategies and video tools that we’ve learned so far this year. We were also tasked with making this video with the driving question in mind “What technologies, tools, and strategies can we utilize to create short films?” we used this question to guide us through this project. Now as you can probably guess, this was not easy and there was quite a lot of planning that went into this, and luckily for you I’m here to take you through it.
Step 1 determine your personality
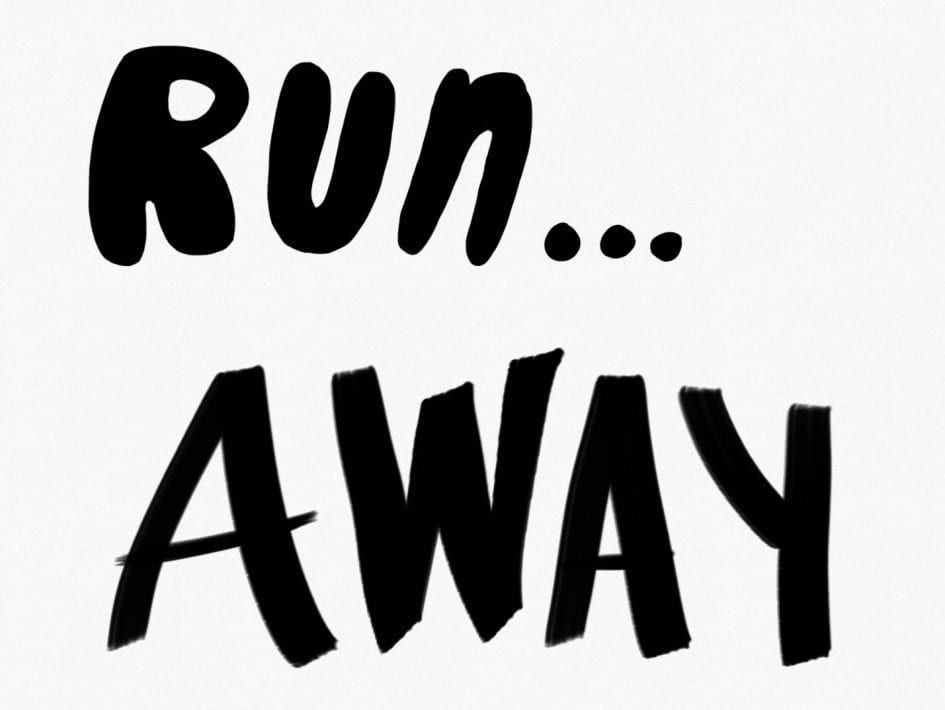
No as you can see above that was the original run video. It was very professionally made and very spooky if you ask me. But before we could even think about planning how to re-create this video we had to learn a little bit about ourselves first. So we took a personality test. This test known as The Briggs Myers test says that they’re 16 core personality types. So you take a test and answer some questions So they can give you one of those 16 personality types. I got the logician personality type. I found I agree with this assessment quite a lot. The things they described were very accurate to who I am and it was kind of spooky. This may have seemed like kind of a random thing to do but I think it did make sense. It gave Ms. Maxwell some insight as to what we kind of thought of ourselves and what we thought were our strengths and weaknesses and it helped her make groups because as it said some personality types definitely go together better than others.

Step two Screenplay
After we had determined our personality types we set off to start making the video. And the first step to making the video was to write a screenplay. Luckily since our video had no dialogue this is pretty easy. We mostly just talked about what you would be seeing on the screen and what you would be hearing in the background such as little noises. We didn’t have to describe every scene perfectly. So it was sort of just a general plan of what the video is going to be.

Page one of our screenplay.
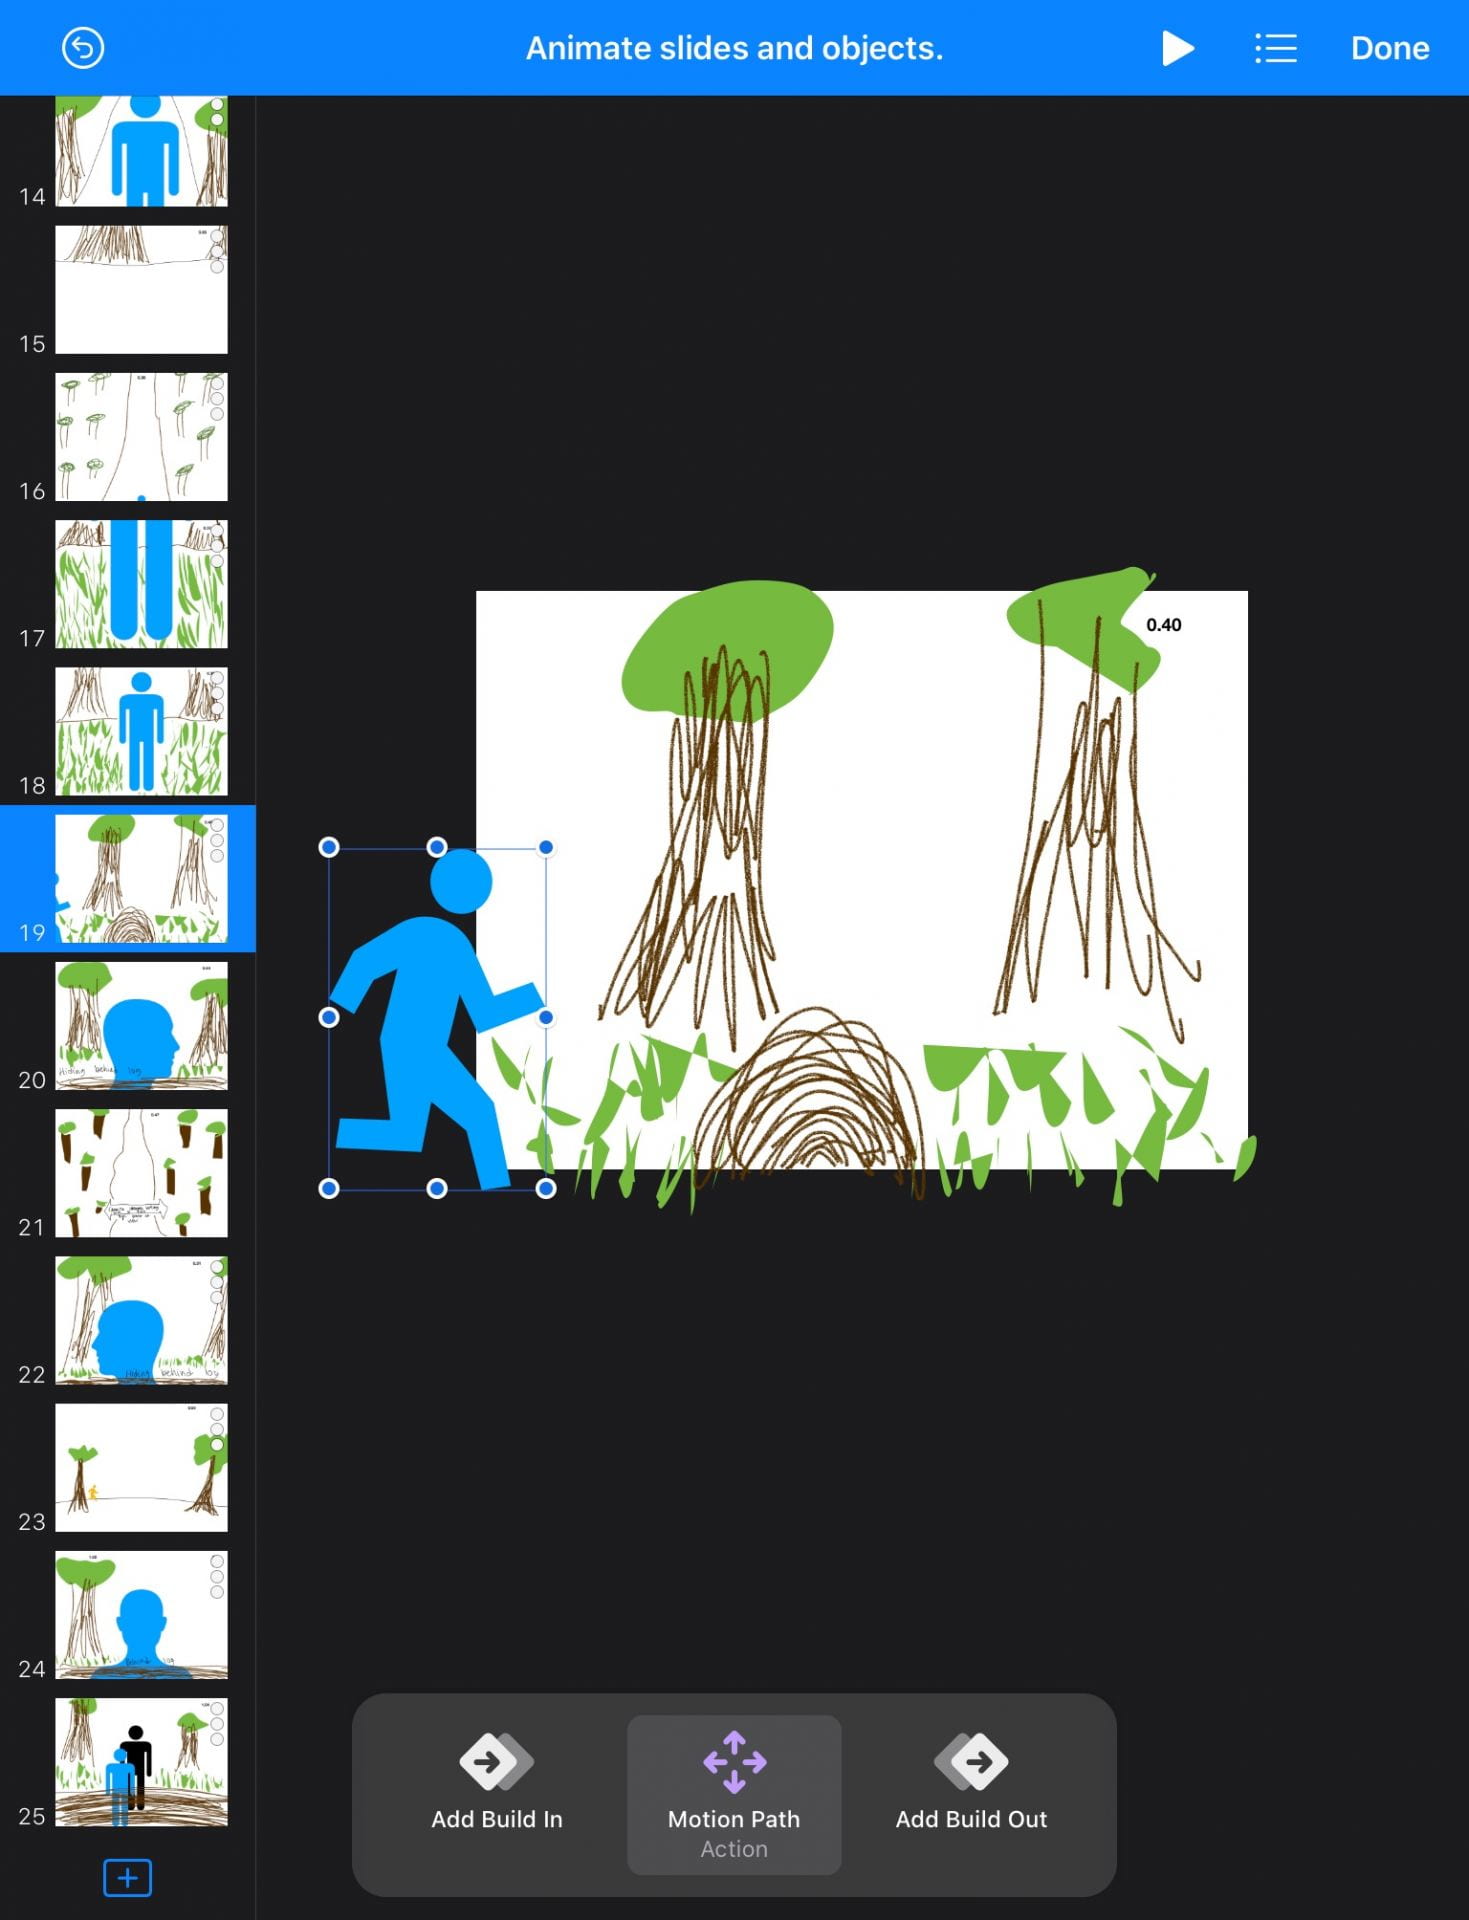
Step 3 Storyboard
After we had written a screenplay We started the more complicated part of the planning which was to make a storyboard that had an image of every single scene in the video. I was tasked with making this and it was not exactly easy. We had been told we were going to make this in keynote and we were going to use Kino animations. I have never used keynote animations before so this is pretty new to me. I ended up figuring out how to use the keynote animations and they worked pretty well I managed to finish the storyboard and with a couple little fix ups to the setting I think I did a really good job. And it was super cool to get to learn some more skills with Keynote so that I can use things like making a storyboard for my future videos I’m going to create. End it was good to learn some strategies for trying to figure the features on these new apps out. Like trying multiple different things or even just asking a friend for help can be really great strategies to help you learn how to use these apps faster.
Step 4 Call sheet
For our final milestone before we started filming the video we made a call sheet. A call sheet is just a sheet that lists who the actors are. when they’re going to be filming, what scenes they’re going to be filming, and where they’re going to be filming. This is basically just the information sheet that ties everything together. The script goes over lines, the storyboard goes over what happens in the scenes. And the call sheet is the sheet that tells everyone where to go so that they can do what the script and storyboard want them to do.


Last step filming
At last we began to film. Now this Was no easy task we got distracted very easily. It will take us so long to film because it took so many tries because we were being stupid. We would do silly things and it would take up our time and we would miss shots or take such a long time to film things that we ran out of time to film other shots. This was not good and I definitely know that. If we hadn’t taken so long maybe we could’ve known what shots we had missed and then we would’ve been able to go back and film them, but unfortunately this was not the case. If I were to redo this I would take it a lot less lightly and wouldn’t be so silly when filming the shots. I know that we got a second chance to re-film a lot of shots but my group did not work very well together and even on our second chance we did not film effectively. this is something I will take him to the next videos because in a lot of these projects time is of the essence and you don’t get a lot of time to finish these videos so when you waste time it’s just going to impact your final product.
Conclusion part uno
I’ve most definitely learned a lot from this project. I learned a lot about planning a video in this project. In the videos I’ve done before there’s been minimal planning and it didn’t end up working out too well. In this video on the other hand we planned a lot more and I think my group did a really good job of it. We had some really good strategies like splitting up the work evenly so that everyone gets to be part of the planning, but then we can meet altogether at the end and go over everyone’s work. This was really effective because It got everything done faster and meant there was no arguing over how to do certain steps. I think we also did a pretty good job at utilizing our technology and the tools that come with it to help us plan this video. Instead of just creating a story board where we draw a couple pictures into some boxes to represent the scenes, we got to draw moving scenes where it could show the sort of action and intensity that the character needed to have for every shot. This is really cool and I know I’ll get to utilize it more in the future and hopefully fine tune my skills.
My keynote skills could still use some work…
Conclusion part dos
Overall I think that I answered the driving question quite well. And if you didn’t know, the driving question for this project was “What technologies, tools, and strategies can we utilize to create short films?”. The way I know that I answered this is because I used all of those things in my project. I used a variety of tools to help me create the story boards and other parts of the project. I used technology for every single part of the project because all those amazing tools come from things on this piece of tech (my Ipad). And I employed some good strategies well planning this video although I definitely could’ve worked on finding some better strategies for managing my team during filming, but I definitely utilized certain strategies. In the end I think my team definitely could’ve produced better work if we had focussed more during filming and that’s something I will definitely remember during the next video I create. But I most certainly learned a lot from this project and all these amazing video skills that I’m gathering up all definitely be beneficial for the next videos I’m going to have to make.
Alrighty friends now that I’ve finished this post you can probably leave.
Sonra görüşürüz!
(See you later in Turkish)
𝓗𝓸𝓵𝓵𝔂

Leave a Reply