
In week three I get share some information on photos, but not just photos themselves I mean how to take photos, what are copyrighted photos and how can you create your own images. I will start of with copyrights and how to avoid them.
So copyrights are basically something that protects certain images form being used by others because the owner of the image ( the person who made/ took the image) doesn’t want others to be able to use it. The only way to legally use the image is most likely by paying the original owner, and that doesn’t seem worth it. So here are some tips on how to avoid this issue.
- Don’t just download images off of the internet, this usually ends up with you somehow using a copyrighted image if your not paying attention.
2. Look for ™ or ®, these signs are Trademark and All Rights Reserved and mean that whatever has them is copyrighted.
3. Go and create your own images because then you don’t have to worry about all the things I just mentioned.
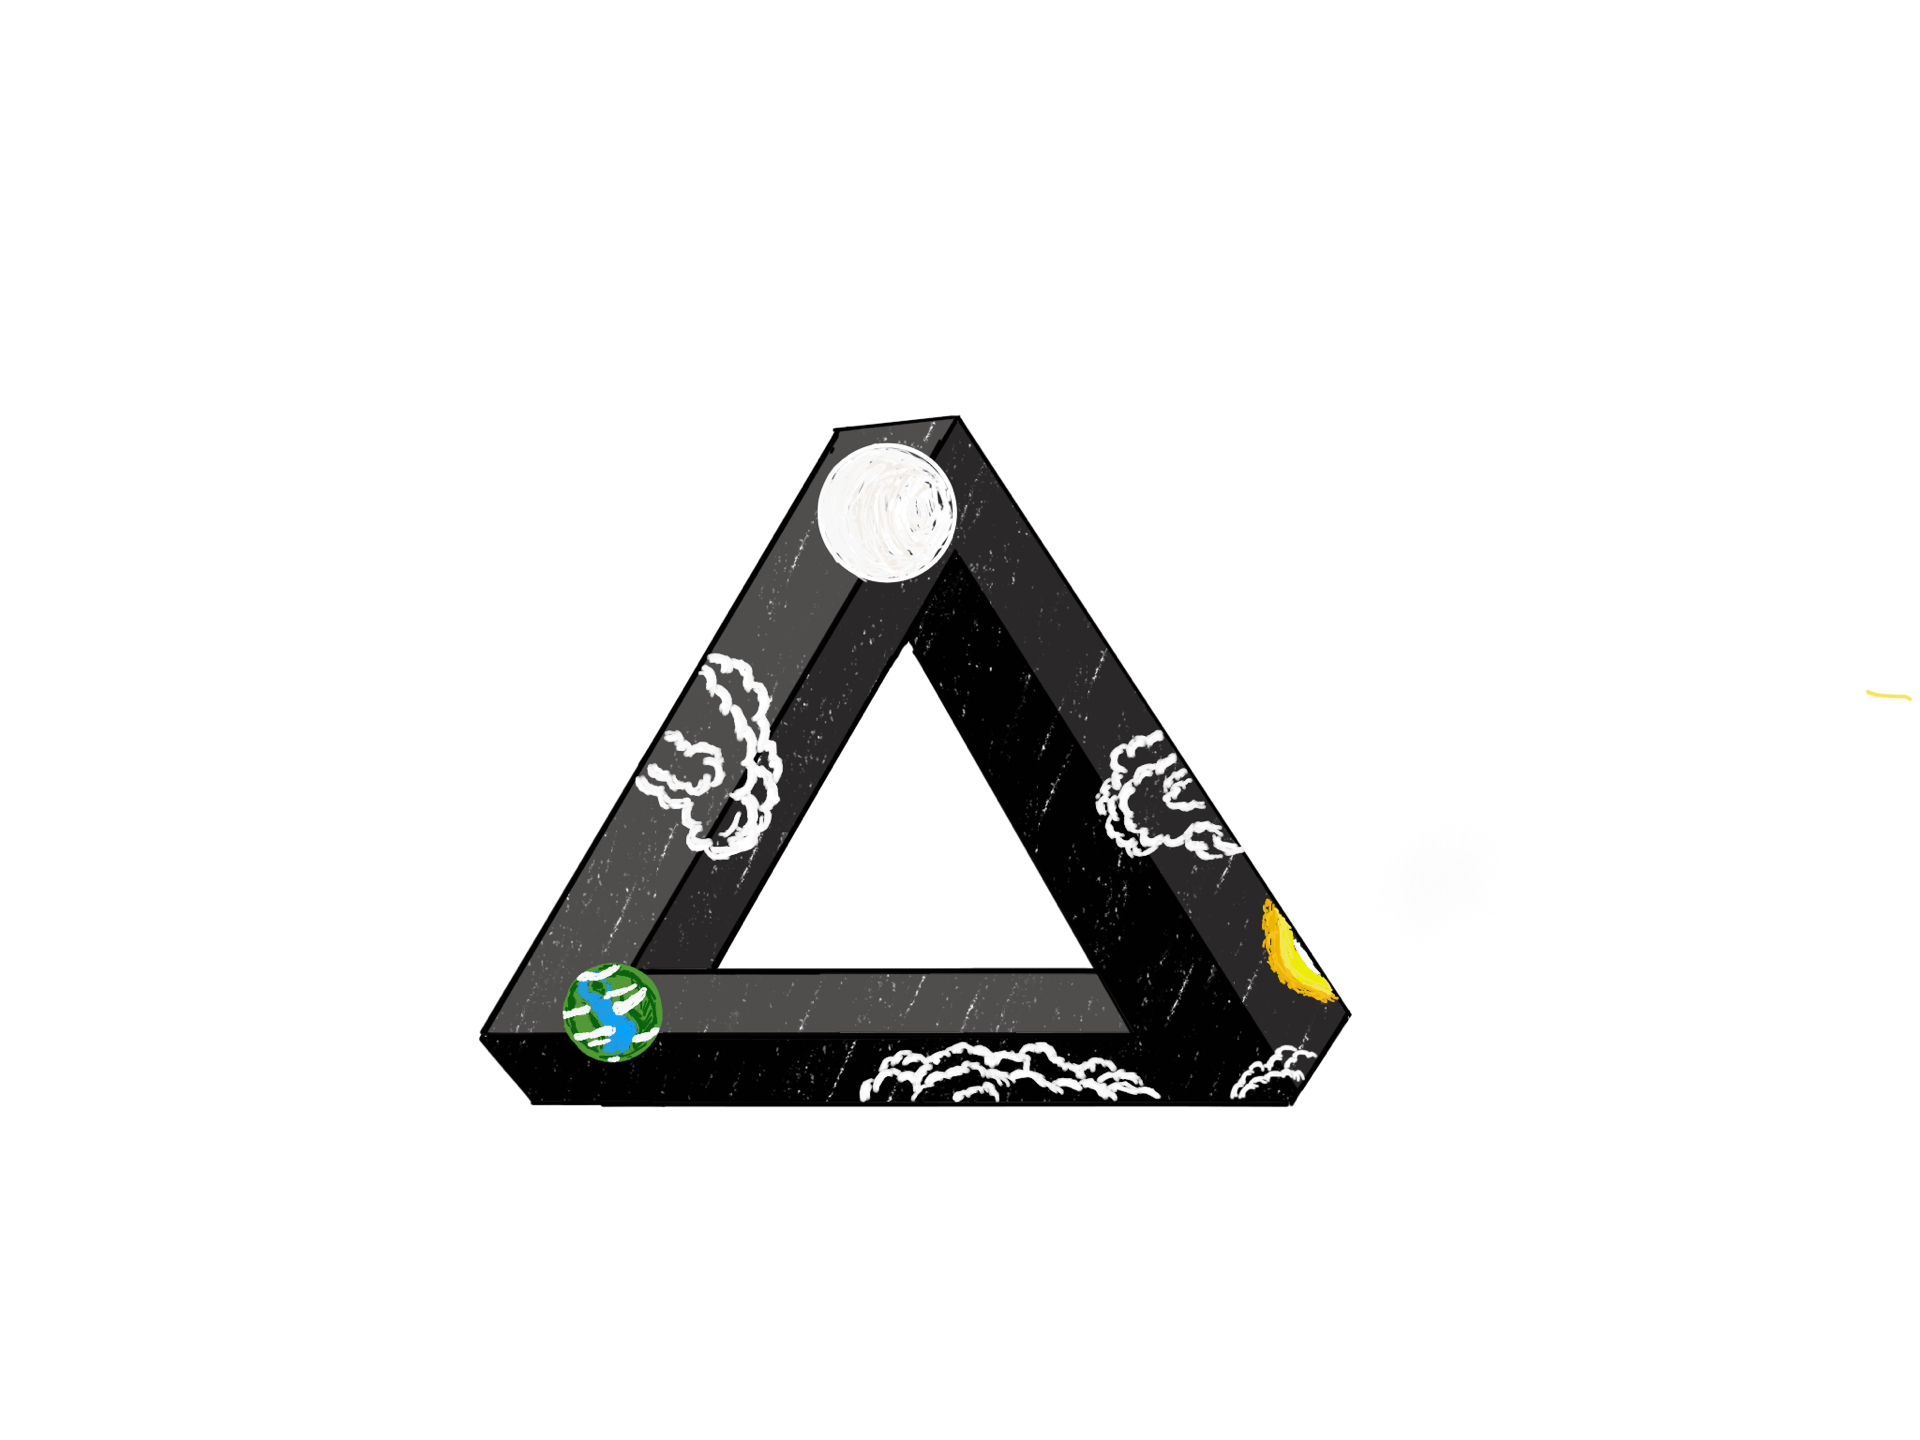
This brings me to my next part which is creating your own images. This is a really fun and easy thing to do if you need a certain image. There are many apps that can help easily make a really great image because they have a lot of tools to help you with everything, some of which are SketchesPro , SuperimposeX , Adobe Draw and the photos app on your device. I personally uses sketches pro the most because drawing is one of the things I like to do and enjoy doing, plus it has every tool you would need to be able to draw incredible images. Here are some of mine.


Next is SuperimposeX which is like the IPad version of photoshop. This app is very usefully for merging images together or creating backgrounds for other images, but I mostly use it so I can take many smaller images and combine them into one big one. Say for example I had a nice picture of a cliff that I took and I wanted to put a person sitting on the edge with a cool background, well this apps lets me do that very easily. So if you are ever looking for an image just remember that apps like this can allow you to basically recreate any image you want.
Adobe Draw is just the same as SketchesPro except the one thing I like better about this one is how you can share what you have made. In this app when you share your creations you can pick from normal sharing or you can choose things like time lapse sharing which will put your drawing into a time lapse video showing everything you have done and then you can share that with others. I have not seen another app that can do this before but
maybe I just missed some things on other ones.
Lastly is the camera and photo apps on just about any device. These two are actually quite cool because they can help you alter your images quite a bit. Personally I don’t use this feature often but I do know some other classmates who find this very helpful so I thought I would share it.


That concludes this post, I really hope that you got somethings out of it or learned something something new.
That’s all for now.
Wow I learned a lot about making images! Thank you for sharing this information! I am a college student and have never heard about any of these apps.
Your images are incredible! I wish I could draw like you can! The photos you’ve captured from the camera app are also pretty cool! I love the beach.
How did you discover these apps to create images on?
Happy blogging 🙂
Thank you so much for commenting, I am really pleased that you got something out of my post as that is always one of my goals when writing one.
What is up I Play hockey too USA USA USA
Nice, I play for British Columbia.