People And The Environment

Hello, and welcome to another post. Today, I am going to be talking about the latest PLP project I have done: people and the environment. The driving question for this project is: “How do people and the environment affect each other” and over the last five weeks, I have sought to answer that question. So, without further ado, here is the post.

The first thing we did was a writing activity about whether most people are protectors or destroyers of nature. For me, I almost immediately knew I thought they are destroyers. This is mine:

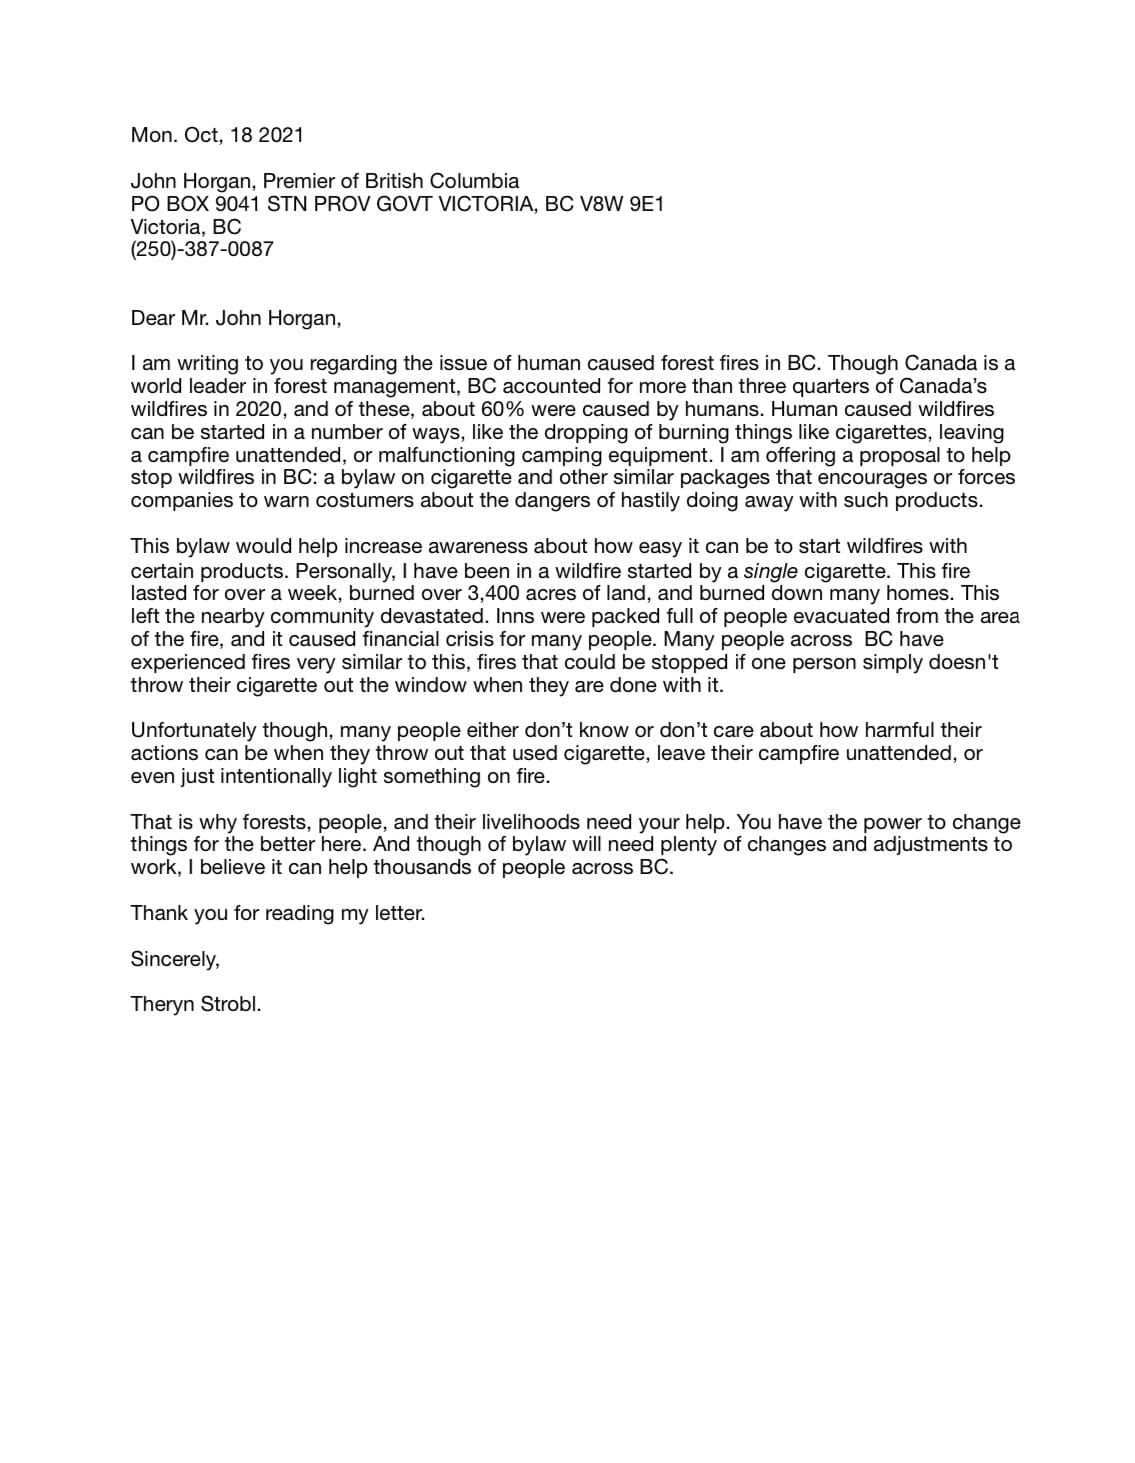
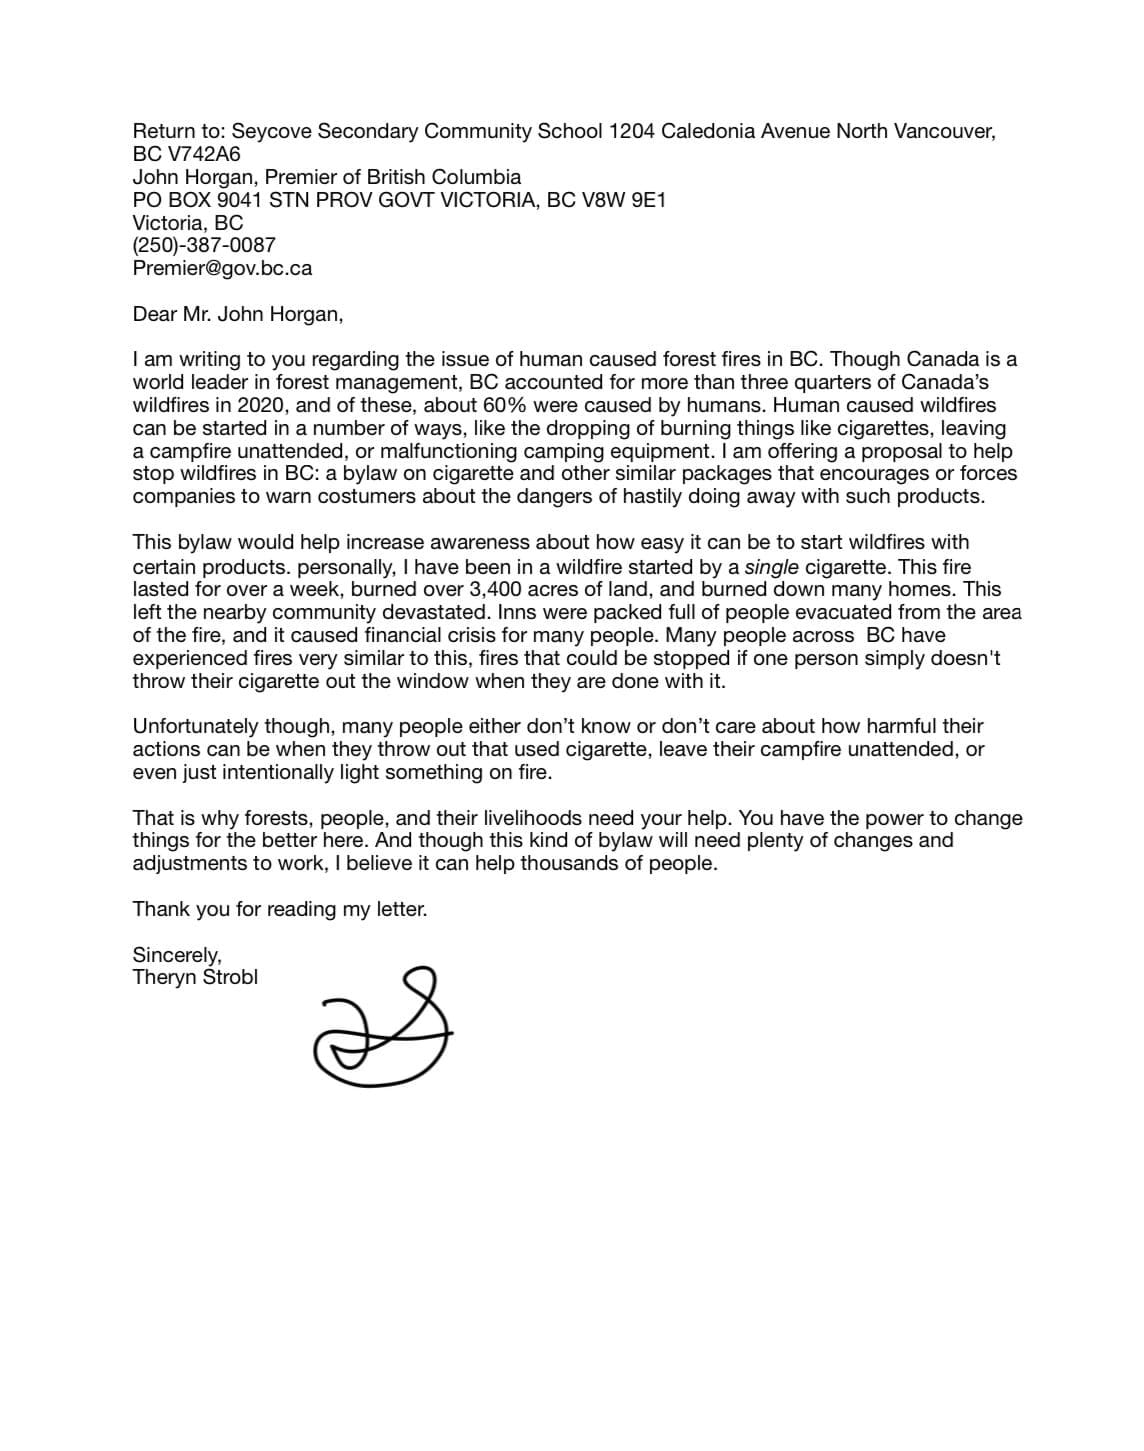
The end product of this project is a letter to someone important about an issue. The letter must include possible solutions to that problem, evidence of the problem, and a clear and meaningful call to action, with the intention of creating meaningful change within our province.

Throughout the project we did multiple commonlit activities to help us understand message, meaning, themes, and how to use evidence. Each commonlit consisted of a story, and then questions about the things above.

The first milestone in this project was a letter plan conference, were I pitched the idea for my letter and clarified my plan to make the product. I decided I would write to the premier of BC, Mr. John Horgan about a law that could help stop BC’s extremely large amount of forest fires. BC accounts for over three quarters of Canada’s wildfires, so I wanted to try and help. This conference went well and provided lots of much needed clarification.

The second milestone was just an accumulation of all the commonlits: hey, come on out, quiet town, the sea also rises, and Lee Sherman and the toxic bayou. And for milestone three, we were to choose one of these stories, and connect the theme of the story to the theme of our letter in a three paragraph write up. before writing, I wrote an outline for my multi paragraph writing to sort my thoughts.

And, in the 60 minutes of class time we had to write the paragraph, this is what I came up with:

If I were to do it again, I would try to connect the two themes more strongly, and try to cut down the first paragraph a ton. But, all in all, I think I did a pretty good job.

Now, just like in the last project, the milestones were kind of shuffled, so this whole time I was also writing drafts for my final letter. I wrote five drafts of my letter, which are featured below.

So, once my final letter was finished, I addressed it, put it in an envelope, and sent it off.

Thanks for reading my post! I learned a ton in this project, and will in the next one too, so stay tuned. See you in the next post, bye.
Don’t Eat Rat Feces!

Today, I am writing a summative post about my latest, and last project of the year. This project is called Comic Cells. I learned a ton from this project, from what subsequent endocytosis is to why you shouldn’t eat rat poo. So, without further ado, here is the post.

As with all scimatics projects, we started off the project with a mind map of existing knowledge, question, sources, and anything else about the topic. Here is mine:

Project Start Mind Map

For the second milestone of the project, I created a wanted poster for a disease containing the date of discovery, how it affects cells, it’s mortality rate, and more.

Typhoid Wanted Poster

Then I started working on a storyboard to guide the making of my comic. The storyboard was a very rough guide to the comic, and some parts were not even in the final comic.

Rough Storyboard

Then I started to research a TON of facts about the virus I chose. (Hantavirus) To read more about hantavirus, veiw the sources down below. I learned a ton about cellular processes, and then started drawing pictures for my comic. I am not the best at drawing, so this was a hard task for me. However, I a very proud of the final comic, which is the namesake for this post.

And, as with all projects, there were core competencies I worked towards throughout the project. They are:

1. Questioning and predicting: Demonstrate a sustained curiosity about a scientific topic or problem of personal interest.

All class time is used for learning and creating a comic book story about cellular processes and/or diseases. I think I used almost all of my class time efficiently, but even so I still think I could’ve worked slightly faster in class and had less homework after school. But it worked out in the end, which is good.

2. Scientific communication: communicate ideas, findings, and solutions to problems using scientific language, representations, and digital technologies

Correct vocabulary and accurate diagrams are used. At least 10 interesting science vocabulary words are included in the story. I used more than ten science words in my Story, and I think my diagrams are concise and accurate at what they represent.

Evaluating: Demonstrate an understanding and appreciation of evidence

Cell/bacteria/virus characters interact in a scientific way. Symptoms and logical outcomes of the chosen disease/cellular/ body process are integrated into the story. In my story, the reaction to the virus is realistic to real-life cases, and the outcomes are on the probable side.

Sources:

Source 1

Source 2

Source 3

Source 4

Source 5

Source 6

Source 7

Thanks for making it this far. If you liked this post, make sure to check my other ones here. See you in the next post! Bye.

Exploring European Exploration

Welcome to another summative post. Today, I am going to talk about our latest project on European Exploration. This was a three weeks long, and consists of five milestones. So, without further ado, here is the post.

The driving question for this project was: What Did European Settlement Mean For Everyone Involved? To answer this question, there are two thing you need to know first: what is European settlement, and who was involved, and this post is documenting how I found the answer to this.

We kicked off this project with our first milestone: a stream-of-consciousness writing about European Settlement. This was the first assignment of this project.

We did some other activities to build our knowledge, and then did milestone two, a sheet were we used evidence to rank events by significance on a chart. This is what it looked like:

Continuity and Change sheet

Throughout this project, me and my partner have been writing almost everything in one shared document. We have written scripts, notes, photos, content, and sources.

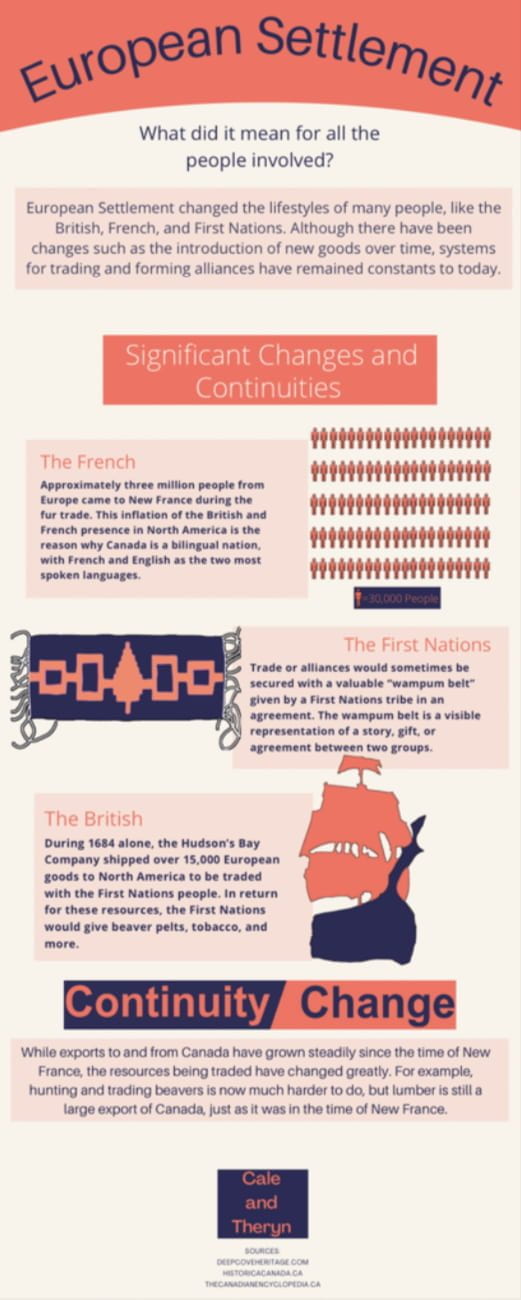
After we finished researching and creating our facts and graphics, we handed the rough infographic in as milestone three.

Milestone 3

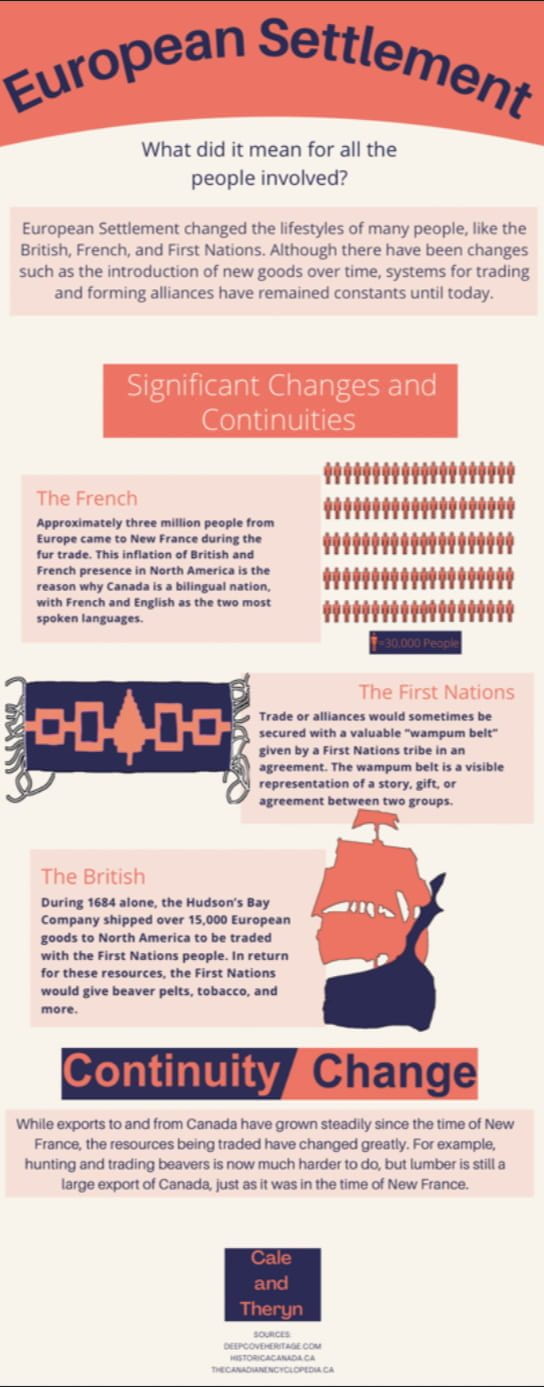
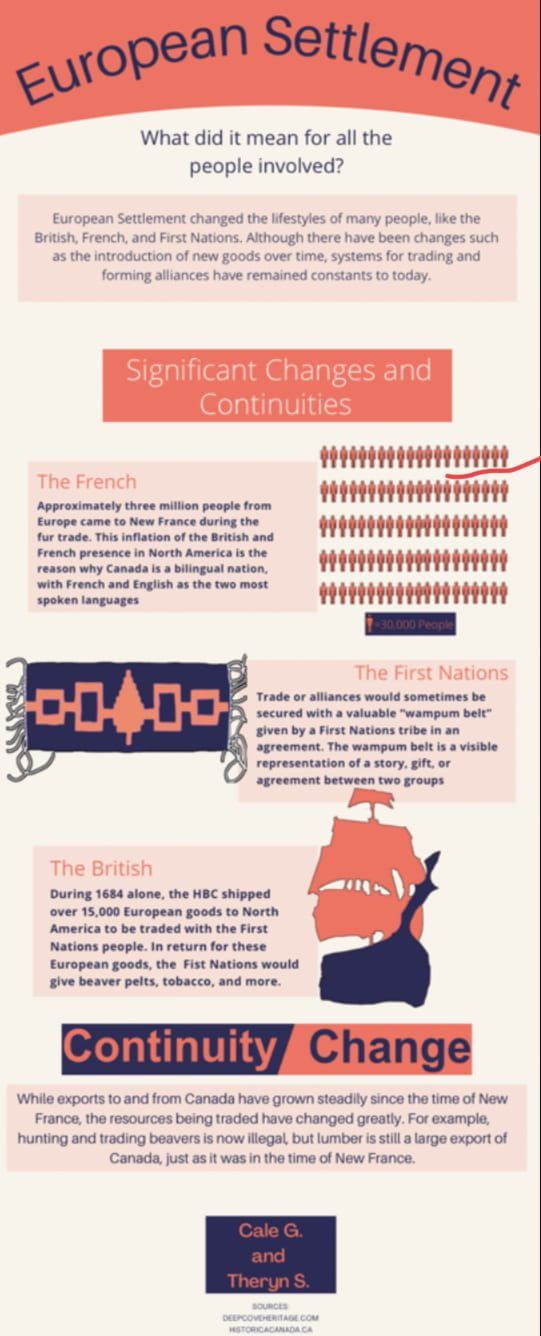
Over time, me and Cale refined our infographic, and created six different version before the final product was created.

We then created a script, description, title, QR code, and Keynote magic move for our YouTube video.

Video Script
YouTube Information
QR Code To Video

Using all of this, we created the video which the QR code on the infographic leads to. You can find this video here.

And finally, we worked on putting all 26 infographics up around the school. We decided on were to put the infographics and which ones should go together, then put them up!

And that brings us to now, where I can answer the driving question: What Did European Settlement Mean For Everyone Involved? Well, the answer is complicated, because of how broad of an event it was. In my infographic, I focus on one aspect of it: alliance and trade. European settlement affected the First Nations, British, and French. Even today, and I’m sure for long afterward, trading will remain a constant. But what resources that are being traded, how they are traded, and the people trading them will always be changing. Alliances are crucial to humanity, and we are able to accomplish much more when we ally together. European Settlement gave new resources, trading routes, and opportunities for alliance to everyone involved, and that completely changed history for long after.

Thanks for reading my post! If you want to check out my partner’s experience with “The More Things Change” project, click here. Anyways, thanks for reading my blog and see you in the next post.

Laser laws final post

Hello, and welcome to anotherblog post. In this post I am going to show all I have learned throughout the laser laws project. First, I’ll start with the driving question: how can I test Pythagorean theorem and the law of reflection. There are many ways to test this, but first we had to build our knowledge on the subject by completing worksheets and doing cool science experiments. For example, at the start of the project we played laser tag, were there are two teams and they both try to shoot the other team’s target with their laser, while protecting their own. There was not to much to be learned from this activity, but it was a fun intro to the law of reflection. After that we did a project start mind map:

Project start mind map

And along the way, I added to the question section, and also answered them all in another mind map at the end of the project:

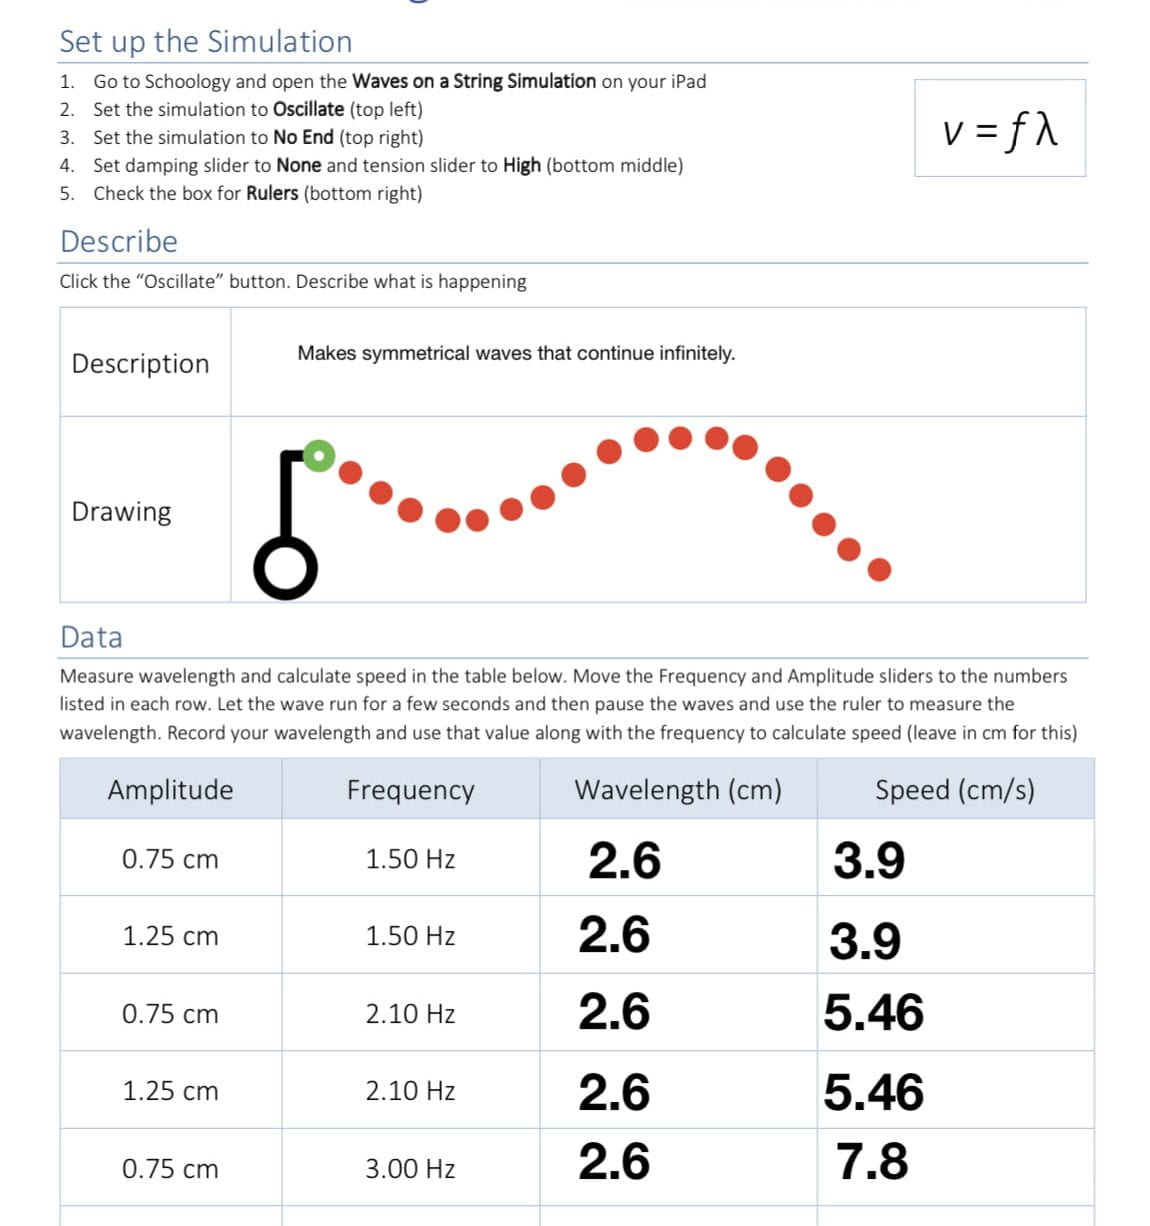
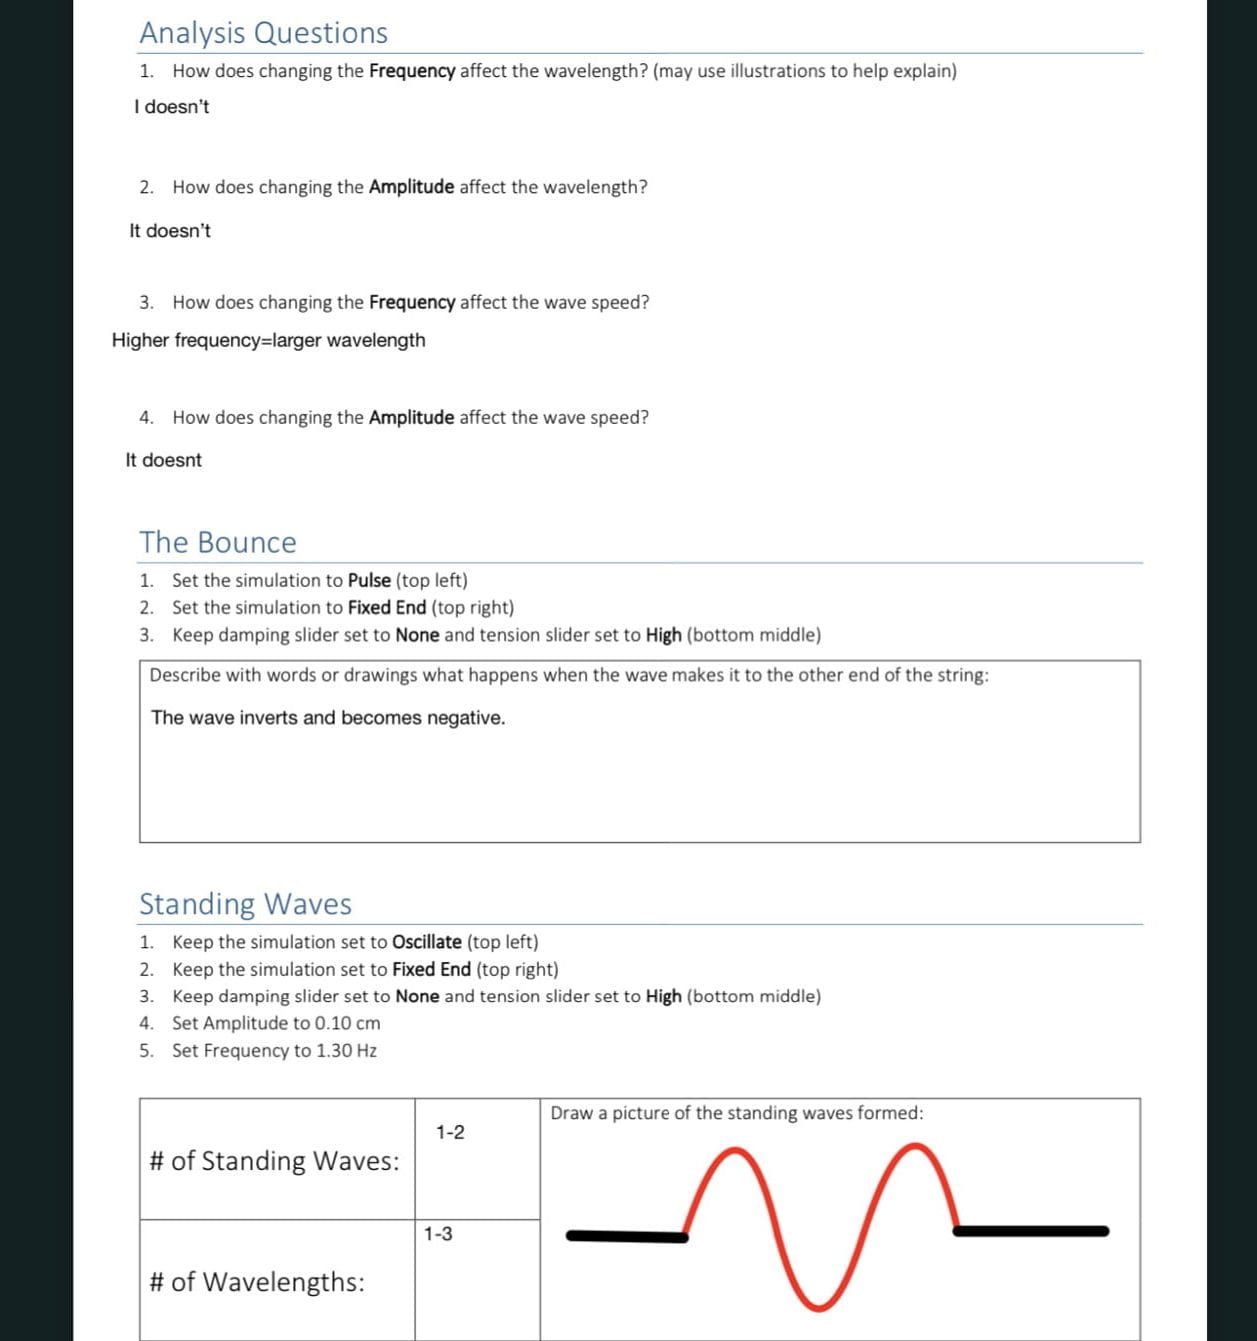
While mind maps are all fun and good, though, we still haven’t actually tested the law of reflection or Pythagorean theorem. We did a small workbook to get up to speed, and then did a really cool experiment about the wave model of light. Here is the experiment:

in the waves lab, I learned a lot about the nature of light, and how there are multiple models that can be used to define it. We were then split into groups, then did an experiment on Pythagorean theorem. In My groups’s experiment, we tested to see if you can use Pythagorean theorem to get the values of the two legs with only the hypotenuse. The answer was no, but if you know that the legs are the same you can do it.

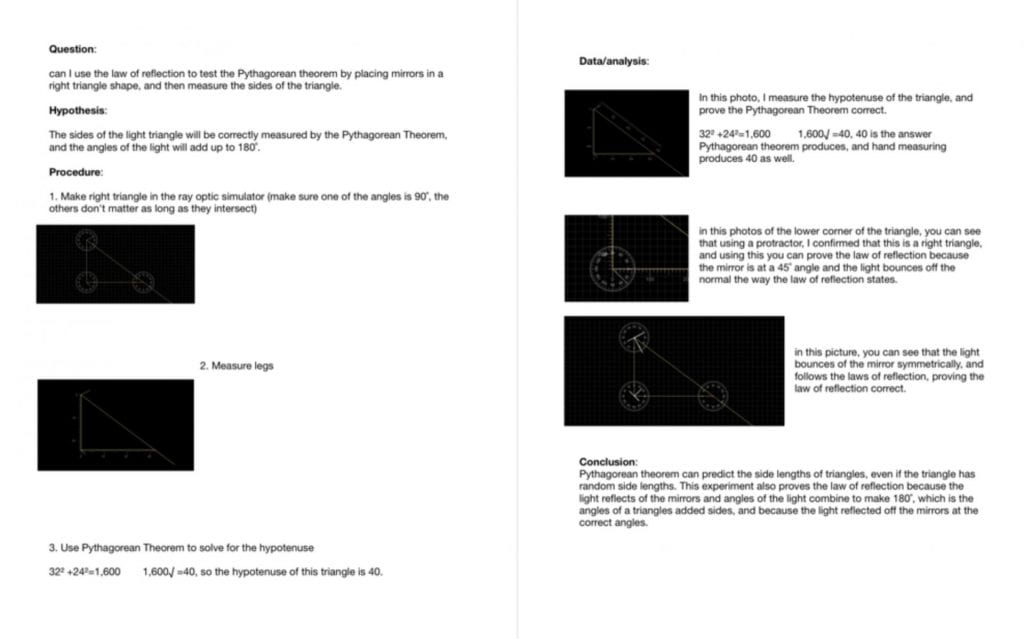
This is the expirement

In my second milestone, we did a khan academy test to check our understanding. Our third milestone was yet another experiment, this time testing if the law of reflection can be used to make shapes.

After this, we started on milestone four, the design for our laser triangle. This design may or may not be used as the final design, but it is a crucial step nonetheless. There were three revisions of this, but here is the final one:

Final experiment

Then, it was time for the final design. The groups started to set up the mirrors, prepare the laser circuits, and do all-around finishing touches.

Then all the groups set up their projects near the smoke machine, then we all got really cool views of our work coming together.

This is the final laser display!

I overall learned a ton from this project, from how to measure est sides of a triangle to the different models of light

And, finally, the curricular competencies:

The first of three, questioning and predicting, is about ‘‘Demonstrating a sustained intellectual curiosity about a scientific topic or problem of personal interest’’ I think that I did this quite well, as I was on task and very interested in the class.

In the second, Questioning and predicting, you must ‘‘Demonstrate a sustained intellectual curiosity about a scientific topic or problem of personal interest’’, and I did well in this, because i had so many questions about the law of reflection and Pythagorean theorem. Luckily, google search, textbooks, and class resources exist.

The last but not least competency is applying and innovating: cooperatively design projects. I believe I did this well because our group got along well and our final product checked all boxes

And, the answer to the driving question: out of the many ways you could test the law of reflection, by far the simplest is to just grab a mirror and shine a laser on it in a dark room, and take a picture and measure the angles in it. To test the Pythagorean theorem, you could draw right triangles with random side lengths, then use Pythagorean theorem to solve for the missing edge. Then, check your answer using a ruler or, the measure app.