This project we are working on currently was supposed to teach us about how we can construct creative communication, hence the name, Constructing Creative Communication.
So far, I’ve been in the Carr group, in which we were supposed to become a new age Emily Carr, and put ourselves in her shoes to draw, paint and create using the power of a pencil, or more specifically, the power of an Apple Pencil. We created various different drawings, explored shading, texturing, and creating 3d shapes. We imagined our Ideas onto paper using apps and tools like our pencils and Sketches Pro. We explored using Colour, how we can make colours pop, and experience first hand a whole new world of creativity. As we dive into the wonderful world of Carr, we will reflect on shading, colouring, 3d, texture, composition, exploring our ideas, and finally we will put of our newly learned skills to the test and see how much our drawings have improved.
The first thing that we explored was using pressure with our apple pencils, we did this by increasing pressure on our iPads with the pencil, causing the size of whatever brush we were using to increase. We used this mechanic to convey emotion. Thicker lines in a certain style could seem angry, while softer looking lines couldconvey a sense of solemnity, or calmness.
Using this mechanic, we created block letters too express ourselves with.

Our block letters were meant to show our interests, and express the things that we like, or things that are symbolic to our personalities.
My block letters here are already showing whoever is looking at them that art and creativity are some of my values. Another thing about this that is obvious is the Nonbinary flag showing on the “t”.
Though some of these aspects about me are obvious, some are more abstract, like the squiggly lines that symbolize how I am a bit of a dense and complicated person. Or the lines going in any and every direction, which symbolize that my brain is usually either in the clouds or all overthe place.
The second idea that was investigated was doodling. We learned about how doodling is a very powerful tool that some of the smartest people on this earth use or have used, and we learned how we can use doodling in the educational way that I am talking about right now, AKA: sketch noting. In my opinion, sketch noting is very engaging and useful. It isn’t hard to do, and makes remembering things like lectures or ideas so much easier. We were told to create a sketch note on 1 of 3 topics. We could either do one on a TED talk that talked about the advantages of doodling, a day in your life, or a book summary. My doodle note was about the TED talk, and gave a brief explanation on the topic and what it was talking about.

This sketch note is lacking in organization, but it succeeds in using images, different text sizes, and unique fonts to explain the topic.
It mentions the topics used in the TED talk, and has a few quotes from it.
It explains the main idea, which is that doodling has been perceived and wrong or bad for a long time, but in reality doodling can help you retain info with ease, and gives you new inspiration and ideas.
I also created a doodle/sketch note that showcases different images and fonts that could be used in a sketch note.

The next topic we reviewed revolved mainly around different means and methods of shading to make a drawing more realistic, and make it seem 3d. We experimented with light sources, and drawing 3d shapes. We practiced shading and using different methods, like cross hatching, hatching, smudging and cel shading to make objects seem 3d. We started by creating a value scale, which if you didn’t know, is a scale of light to dark. It helps artists with shading so that they know which shade to use for whatever part of the shape they are drawing.

(I drew this)
The next exercise we did for this activity was to “build a bot”, in which we used our newfound understanding of 3d shapes to create a robot that featured various 3d shapes, including one of the types of shading that we learned about.

I gave my robot some very bright colours, and plenty of arm joints. I like his face and head especially.:] i don’t have a name for it yet, but i assure you that i will definitely come up with one eventually.
I have decided I will name him grass. His feet mow lawns. (I’m writing this at 11:46, my brain is beginning to derail.)
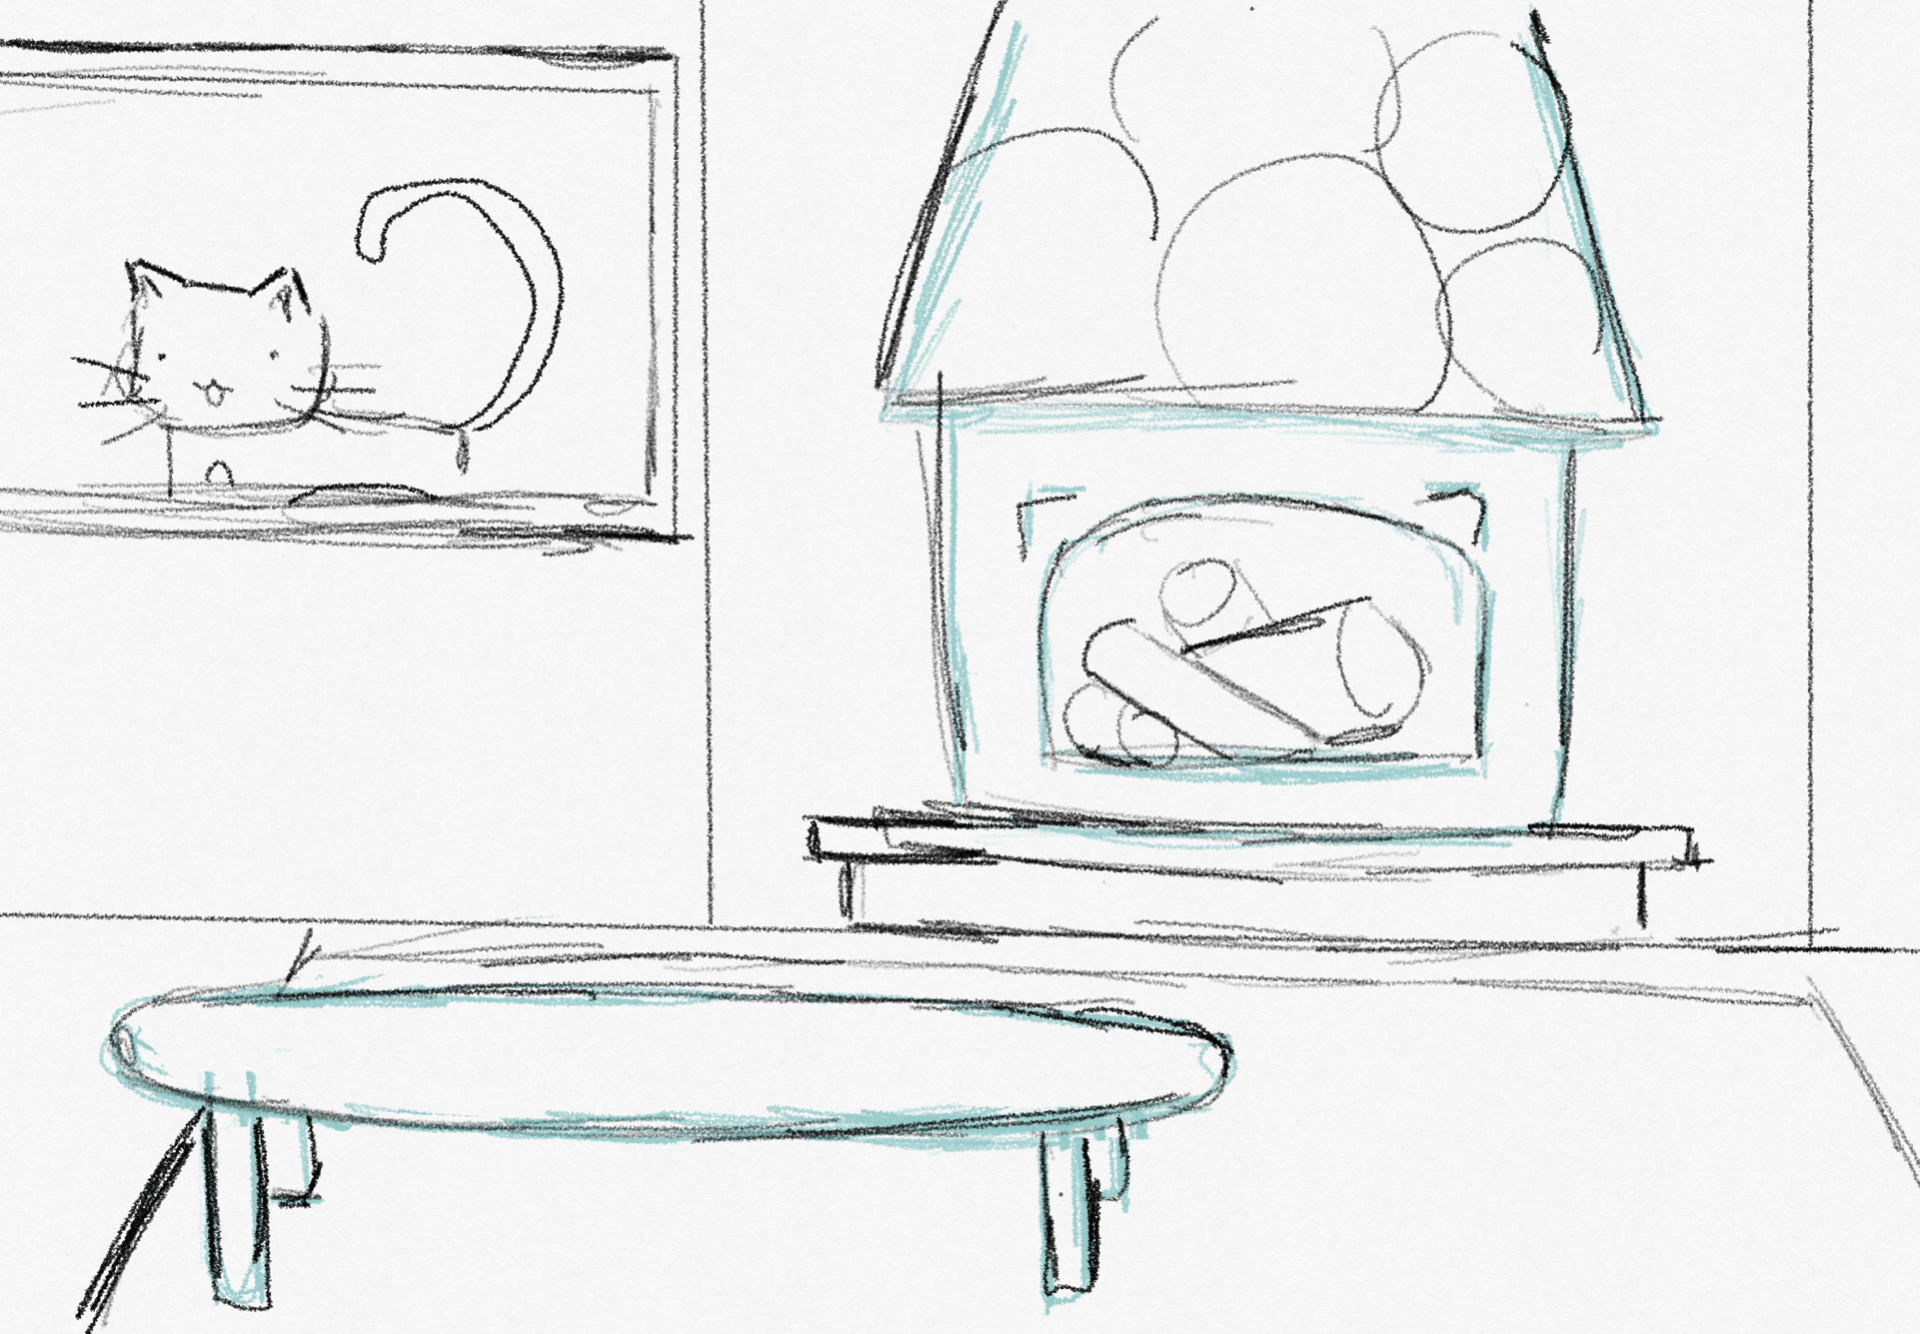
We also learned how we can use perspective to show an object in different ways, and have it represent something different from a different angle. We were told to create a practice perspective drawing, and we learned how and where to draw things into the foreground, background and middle ground. We also learned how to position things on the horizon line/vanishing point, and we learned a method for drawing tiles and not having them look funky and ruining the realistic atmosphere. The way to draw tiles would be to create lines leading up to the vanishing point (like floor boards), and then making diagonal lines to one of the sides, coming off from where the floorboards were started. After that, draw horizontal lines where the vertical and diagonal lines meet, and it should end up looking something like this.

This is the final drawing I did. It includes color in the shading and plenty of 3d objects. Here is a slideshow of my progress with it.
This is the conclusion too my blog post, mainly because it’s 12 in the morning and I should go to sleep. It’s time to put the chalk down for tonight. See you all some time in my next post, peace out ✌️😵💫


