Howdy-do-da! ( I really like saying that for some reason. It makes me feel accomplished and happy.)
Hello again, today I am going to be sharing and possibly reflecting on my Power of a Pencil project.
The driving question: How can we use our Apple Pencils to support our learning? I think what the driving question means, and what I was trying to think about during the project, is how can we use technology or the Apple Pencil to make our learning easier. Another way of thinking about it is how can we make it so that we make something better, or more spectacular than we could have made on paper. Another example is when we did sketch notes. We used our iPads and Apple Pencils to draw and take notes in a different way.
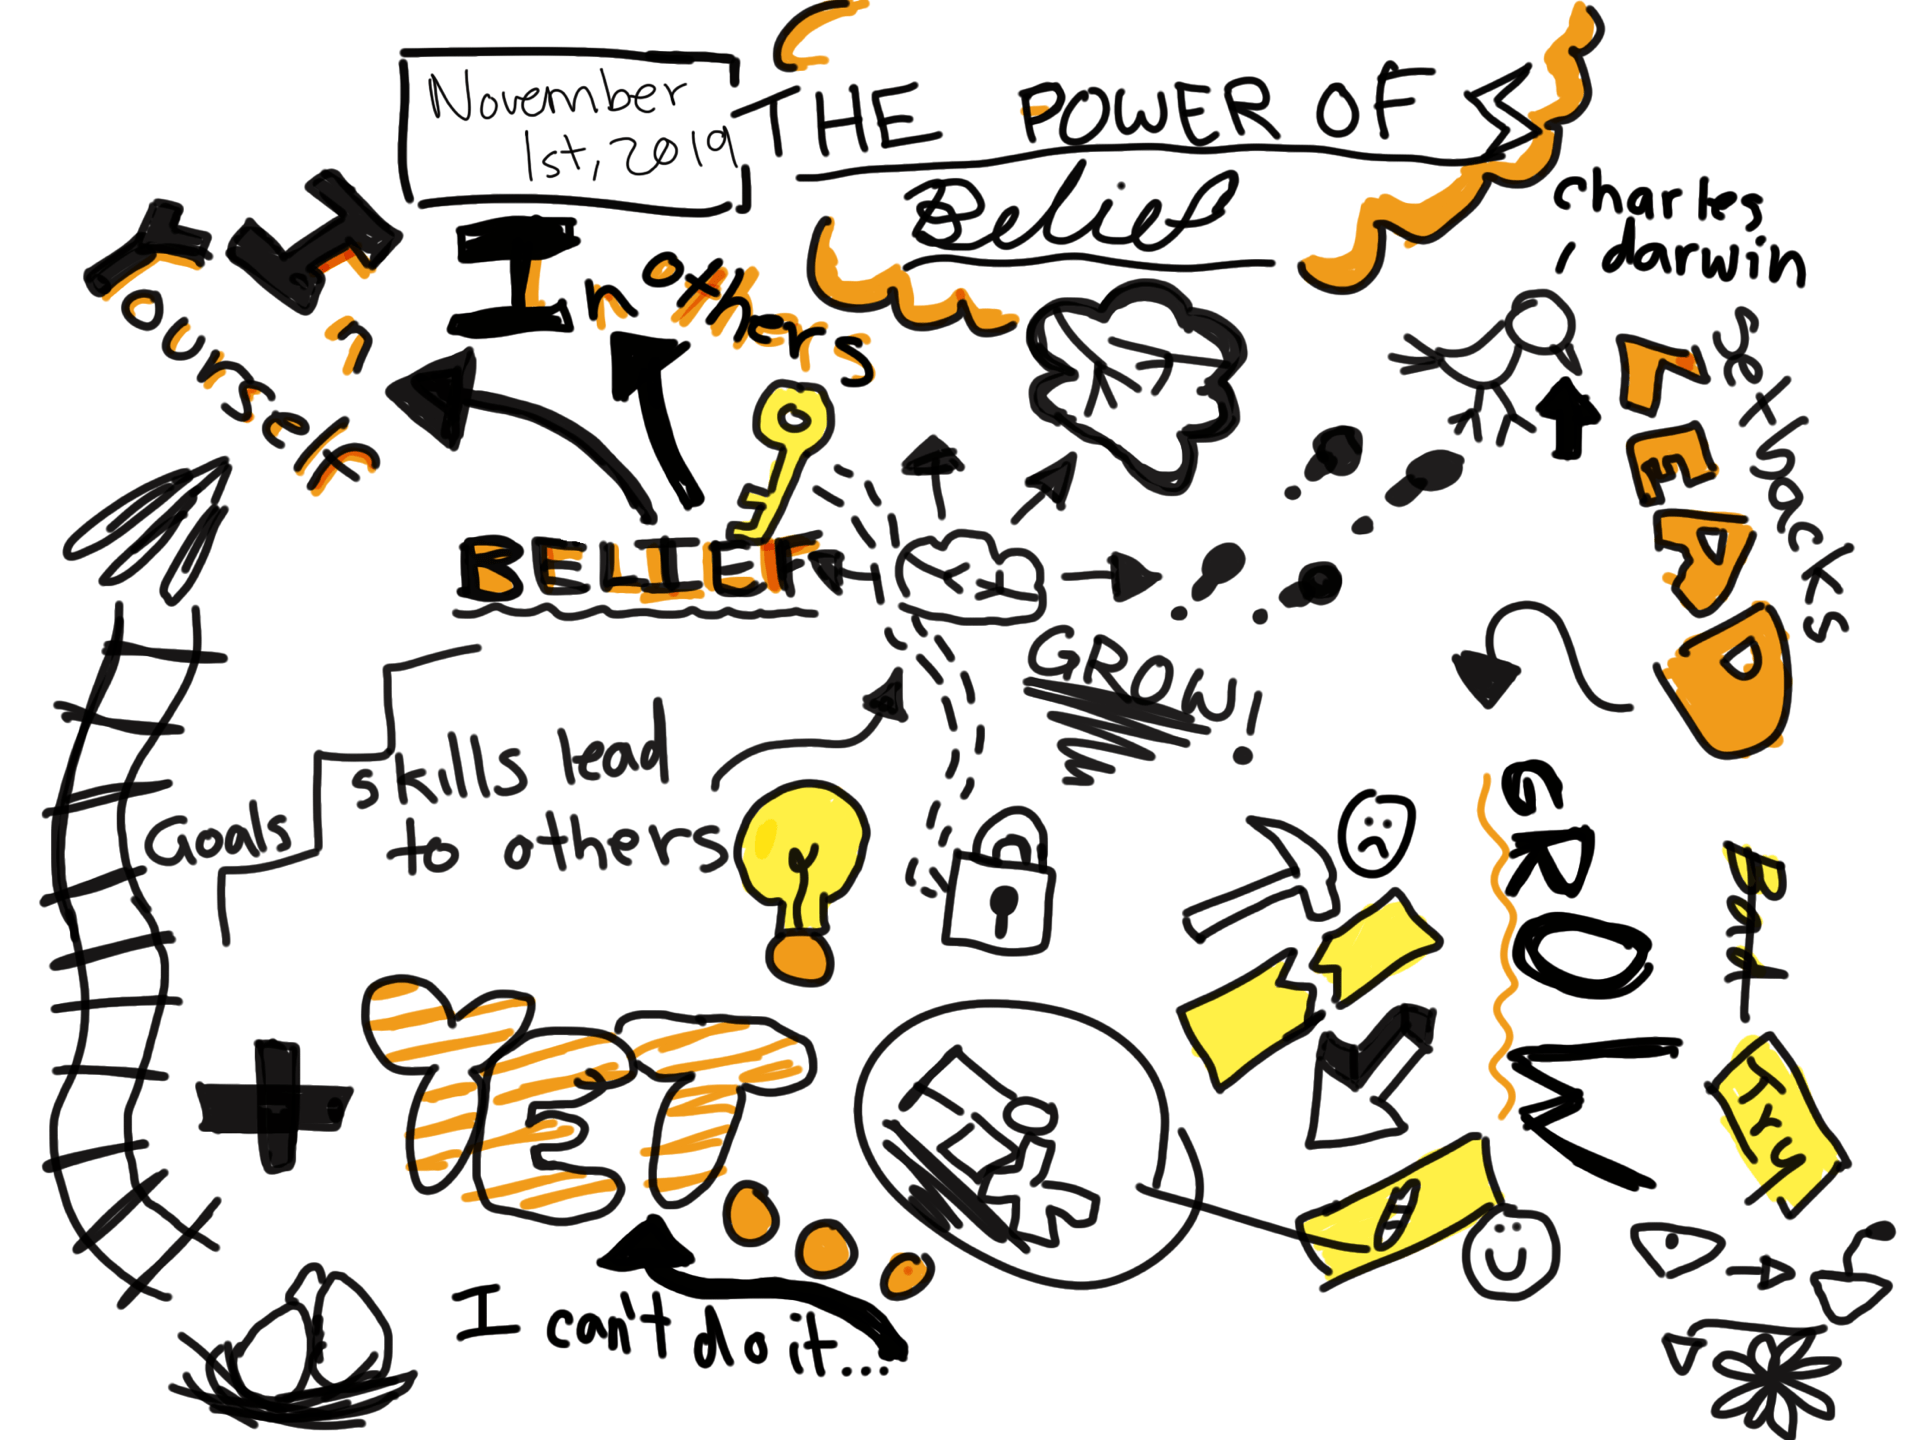
How was I an empowered learner during this project? I think I really tried hard and was proud of the work I did. I am not a good drawer… yet. Just kidding. I think I could draw pretty well on paper, except it never turned out the way I wanted it to in my head. During this project I realized that the iPad could really help me with these things. When we had to draw a portrait, I used lots of layers so I could trace myself and get the dimensions right. I must say though, my all time favorite thing to do was use the eraser. No smudgy marks! (Except when your using the smudge tool (; ).
Now onto my art work. The first thing we did was the Word Art. I wrote my name and I tried to make it look like smoke floating form a fire. 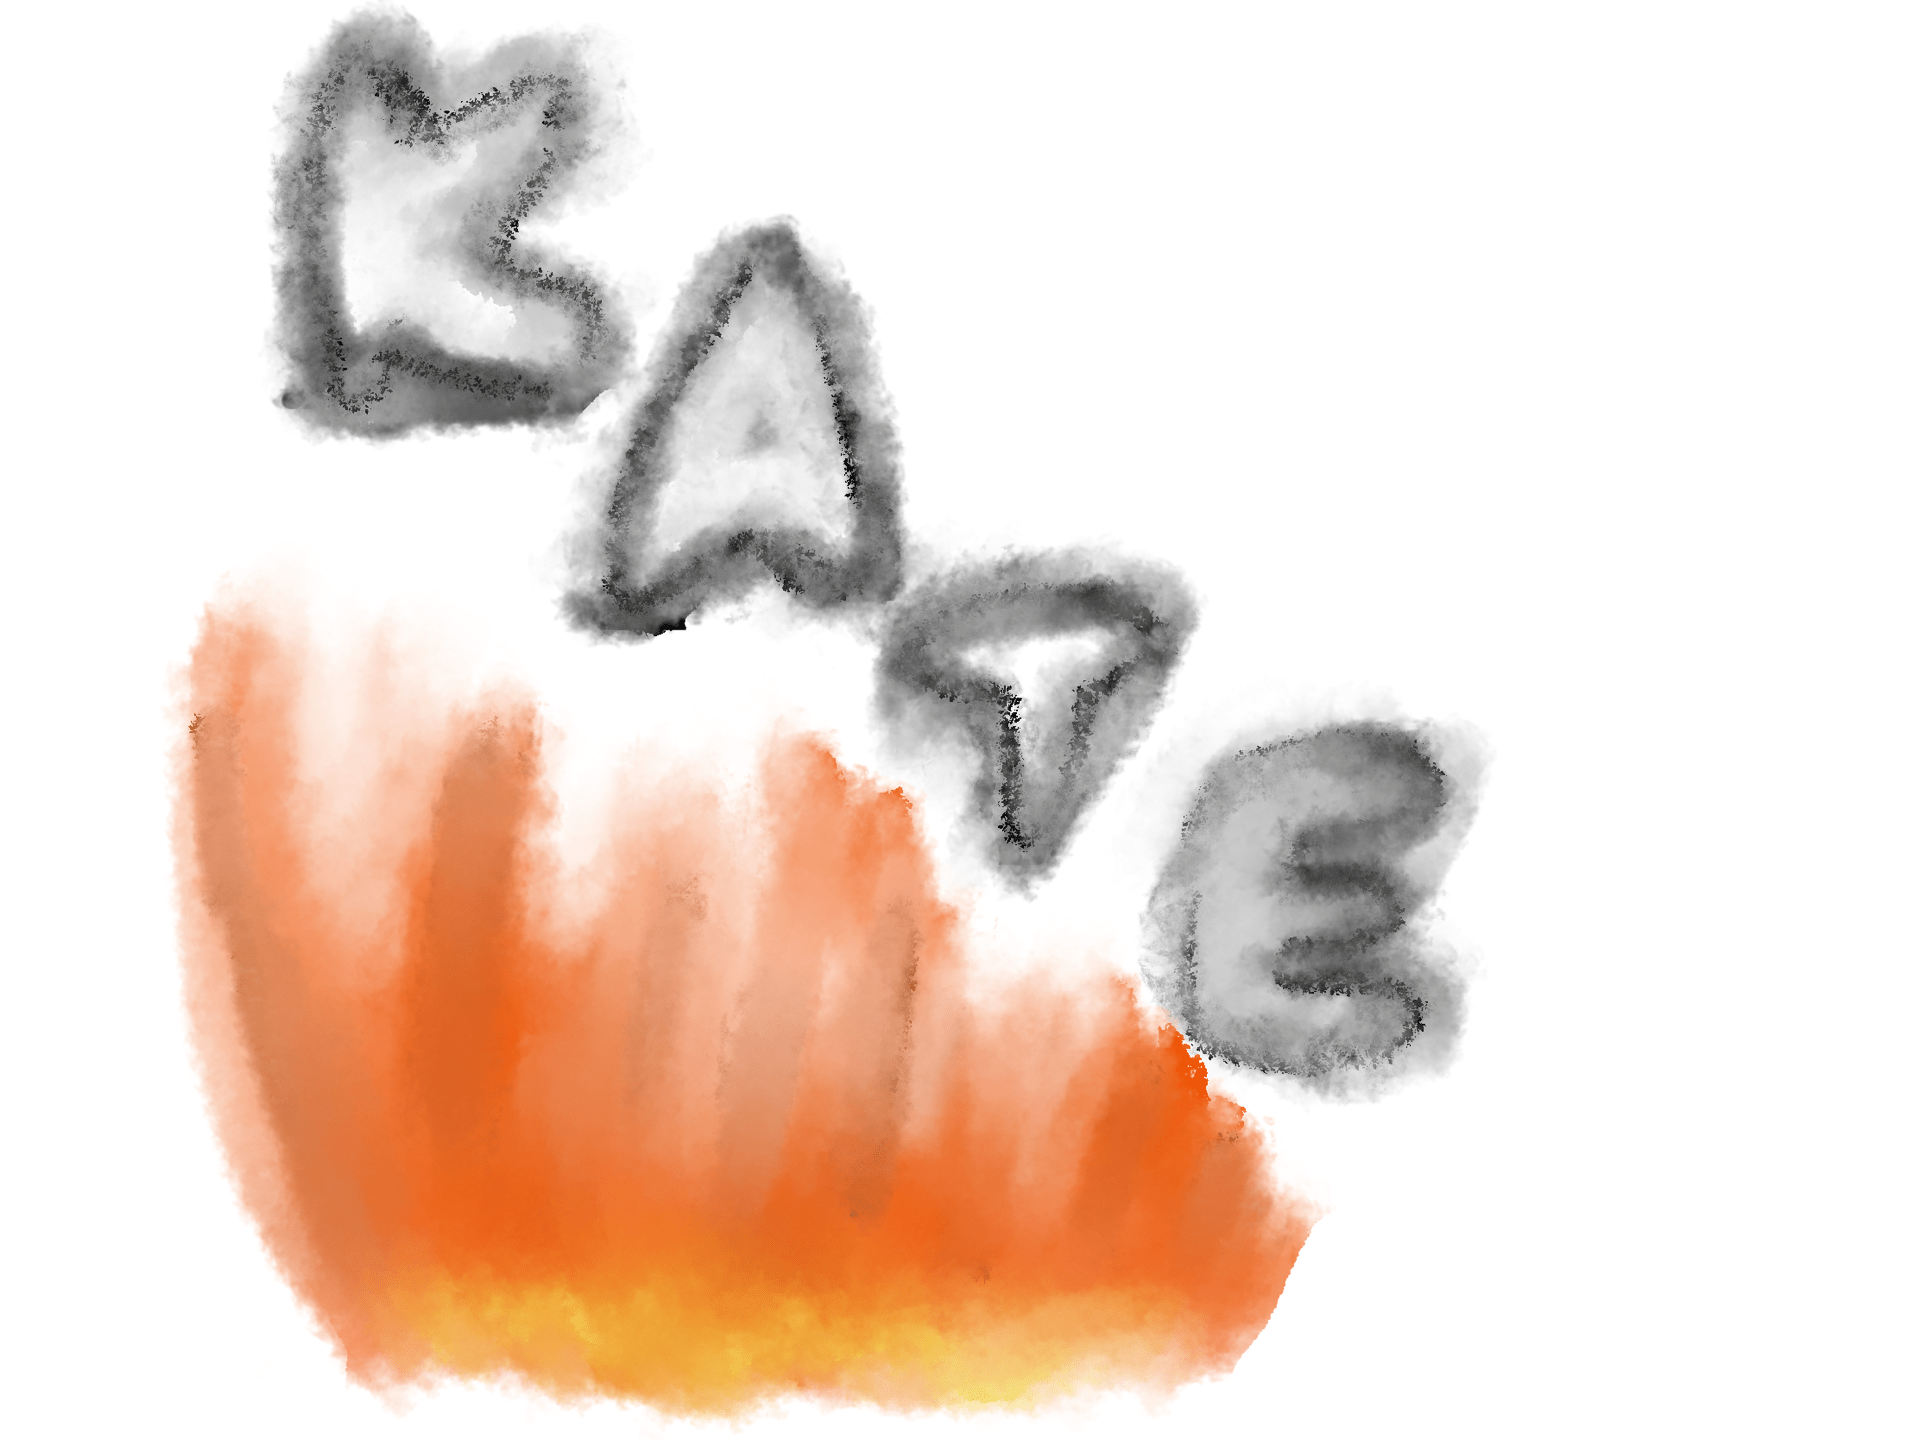
The techniques and tools I used for this one used mostly the smudge tool. First I wrote my name and then did the outline of the fire, then I smudged all of it.
The second thing we did we did was sketch noting. Sketch noting is when you draw and write little symbols to help you remember things. We watched a YouTube video called The Power of Belief.We then made sketch notes on it, here are mine.
 I first drew all in black and then went back and outlined/coloured in the important things.
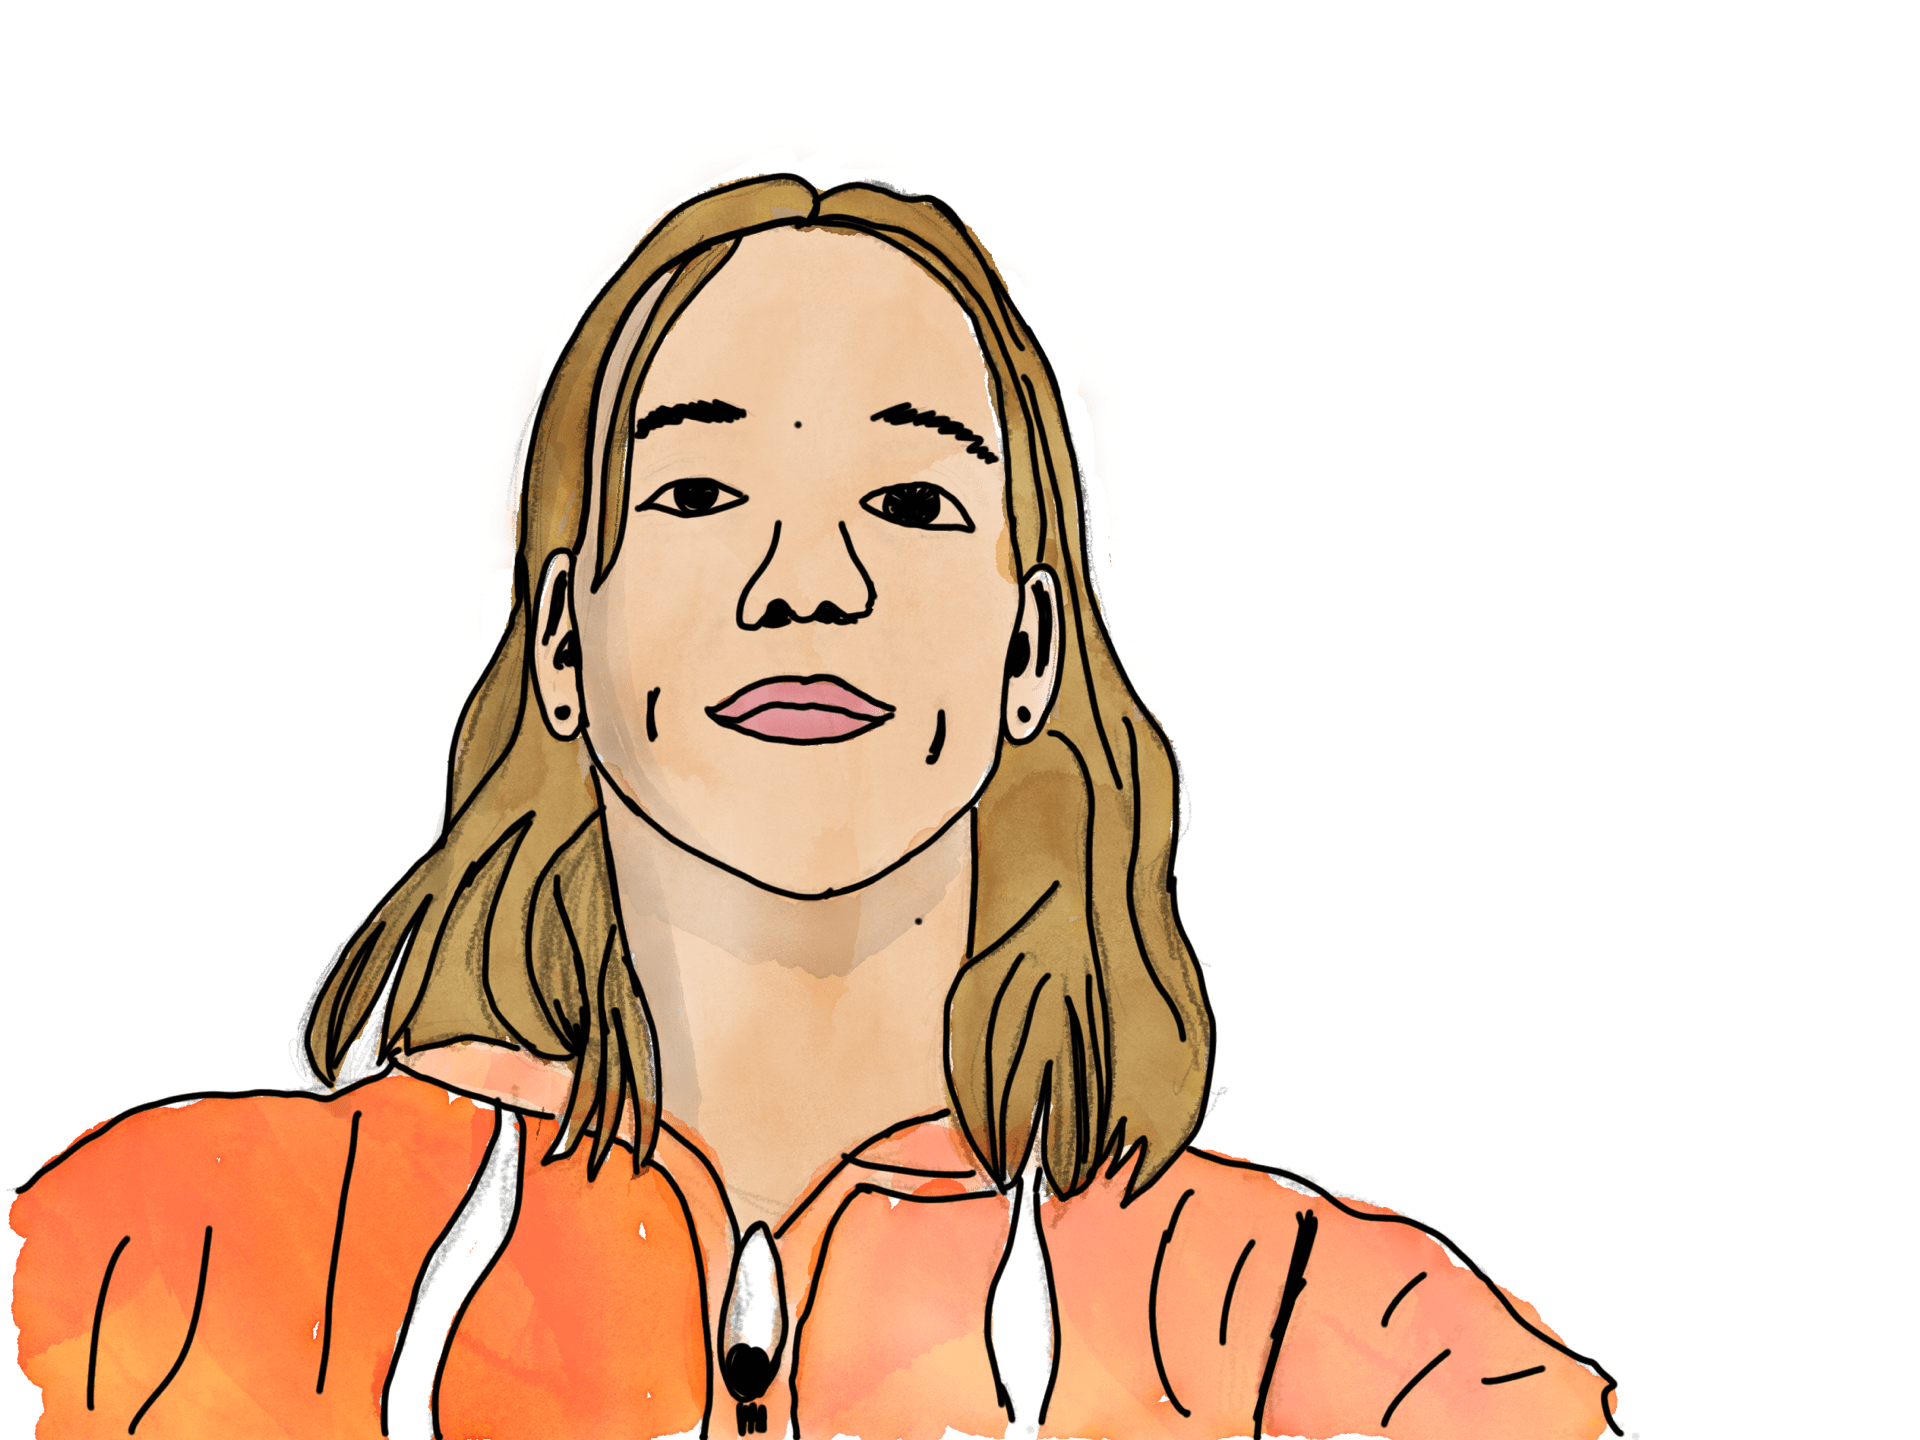
The third thing we did was to make a self portrait using layers. Layers is a very neat tool that could be described as locking somethings in place so that you can draw over top without ruining what you had before. Here are the layers and the drawing I made.
The piece of art we made using layers was a self portrait. First I took a picture of my self wearing my favorite sweater I got in Oregon. Next I traced myself with the really thin pencil tool. Then I traced the pencil with a thicker pen. Then I added a splash of water colour and Voila!
The next step in our learning was to create a still life. A still life is when you try and draw an object that doesn’t move. One of the most important things about drawing still life is that you shade. A LOT.
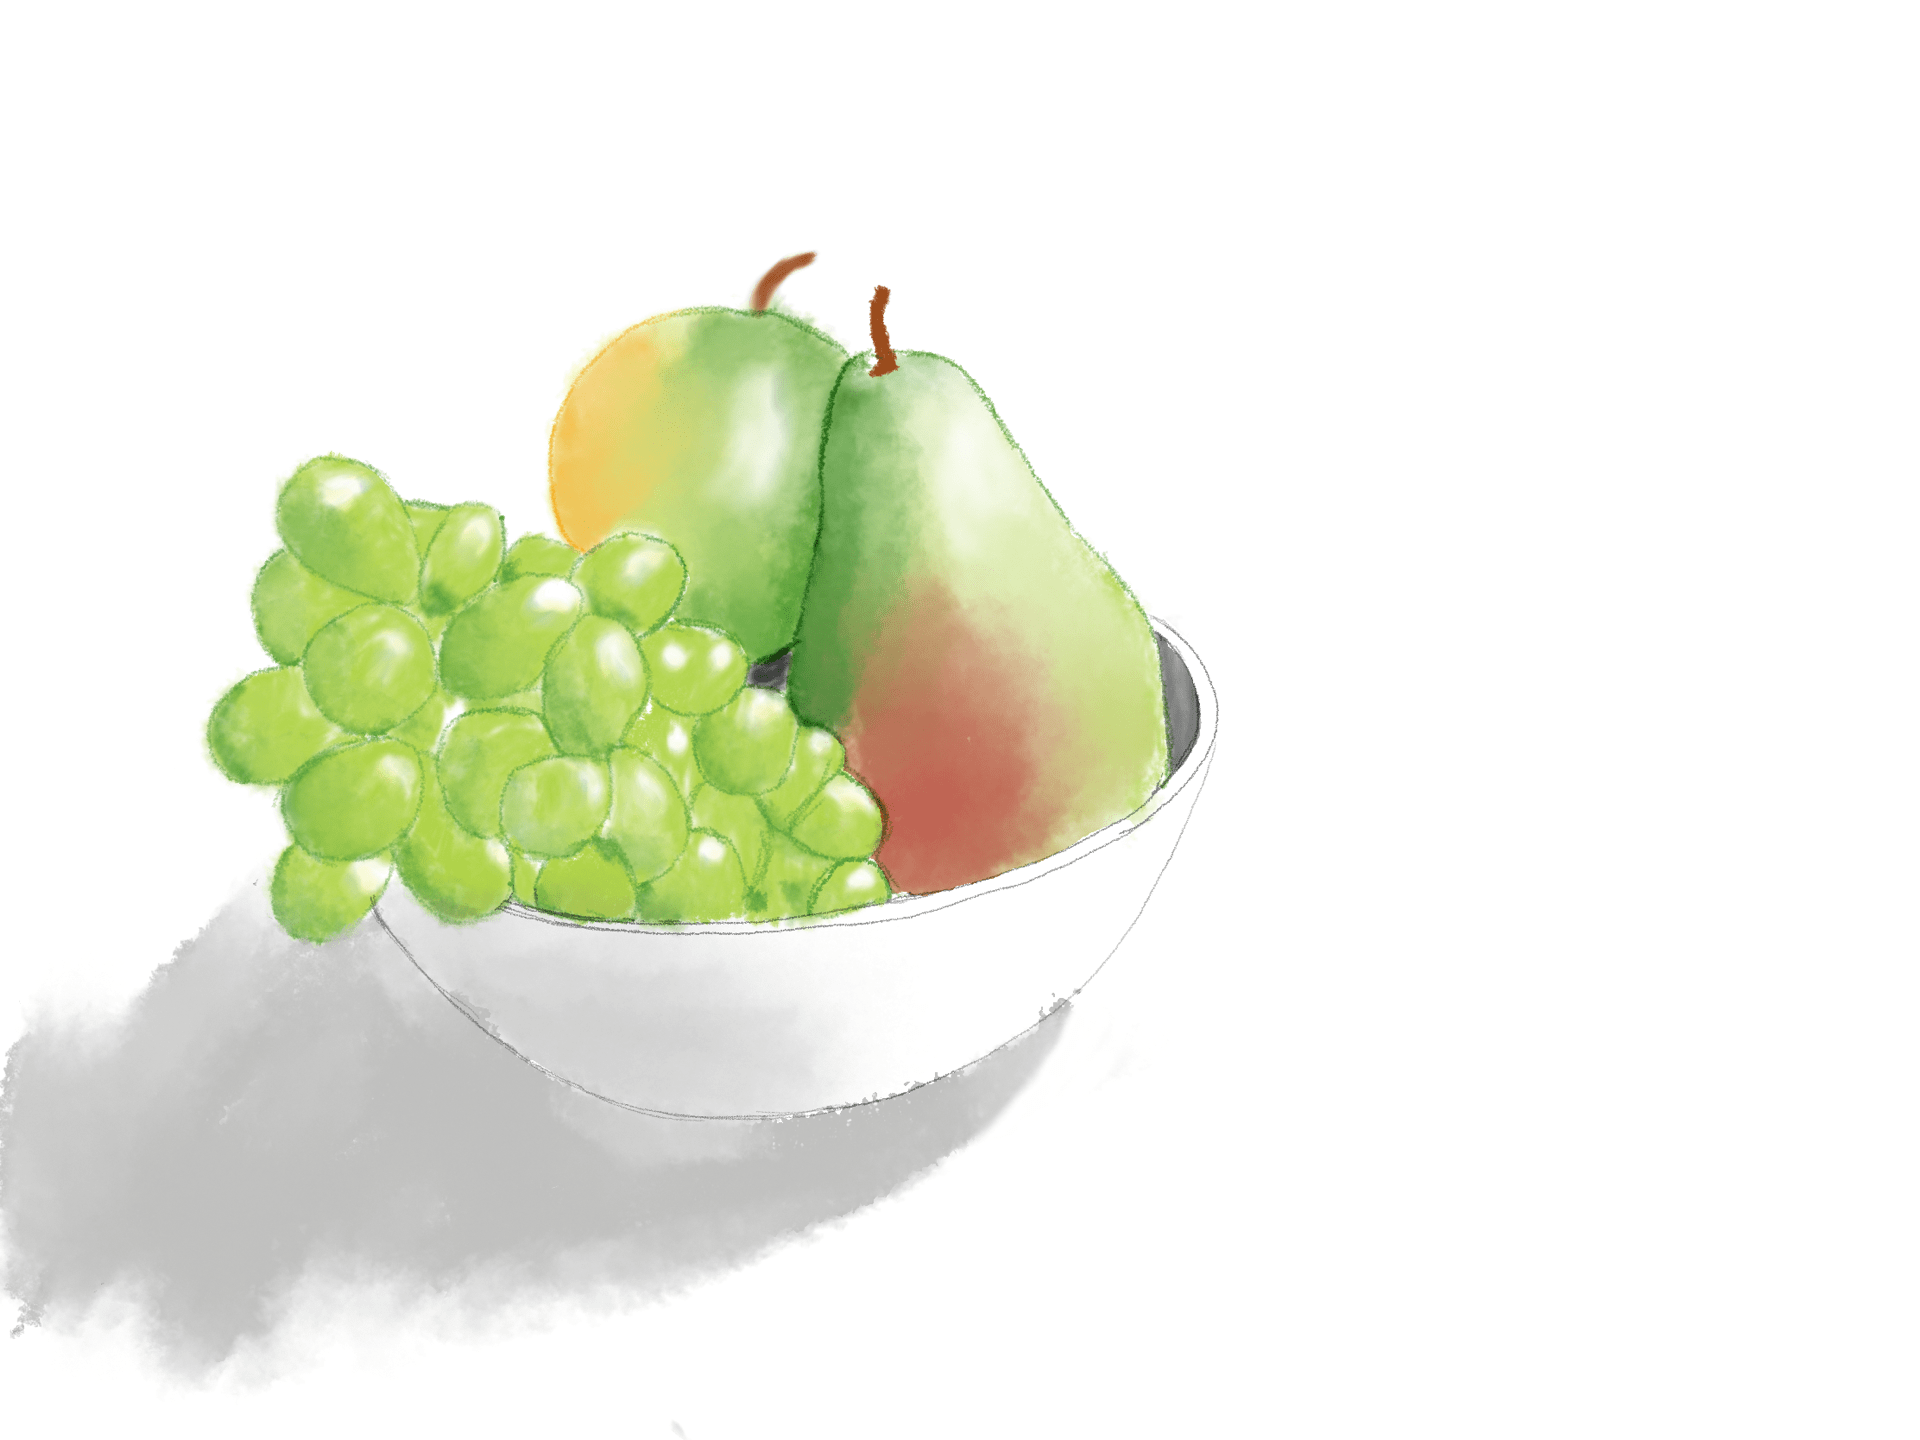
I drew a bowl of fruit. First I took a picture of the bowl, then I traced it and added colour. To make the ombre effects on the grapes I put a bit of dark green, and then light green. After I got the colours just right I erased a little near the top right to be where the light is shining, then I got out my smudge tool and smudged the colours together!
The last step in our learning was to create a logo. I am very proud of my logo. It is a logo for the program I do, called PLP. I think I heard someone say, maybe my mom, that the program has 3 main pillars. This got me thinking, when somebody says pillars, my brain immediately jumps to the kind of Greek or Roman building that have pillars. I delved deeper into my theory and then tried to include all the aspects PLP is about. I’m really happy with what I came up with and I really like how there are many ways to look at my logo! Here it is: ![]()
 After all this, it was time for 1 final activity. The final drawing that is a new drawing from your favorite type of style. I chose the self portrait and drew a picture of me from the past. I think my mom hopped out of the car to get something and I crawled into the front seat and pretended to drive!
![]()
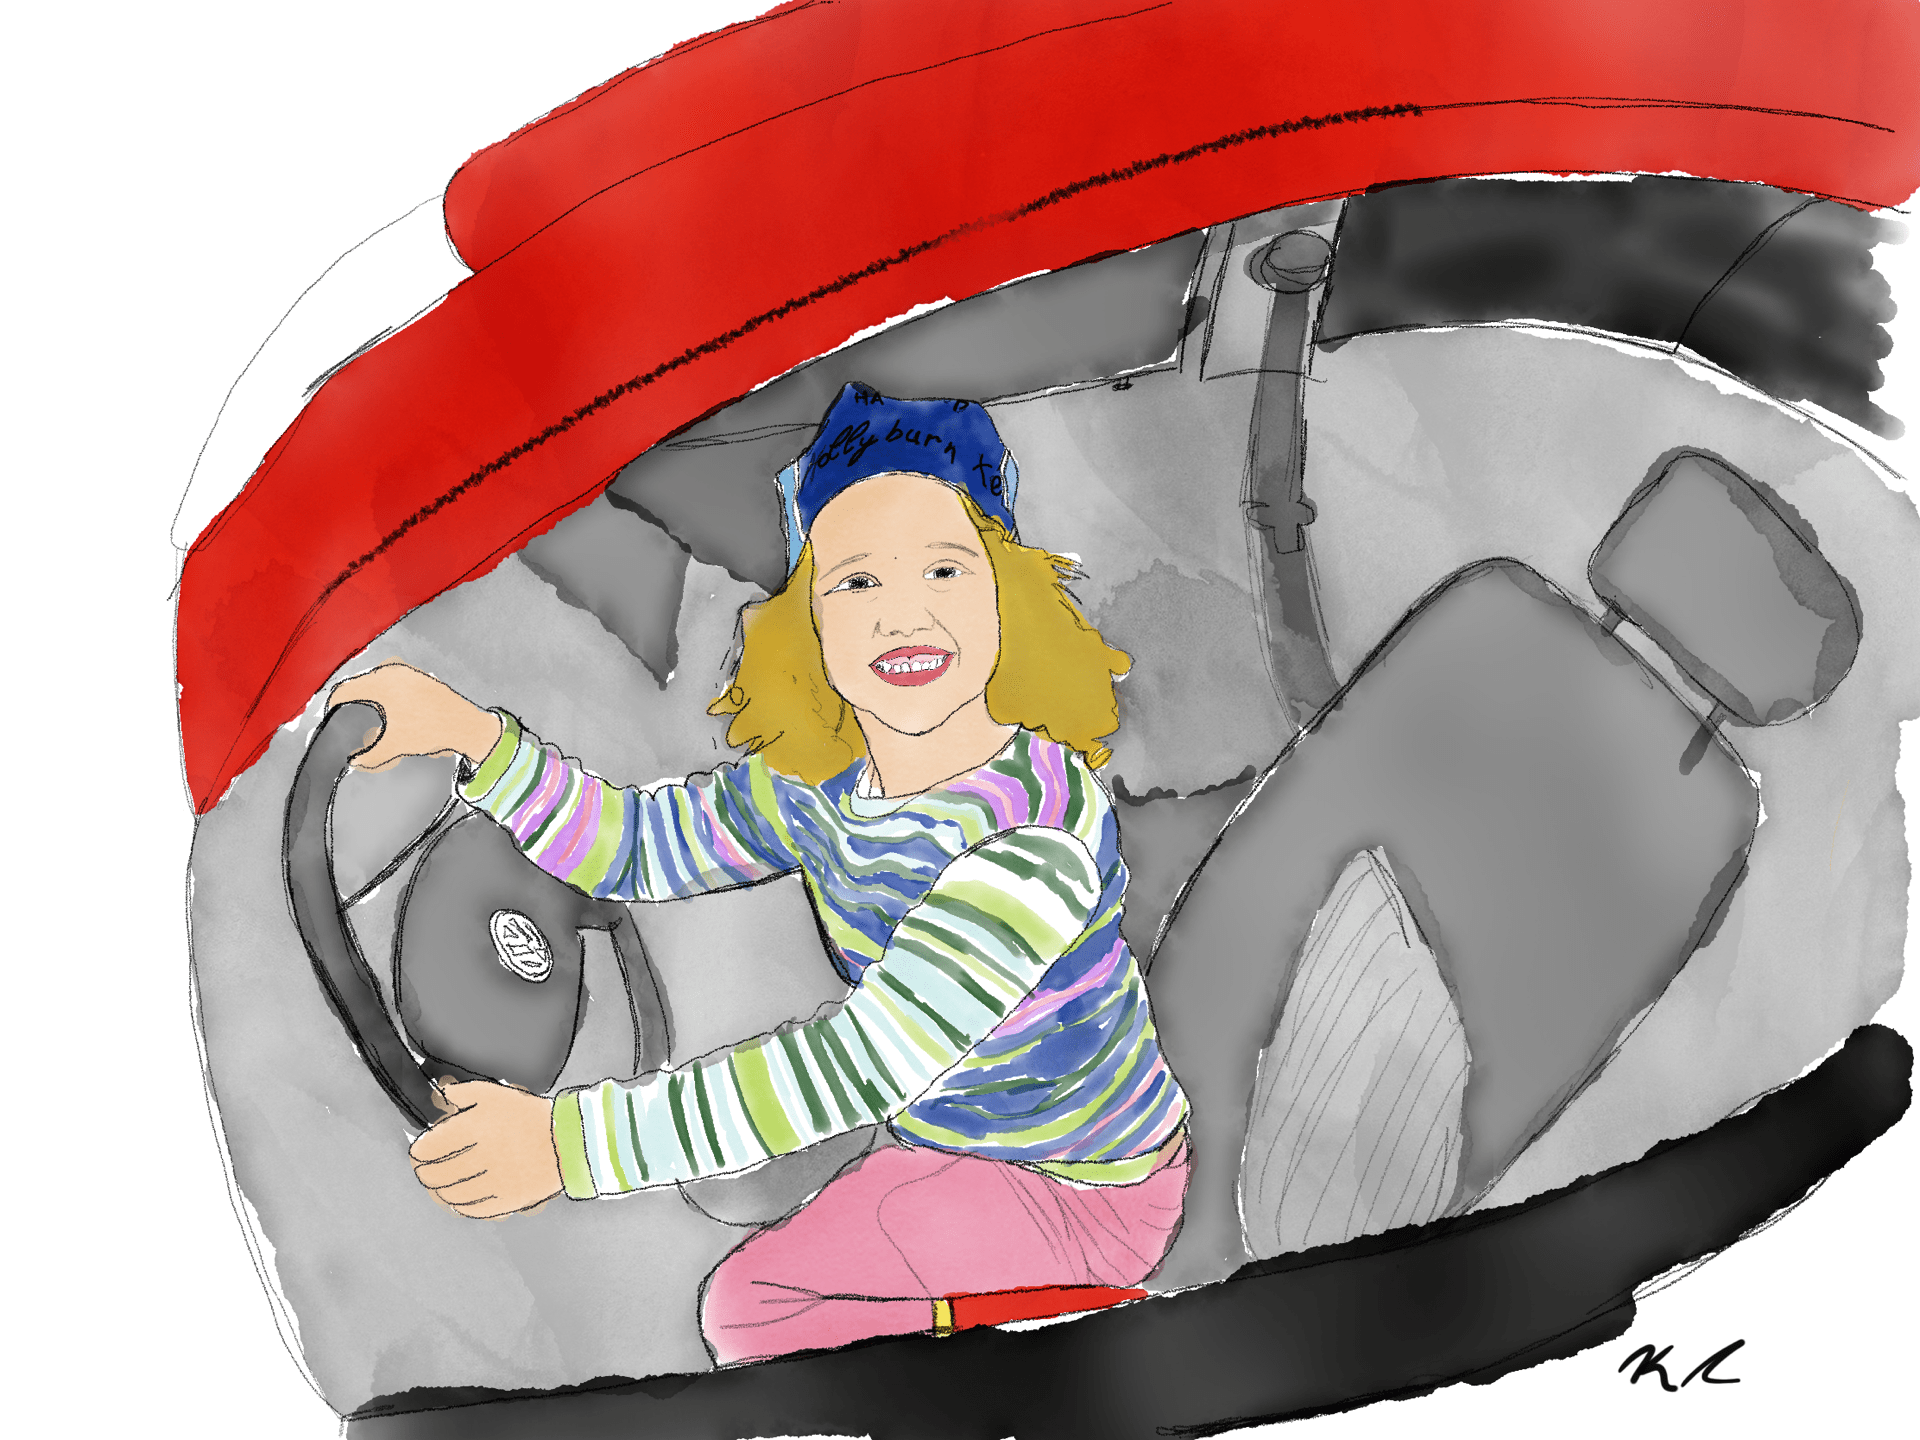 If you look closely at the bottom you can see I’m kneeling on the seat!
1 final thing: In retrospect, although things didn’t always turn out the way I wanted them to, I’m still really proud of the work I did on this project. I think I used my Apple Pencil and iPad well on this project to create something I couldn’t necessarily create on paper. All in all, I really liked this project and I think I learned A lot!
Until next time,
Kate.