- introductions
- tPol declaration
Thank you for coming to my presentation of learning. I am the expert on my own learning. I am also responsible and accountable for my own learning. You can expect me to give an honest evaluation of my progress. We will discuss my strengths and opportunities for growth. Thank you in advance for listening and for offering feedback that I can use to improve as a learner.
- agency
*key focus for my grade
For agency, I have both strengths and room for growth.

sets realistic goals and self-assesses using criteria to achieve them
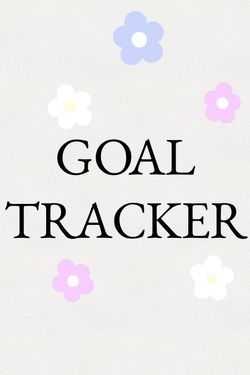
I think that this is the most important area under agency for me, since it connects to setting goals for all of the competencies. I struggle with this because a lot of the time I set unrealistic and not SMART goals. This is something I can keep improving on as I continue on to future grades. To get better at this, I want to take the time to set goals that are actually SMART. As well, my Goal Tracker from grade 9 summer learning helped me a lot, so I think that whenever I set a goal I would like to reflect back on it. On top of using the acronym SMART, I can use techniques like making a goal ladder, with each individual step needed to complete my goal. Also, I can time block it, since if it is on my schedule it’s more likely to happen and get support from my family, because I often just say “I don’t feel like it” and don’t do it. Another thing that I think would be helpful for me is adding a reward to motivate me to complete my goal.
Similar to this, like I discussed in my mPol, I struggle a lot with perfectionism because I set my standards so high I don’t even know where to start since nothing seems good enough. For the last two months I have been trying to have more reasonable standards for myself.

shows resilience and persistence in the face of challenges and setbacks
This is definitely one of my biggest strengths for agency and overall. I have always been very perseverant and determined. I almost always am able to find a way to overcome challenges. A really good example of my perseverance this year was the Thrill us project. After a lot of planning my group decided we were ready to film. However when we looked back on our clips the next day, nothing was good at all. However, we revised our plans and were determined to film it better. Because for this perseverance, we were able to try again and end up with something we were all proud of.

demonstrates initiative in seeking help when needed
This is the final growth for me in agency. I have definitely improved on this a lot more, becoming more comfortable asking for clarification. As well, if I am overwhelmed and stressed in a group project I usually just ignore it and do all the work myself and don’t get any support. However, in DI, the grade 10s in my group did not do any work and the other two people in my group weren’t going to be able to attend so I was very stressed that I was going to have to do all the work and present with people who didn’t know anything. I decided to talk to my team leader Ms. McWilliam and she helped take the pressure and work off of me.
- preparation
*another class focus

comes to class prepared to learn and ready to participate
arrives on time and ready to learn at the bell
These were the main points emphasized for my class, which I think I am already really good at. Because of my systems, I remember to charge my iPad every night and always pack my water bottle right before I leave when I get my lunch and snacks.
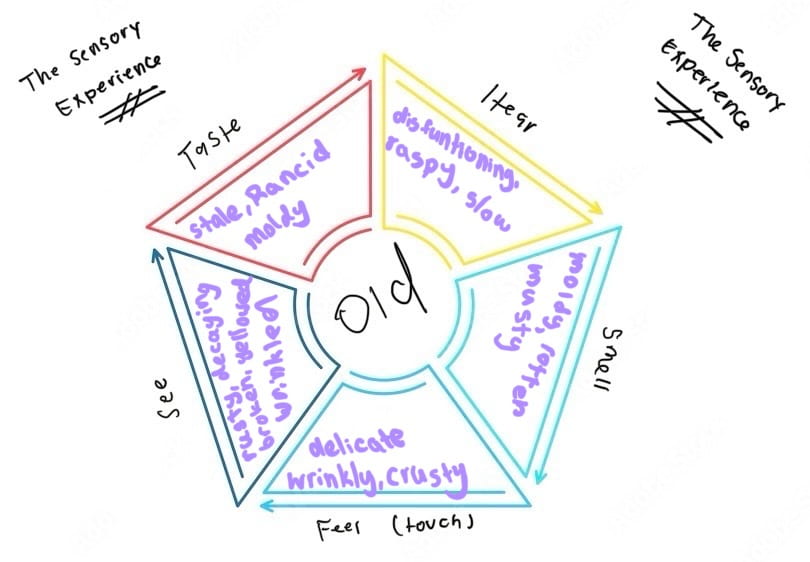
Though sometimes I have to rush to be ready to leave my house in time, I am consistently on time and make sure to get from class to class before the bell. As well, I’m am not just physically ready but mentally ready. I have had a lot of opportunities to improve on that this year. For example, in our Frankenstuffies project when we were reading leviathan, we started every class by getting out our books and reading. Most recently, in our WW1 project, once we started our comics, as soon as I got into class, I pulled out my ipad and worked on my drawings.

utilizes organizational tools such as Things, Calendar, and other tools to stay on top of assignments
This is one of my areas for growths. I have been wanting to make this a system for a while, however I haven’t improved on this. To make this goal easier to achieve, I think having a linked calendar or reminders list so that I can enter to do’s on either my ipad OR my phone. That way, if I don’t have time before class ends I can jot down what to do as I go to my next class or before the next bell goes without having to pull out my iPad out.
- communication and collaboration
*one of my personal focuses

demonstrates independence and self-advocacy by communicating directly with teachers (not relying on parents to communicate with teachers)
This is something I have gotten really good at, since I miss a lot of school always being sick, or having appointments. This connects to student agency, as I make sure to be the one to take charge of my learning and speak straight to my teachers. I can improve by contacting my teachers as soon as I know am going to be absent so that I have more time to catch up on work.


is a reliable and trusted team member during group work
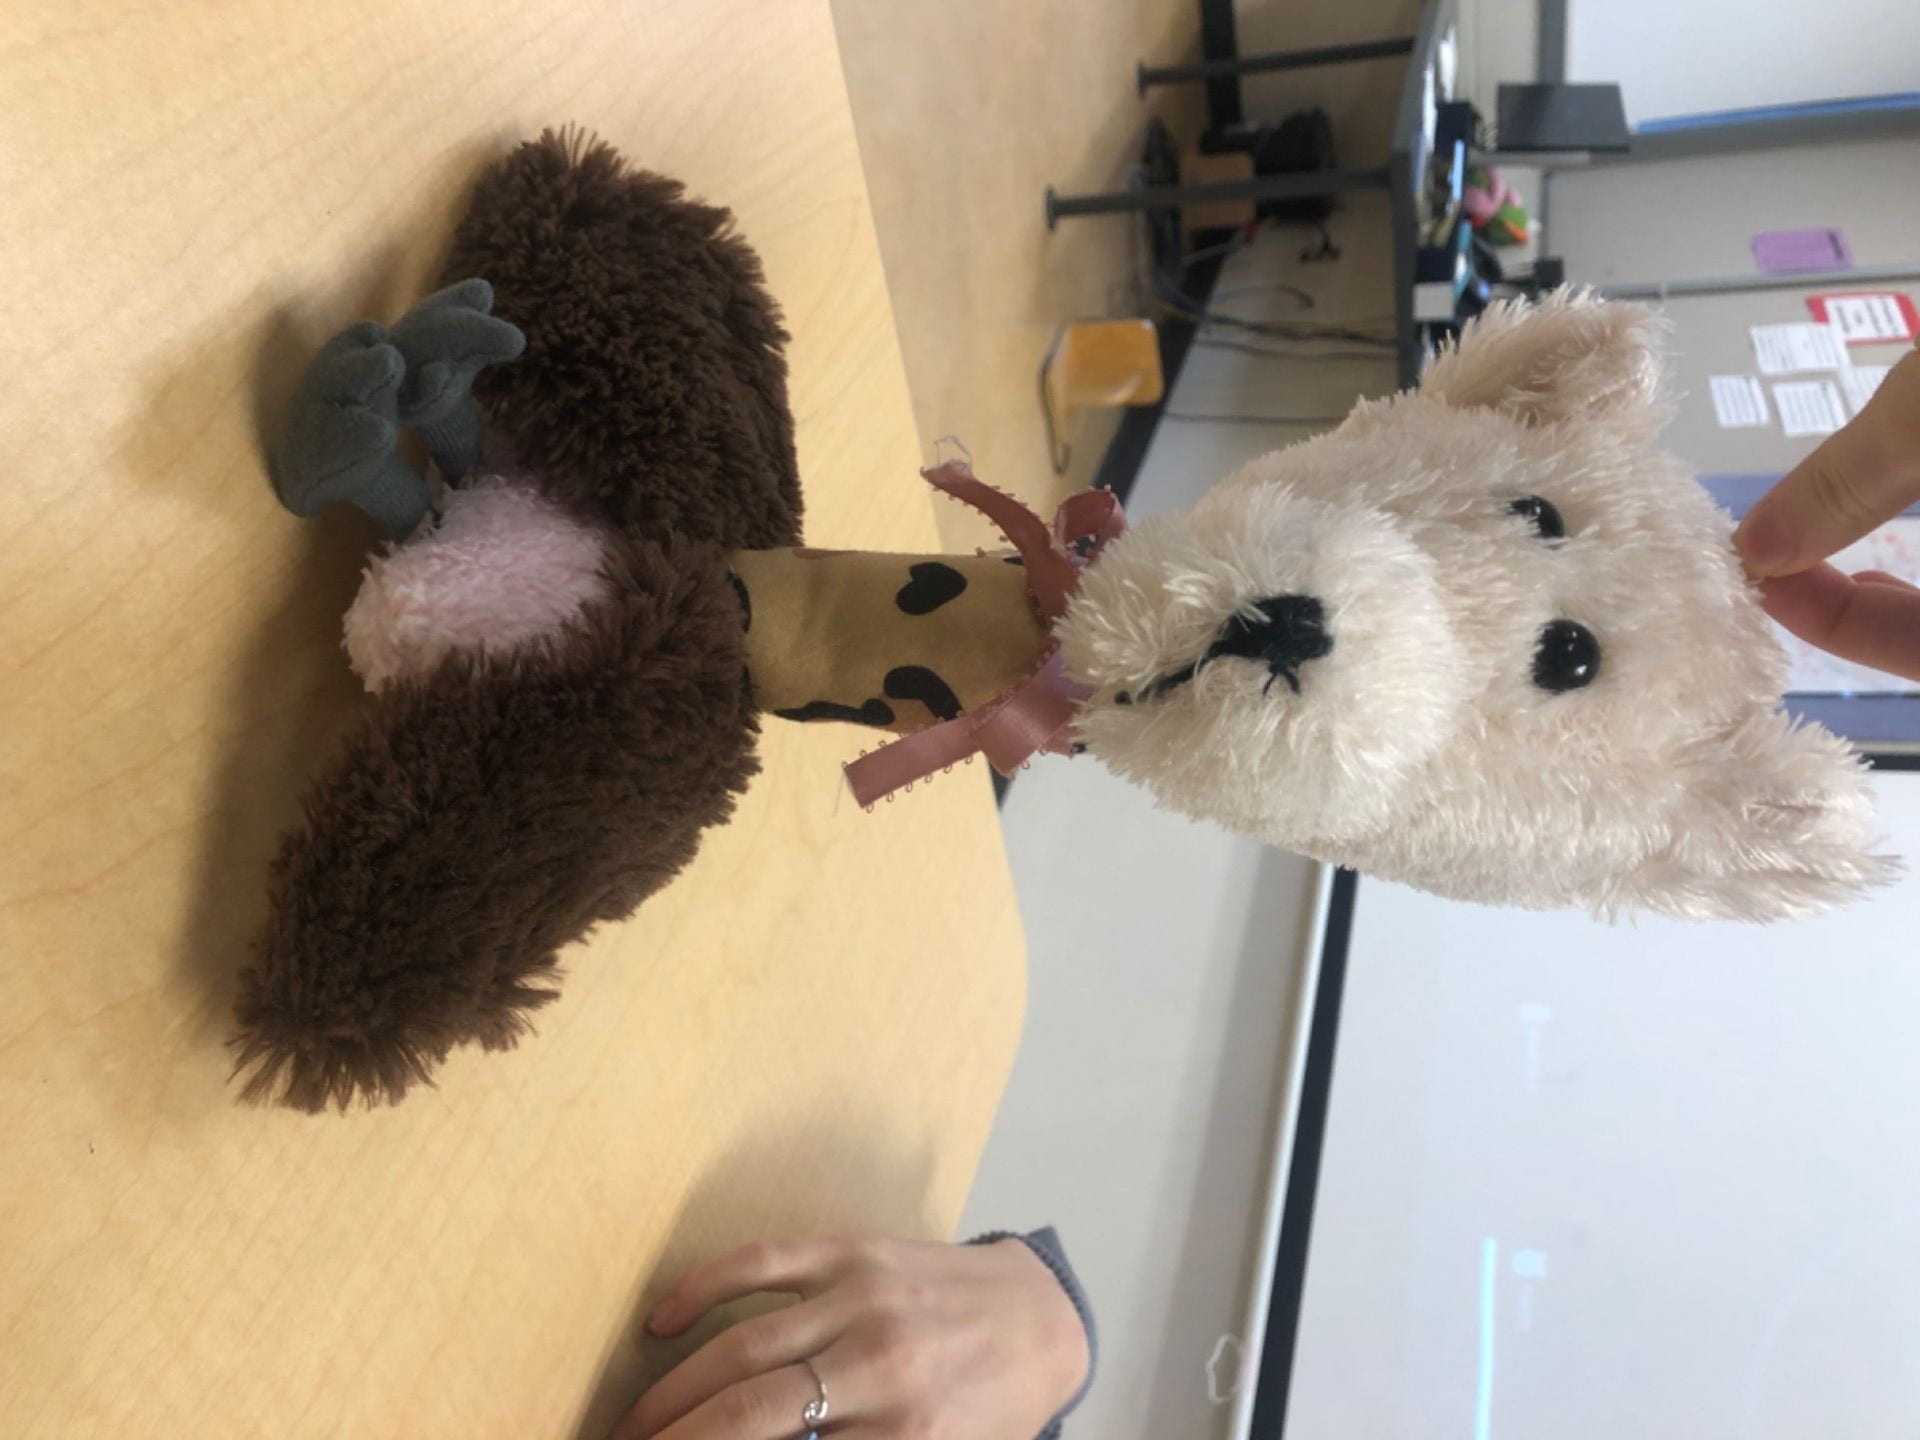
Last but not least is collaboration and pulling my weight. This has always been a strength for me, but I have had some very challenging teamwork experiences with others who struggle this. Like I mentioned earlier, I had a really difficult team dynamic in DI, in terms of both collaboration and communication. The main reason my group didn’t work well together is because of our lack of communication. We assigned separate tasks to everyone without discusses our ideas or expectations for the results or even deadlines. This led to some people being lost and having to improvise what to do and being really overwhelmed. This resulted in Plato:
When we revised between tournaments we worked together to improve Plato and he ended up looking much better. In the future, I could improve my team leadership by ensuring my teams commit to meeting times, have clear expectations of results and set deadlines. And if team members still don’t contribute then I can seek support from teachers sooner than later.
In conclusion I think that I am ready to advance to the next grade level. I have showcased evidence to demonstrate how PLP success behaviours have helped me grow on both my strengths and weaknesses. I have improved and learned a lot this year and I can’t wait for everything to come next year. Thank you!