You know usually I start my blogs by saying something like for this blog post I will be talking about stuff but I think today I will start it with a quote from a reddit meme so here it go’s “
saying a picture is worth 1000 words is a gross understatement.
Average word has 5 letters
1 letter = 1 byte
standard image has 300 pix per in2.
300×300 picture = 270k bytes
270/5 = 54k words per in2
so,
a 5” x 6” pic = 1.6 million words
a 8” x 10” = 4.3 million words
“
Thomas @SourHealth
Now why did I put this quote in this blog post? Well, first of all I just think it’s a funny quote. Second of all I think it relates to what I will be talking about in this blog post which is the creative reflection for a book we recently read called revolution written by Jennifer Donnelly. The reason it relates to my creative reflection is because for my creative reflection I decided to make a photo collage but instead of just using photos I found on the Internet I decided to take photos that relate to the book and run them through a program that Converts them into the style of whatever painting you want for example here’s a photo of the process.

So why did I pick this for my creative reflection? The reason I decided to pick this for my creative reflection is because around the time I had heard that we were going to have to do a creative reflection I was watching a video by a you-tuber named John fish about him decorating his apartment using a special program that converts photos you give it into the style of a painting or image using a special process I will talk about later. So after that I was like oh what if I used that process for my creative reflection some how.
After I had decided that I wanted to do that for my creative reflection it was time to find the right tool to use so having remembered that in the video he talks about what tool he uses it was called neural style. So having found out the name of the tool I went onto good old handy github searched for it and bam there it was.
After having found the tool it was time to figure out how it works which in my opinion was the hardest part. (Warning this part may get a little technical so be warned) The first step was to clone the repository which is usually easy except in order to clone a github repository you need one thing git bash which usually comes pre installed on linux which is what I’m used to using when it comes to cloning things from github so it was a little confusing but I got it figured out. The next step was to download the dependencies which are basically like python extension that the program requires to run. Usually downloading the dependencies is super easy because all you have to do is put one thing into terminal sudo pip install -r requirements.txt. Except this time I had forgotten to cd into the program here’s an explanation photo of the difference.


Because I hadn’t opened the folder in terminal the command didn’t work so me not thinking was like oh well I guess I have to download the dependencies myself which was hard at the start until just out of curiosity I put the program in pycharm which is a python IDE and in the bottom the was a button that said download dependencies so that was pretty lucky. Although I had the dependencies downloaded there was still one issue I needed to download a pre trained network which took me while to realize but once I did it only took like 20 minutes to find and download it.
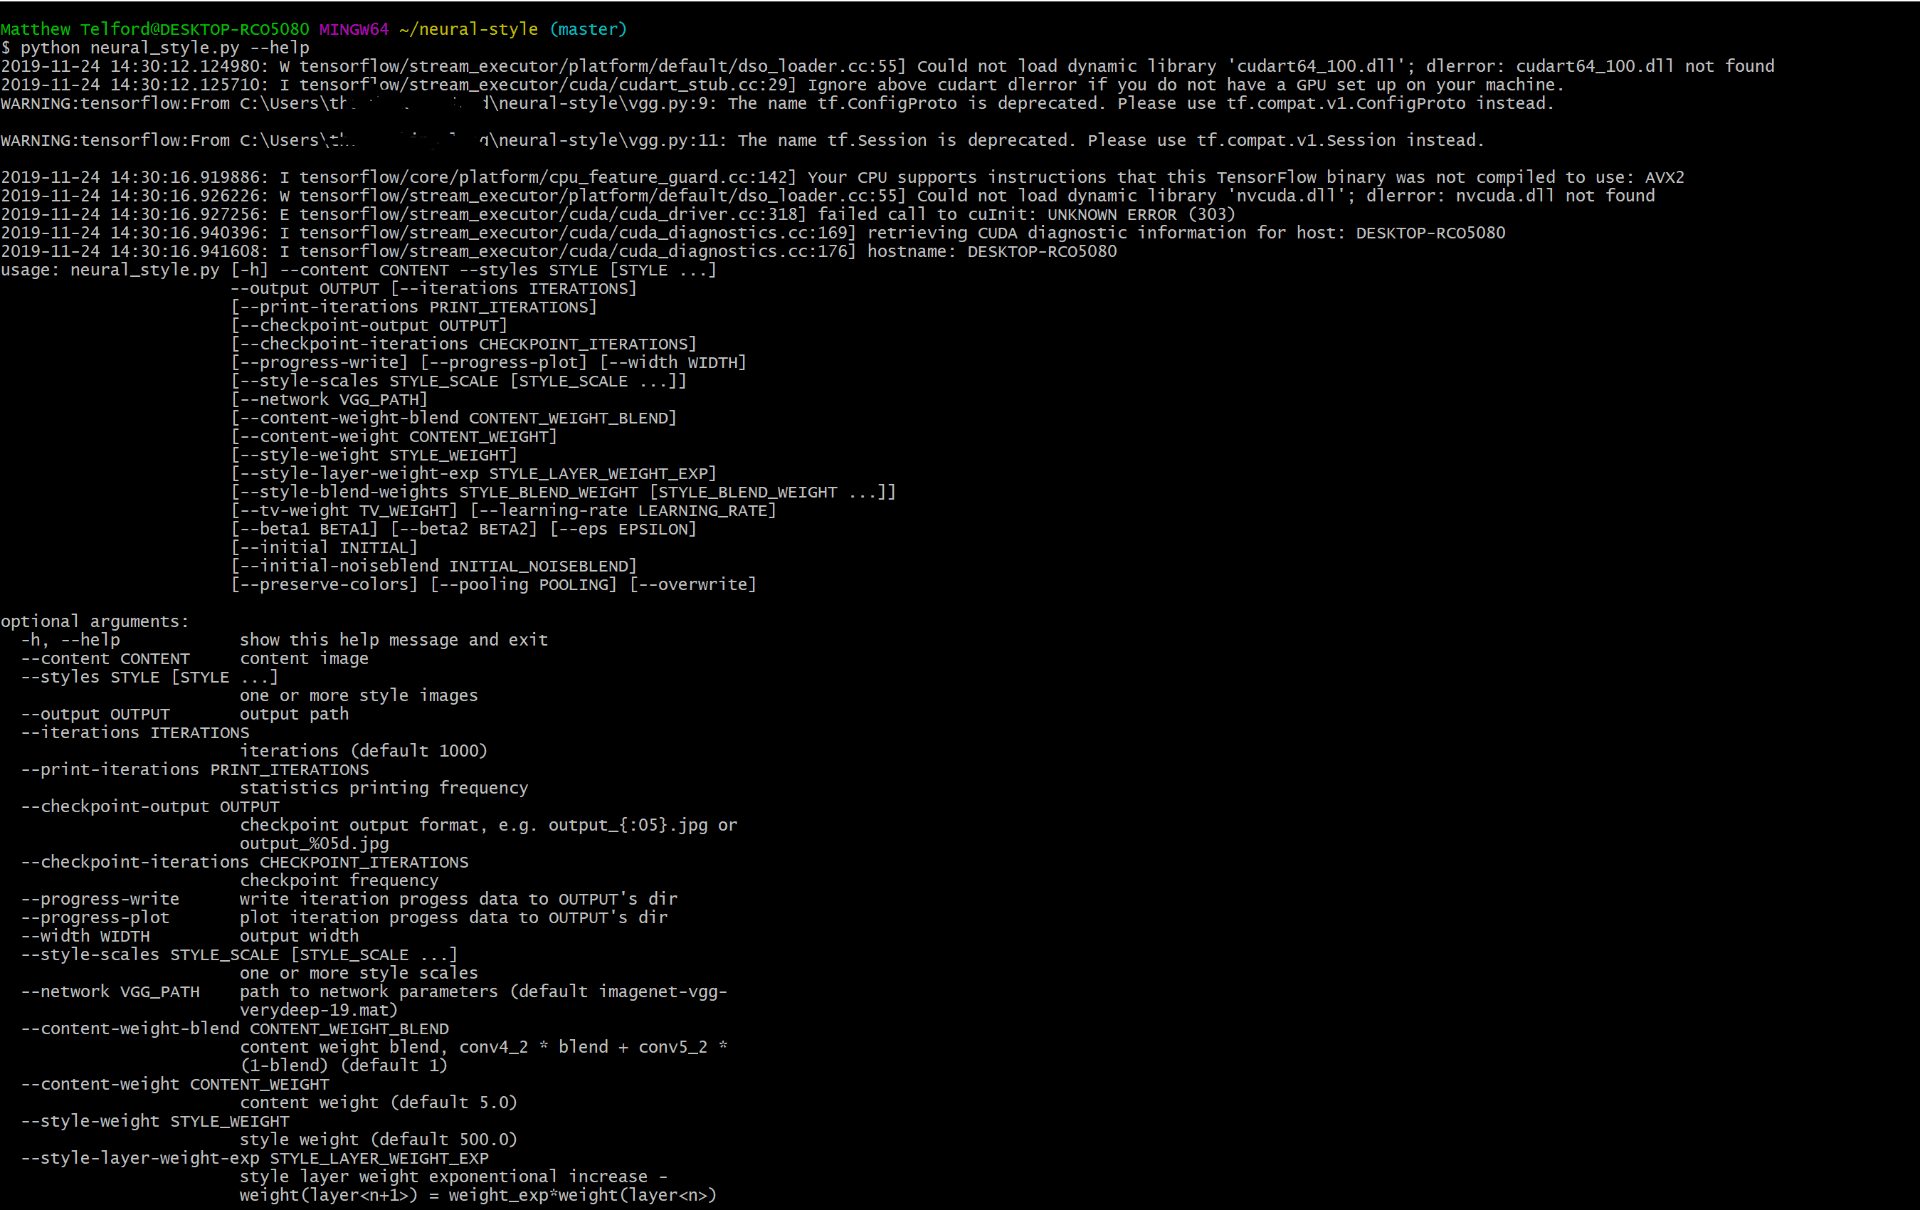
Now that I had the tool all set up it was time to figure out how it works this part in my opinion was easiest because when you put help into the terminal it popped up with all of the different commands you could use Heres a photo
Once I had a good idea of how to use the tool it was time to put it to action but before I talk about that I think I should probably talk about how this tool works. This process uses some pretty complex computer science but if your curious here’s a good article or in the video above it’s talked about.
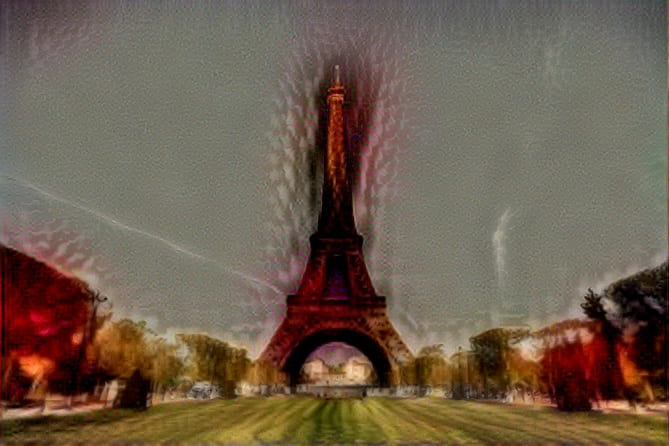
Now that I have how this tool works explained its time to talk about putting it to action. Now that I knew how to use the tool I grabbed the first image that I was going to use which was a photo of the Eiffel Tower and the style photo which was a painting of Marie Antoinette from the French Revolution and started the process. After starting the process I got very confused because it was taking super long and looked like it was frozen but after a while of trying to figure out what was going on I made a realization that it wasn’t frozen or broken the process just takes a very long time and by a very long time I mean the second image I did took 5 hours.
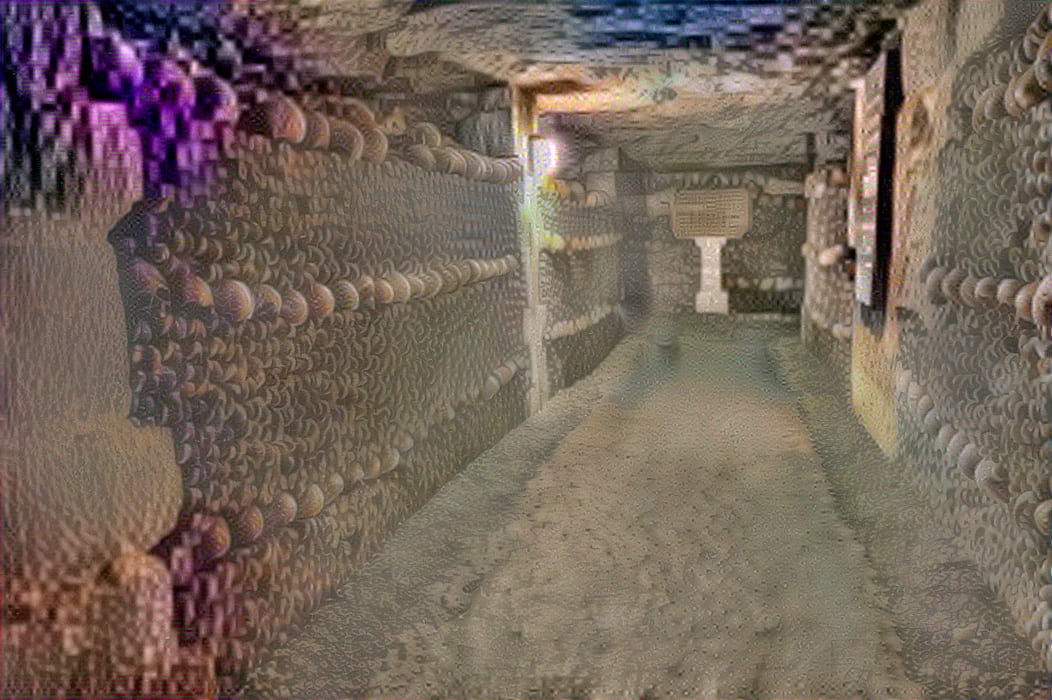
Now that I had the process mastered I made my final image which I did not use because it was borderline scary here it is if you want to see it

After that I moved onto writing the explanations for why I picked each photo which you can read on my other blog here after I wrote those and handed them in I was done.
overall this in my opinion was one of my favourite things I have had to do this year. The reason why this was my favourite thing was because it had a lot to do with technology and if I’m being honest I was probably going to do this on my own time anyway. If there was anything that I would change or do better is I would probably do more research into how the tool works because if I had done a little bit of tweaking to the code and more trial and error the pictures could have looked a lot better.