What is destination imagination? (Which i will now be referring to as DI) is a hands-on, project-based educational experience that encourages creativity, collaboration, communication and critical thinking skills. Each year seven new STEAM challenges are created by teams of content experts and educators to help students from K to Grade 12 learn HOW to think, not WHAT to think. Destination Imagination applies the creative process to help student teams create their own unique solutions to the requirements posed by the Challenges. So that is their own explanation of what destination imagination is, but my take on destination imagination is that it is one of those things that are created by rich people who mean to do good. My first experience with DI was when i was about 11/12 years old when my mom tried to get me and a one of day friend and one of his friend to do DI together, but i never saw the point of it. In my mind it was some dumb challenge. So then a couple of years later when i am in high school, i am in a programme called the plp and they tell us that we will be doing some programme called di and i payed no mind to it
Eventually it came time for me to do destination imagination imagination and they told us to pick a challenge out of improve, fine arts technical and scientific. I wanted to do the technical challenge e but they gave me the scientific challenge. In the scientific challenge we had to have a mysterious object, a type of microscopy technique and we had to have two team choice element s that we incorporated into the story. We then had to create a story make some backdrops, create costumes and have some team choice elements incorporated into the story an or backdrop.
The other thing that we did at di was an instant challenge. I am not aloud to talk about my instant challenge, but i can talk about what an instant challenge is. An instant challenge is something that you have to do on the day of a di tournament you are give an challenge by the appraisers. Most of the challenge are either improve based, building a solution for something out of limited materials, or created a prop for a story.
The final thing that we had to for DI was we had to take a team photo in a car.
Here is my horrible explanation on whaat DI is, underneath is some media of my DI experiences.
This is a mid-term presentation of learning about the 3 main subjects that i have been taking in my term one. The subjects are: scimatics(math and science in one) humanities and maker(stuff we need to know how to do and whatnot).
So hear i am going to talk about the story of my learning so far during this first semester of my high-school year.
I am going to talk about the 3 different subjects that i am taking with the plp. The first subject that i am going to talk about is humanities.
In humanities the projects that we have worked on are: medium is the message, the outsiders and working with words.
So the first project that we worked on in humanities is medium is the message. Medium is the message was about advertising. The point of this project was to get an ad to a local business. We were put in to groups to do this. The client that my group got was Patricia Houlihan. But we couldn’t just make an ad right away right? So in order to get the knowledge to make an ad the class spent a bit learning about advertising. Once we hade learned about advertising it was time to make an ad. So the first ads that we made were by ourselves. So we made multiple darts of our ads and once we thought that we had perfected them we showed our final ads to our group. We then proceeded to vote on which ad that we thought was the best. We picked the best ad improved it and then sent it to Patricia Houlihan.
This was my first ad draft for humanitiesThis is the second ad that i did for humanities and the one that i think is the bestThis is my third ad draft, but i think that it is kind of uglyThis is my final ad draft.
here are my group ad drafts.
This the first draft of my group mate ruby, we voted it our group ad, then made some improvements.Once we had made our improvements this was our final draft.
Now for the outsiders, the second project that we worked on. One of the main points of this project was to increase our world view and to do that we read the book The Outsiders by: S.E.Hinton. The book the outsiders is about the struggle between two social casts the greasers(poor people) and the socs(rich people). So in this project we read the books the outsiders and did activity’s on the different parts of the book. We did some character analysis, a reflection on the movie and a character deck to name a few. We were also put in groups for this project. One of the things that we had to do as a group in this project was to make a “movie poster” for how the outsiders should look like now. Th main thing about this project was reading the book and i really enjoyed this project compared to our previous one Medium is the Message. Make sure to add some media and links. Here are some images or work and picture from the exhibition:
Here is me posing for a poster.Here is me in the poster. I know eye caching and horrible.Here is my group poster.Here is me in the group poster made by a group mate.
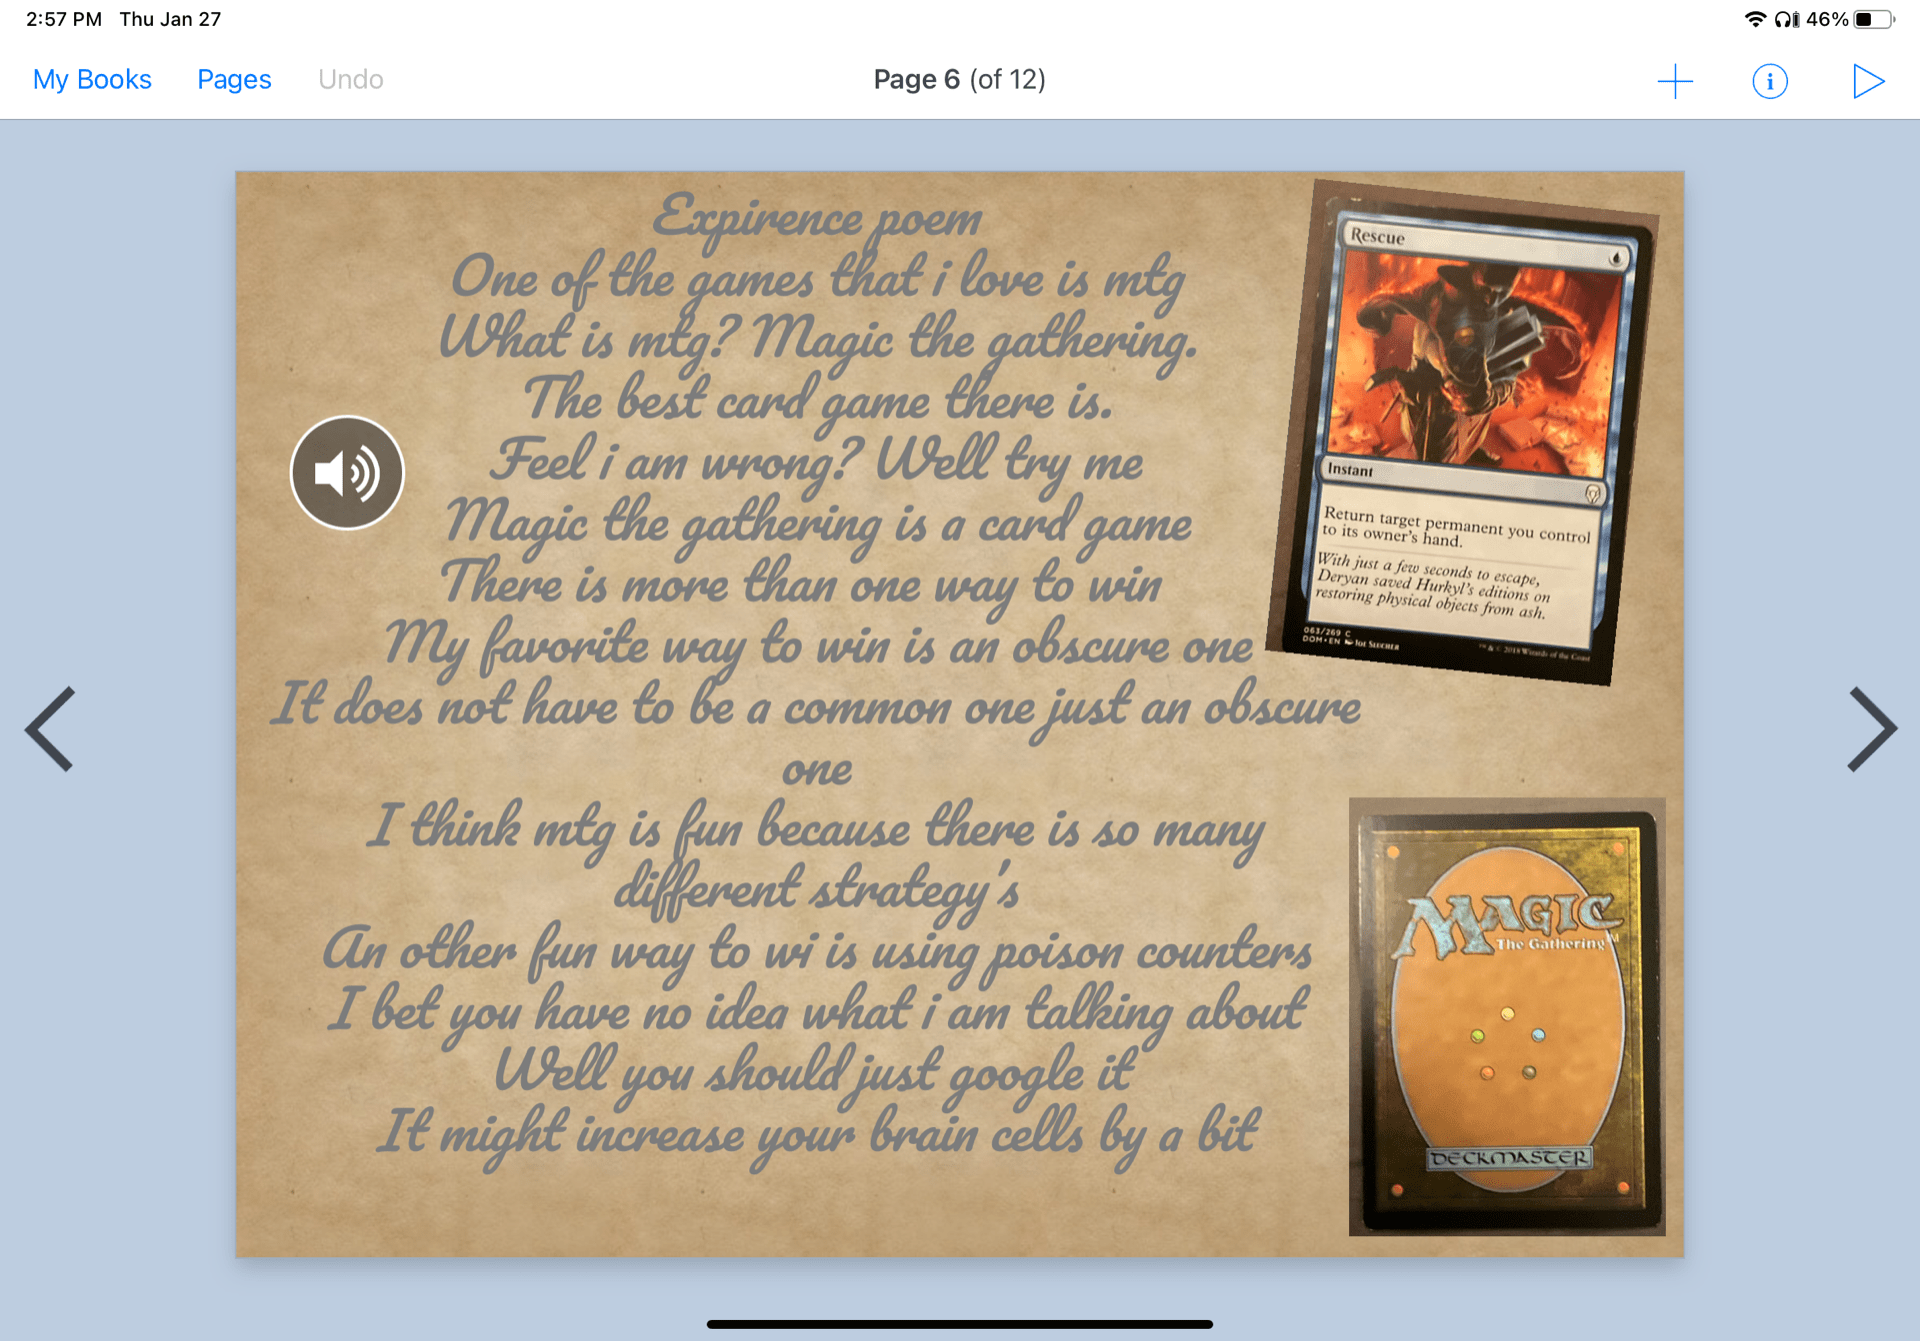
The third project that we did/are doing at the time of me writing this is working with words. This project is about poetry. The main focus of this project was to learn about poetry and write some poems to out in an e book of our poems. In class we made a list of poetry terms. Another thing that we did was analyise some poem that we written by other people. Then once we had all of our poems written and our all of our terms memorized we took a poetry test. Then it was time to present our poems in ourcoffee house presentation and the project was done.
Here are some photos from the poetry book that we put all of the poetry in.
Now to talk about my second class maker. Maker is my class for learning about iPads and other things that are just handy to know. In maker the projects that we have done/ are still doing are: destination imagination, geek out blog challenger,constructing creative communication and becalming a plp learner.
The first project that we did in maker was becoming a PLP learner. In becoming a plp learner we did a series of activities that were designed to increase our knowledge of apps that we have on our iPads so that we cold do other projects and know how to use this incredible piece of technology that we use in this program. Once we had learned these skills, we put most of them to work in the maker exhibition. Here are some picture from that project
Here is a picture from my maker exhibition keynote presentationHere is my Memoji speech bubble
The second project that we did in maker was constructing creative communication. The point of constructing creative communication was to learn to use our iPads in a different way. There ways two parts to this project Herzog and Carr. Booth parts of this project were named after a famous person relating to the part of the project. Herzog was focused on drawing and Carr was focused on drawing. When we started one of the projects we would learn about the person that the project was named after and we would learn about what we would be doing in the project. Then we would have a five. Session thing where we would learn 1 skill per session. Here are some drawings from the Carr group:
And here are some pictures from Herzog
The next thing that we started was destination imagination. In destination imagination you have a team and you are supposed to come up with a solution to a problem and come up with some teem choice elements which are up to your team to decide. Then you present. I also forgot to mention you also do instant challenges which are challenges that your team has to solve on a dime.
Last project that we have done so far is the is the geek out blog challenge. In the geek out blog challenge we had to pick a subject and then write 4 blog articles about it. For my subject i picked the difference between Minecraft java and bedrock. In the different blogs we had to do one on a photo and two choice blogs. For the different differences on my subject i pick Pvp and Redstone and off hands. That is what we had to do for this challenge. I think this challenge was cool. Oh and i forgot for the last post we have to combine it with destination imagination. Here are some screen shots that i took to make a point
This is the photo of redstone that i did s sketch onHere is a photo of the attack indicator look at where the arrow is pointing.
And finally time for scimatics. In scimatics the projects that we have done are: laser laws, tectonic chances and fractions for your time. The first project that we did in scimatics was fractions of your time. In this project what we did was we tracked what we did for a while. It was mainly focused on screen time, but you cold also track how much book reading you did and how much exercise you did to name a few. Then once we had done all of our tracking for a week, we put all of the data in to charts and we did our averages and found out roughly how our time was used.
Here is a photo of the chart that we used to track screen time
the project that we did next was called tectonic chances. What we did in tectonic chances was we made a board game based on tectonic plate and volcanic reactions and the sort. The game that my group made was called escape the plates. The point of the board game was to get rocket ship pieces to esacpe a foreign planet. We started the project as normal by learning about what we were doing and then just did the project was normal end of story.
Here is a picture of the back of the cards that we used
And the final project that we have done in scimatics is….. laser laws! Laser laws is a project about laser, the law of reflection and the Pythagorean theorem. The main goal of this project was to make a laser display using math and a laster simulator to understand the main concepts of this project. But we started this project just like any other. We learned about what we would be doing. I think this project was one of the cooler ones that we have done but on of the hardest. I think that hardest part about this project was getting the laser exactly where we wanted it in real life.
So here we are supposed to take a picture and then draw the photo. What i chose to draw was a frame out of a recording that i did of Minecraft showing a bit of Redstone. In the frame of the recording i made a machine that showcased a Redstone circuit that launched some bottles’o’enchanting triggered by a tripwire or a lever attacked by some Redstone wiring.
What i did when i drew the photo was I separated the main Colours so the browns, the blues, yellows, the greens and the grays from the the screen shot and i then shaped it so that i looked how i wanted to. I made sure that i had the screen shot in a layer underneath the photo that i am using then took it off after so that i had a good image to use. The app that i use to do this was sketches pro.
Here is the photo of the frame of my recording:
This is the photo
I also have the footage of what i did with the Redstone.
So my subject is Minecraft java and how it is different and better than Minecraft bedrock (please note that Minecraft bedrock does have some things that are better than Minecraft java. There is too versions of Minecraft bedrock and java. If you play on console, switch phone or iPad, then you have Minecraft bedrock (please not that there is a Minecraft bedrock version for computer, but if you have Minecraft for computer you probably have Minecraft java. So there are some major differences between the two different versions and that is what i am going to talk about in this series of blog post.
The first major difference that i am going to talk about it the difference between p.v.p. an p.v.e.
So what is different about the p.v.p. you must be thinking? Because it is the same game of course. But there is actually a big difference between the p.v.p. Please keep in mind that when i am talking about the java p.v.p. I am talking about the modern p.v.p. And not 1.8 and earlier, But in java the combat it heavily based on critical hits and timing your blows, but in bedrock it is more about spamming and sprinting at you opponents so you can get the most hits. An other main difference between the two versions is the best melee weapon to use. In bedrock the main weapon that you would use is the sword end or story, but in java you have the choice of using the axe or the sword. Now most people would say that the axe is better and while it is more versatile i will not say that it is better. So the axe is good for doing a lot of damage in one hit, but the sword is better for doing more hits. Now in the early game for most players the preferred weapon is the axe, later gameplay when most player have optimized items with enchantments the sword can have more enchantments and is therefor considered the better item to have. Please note that the axe can disable shields and that will be mentioned furtherer. An other difference between java and bedrock is the fact that there is armour toughness in the java version of Minecraft. What armour toughness does is it reduces additional damage that the armour would normally not (please not that only diamond armour and netherite armour are the only armour that have armour toughness) and finally the finally main difference in the combat systems are shields. So shields in bedrock have not recharge and can not be disable for a period in time and can only be broken. In java on the other hand a shield can be disabled on an axe crit for 6 second leading to much more balanced p.v.p.
Here are some photos of attacks in te different versions of minecraft
here is a photo of the attack indicator in java
Here is a photo of the attack indicator look at where the arrow is pointing
now here is a photo of the attack indicator on pocket edition of bedrock minecraft (phone, ipad and tablet) :
This is a photo of how an attack swing looks on pocket edition.
So this is the first blog post out of two blog post that i will be doing for this project, one for the Herzog and one for Carr. This is the first blog post, this one is for Herzog. So the first thing that i want to talk about is the Fred Herzog, because he was what this small project was about, but also how he pioneered the art of street photography, so the first thing that i want to talk about is Fred Herzog.
Fred Herzog was born is Germany in 1930. He imagrated to Vancouver in 1953. As a photographer his use of colour was a unusual at the time because artistic photography at the time was black and white so he was a different photographer in that regard. An other thing that he was unique in was the fact that he did artistic street photography. Street photography is supposed to mean that the photo is just captured it is not modeled and is is not formed, it is just taken.
the goal of this sub project was to become our own fred Herzog and take pictures, think how they tell a story and learn how we can take better photos.
What we learned in school about taking the photos was taught to us in 5 skill.
Skill one: composing composition. What we learned with this skill was how to focus a photo, and how to take a nice looking basic photo with our iPads. We also took a photo walk and made a personified picture.
Skill number two: adjusting angles. In the adjusting angles skill we learned how use photo booth with the timer, use preset filers in the camera and photos app and experimented with lighting and basic camera angles. What we learned was how to shoot self portraits how to make a portrait and how to create a silhouette portrait. A final thing that we learned was how we can use lighting to tell a story.
Skill number three: manufacturing mood. What we did to build the skill: composed our shot using the rule of thirds and the rule of backgrounds and foregrounds, we varied our basic camera angles, tried panorama, used scale and contrast and applied a filter with a third party app. The first thing that we did to practice the skill snapping a landscape. The second was taking a panorama and finally we captured people places and things.
Skill number four: creating collages. How we built the skill: we used basic keynote with photos: we rotated, resized, arranged, drawed masked and remixed, we used advanced keynote with photos and created storyboards for our images. The first skill that we practiced was pictorializing our names. The second was creating a personalized collage, mine is one my personalized collage about me page.
Skill number five: moulding movement. The things that we did for building the skill were trying burst mode, taking and editing Live Photos, changing the appearance of a photo over time using keynote and finally adding motion to a photo. The skill that we used to practised to improve were creating a moment in motion. What we did was take a ton of photos with burst and we froze one part of the moment in time. And other thing that we did to practice was morphing a photo using keynote and finally we created a photo animation, or a gif.
But what did all of this serve to do? It taught us how to take better photos and how to tell a story in a picture and how to capture and freeze a moment in a picture. That is what this Herzog project was about.
Well I just recently learned this myself in school in my maker class.
What being a PLP is is just learning a bit differently then most people by making a lot of drafts and not just throwing something away after the first draft. I’m about to go over what i learned by giving some examples and going through what i have been learning this maker class.
So step one is listing what we have been doing in this class and and then explaining what we did and how i increased my knowledge and learning. The thing that we have done in this project are the big life journal, the Memoji, the different team challenges, the teamwork contract and the, the user Manuel, the physical representation design plan, the Memoji speech bubble, the i am statements and the digital selfie and the who am i WordPack image. Each of these increased my learning in different ways and i will list a few. The first example her is the digital selfie which helped us get a better understanding of how to use the camera on our iPad in different way as well as edit the photo with different shades and filters and how to draw on on the photo to make it to our expectations. An other example of this is the user manual which helped tach us how to use the app page s which is simpler to the app word by Microsoft and they taught us how to use the different fonts, colours and bullet points that made all of our user manuals to grade, but the most important thing was that they taught us how to use these apps in different ways and that Is the important thing that i’m trying to convey here.
You might be wondering why i have put all of this in a my blog and that is what i plan to answer here. The reason I’m putting all of these things in here is to convey the fact that all of these things that we had to learn all had a reason behind them and that was to teach us how to use these apps to become and improve being a PLP learner. That is why we had to do all of these things in class. In reflection i see that every thing that we have done in class has been to make sure that we can be the best PLP learner that we can. That is what being a PLP learner is about.
here is video guided tour of what we did in my becoming a PLP learner class:


 Here are my groupmate’s blogs Jackson, Susan, Caden, Kadin, Owen, and Naomi.